If there is one thing that shouts “Apple Design” from the rooftops, it’s rounded corners. As an iOS Developer, you’ve probably noticed that practically no element in the iOS, macOS, or watchOS user interface has perfectly sharp edges. From home screen icons to notification cards, edge smoothing is a fundamental pillar of Apple’s Human Interface Guidelines (HIG).
In the UIKit era, achieving this required interacting directly with the view’s layer (view.layer.cornerRadius) and telling it to clip the content (clipsToBounds = true). However, with the arrival of the declarative paradigm, rounding the corners of a view in SwiftUI has become a much more fluid and expressive process.
In this extensive Swift programming tutorial, we are going to explore in depth how to master rounded corners. We will not only look at the classic cornerRadius modifier, but we will explore the modern techniques recommended by Apple in Xcode, the concept of the “Squircle” (continuous corner), how to round specific corners, and how to make all this work flawlessly on iOS, macOS, and watchOS using SwiftUI.
1. The Classic Approach: The cornerRadius Modifier
When SwiftUI was introduced, the fastest and most direct way to round the corners of a view in SwiftUI was by using the .cornerRadius(_:antialiased:) modifier.
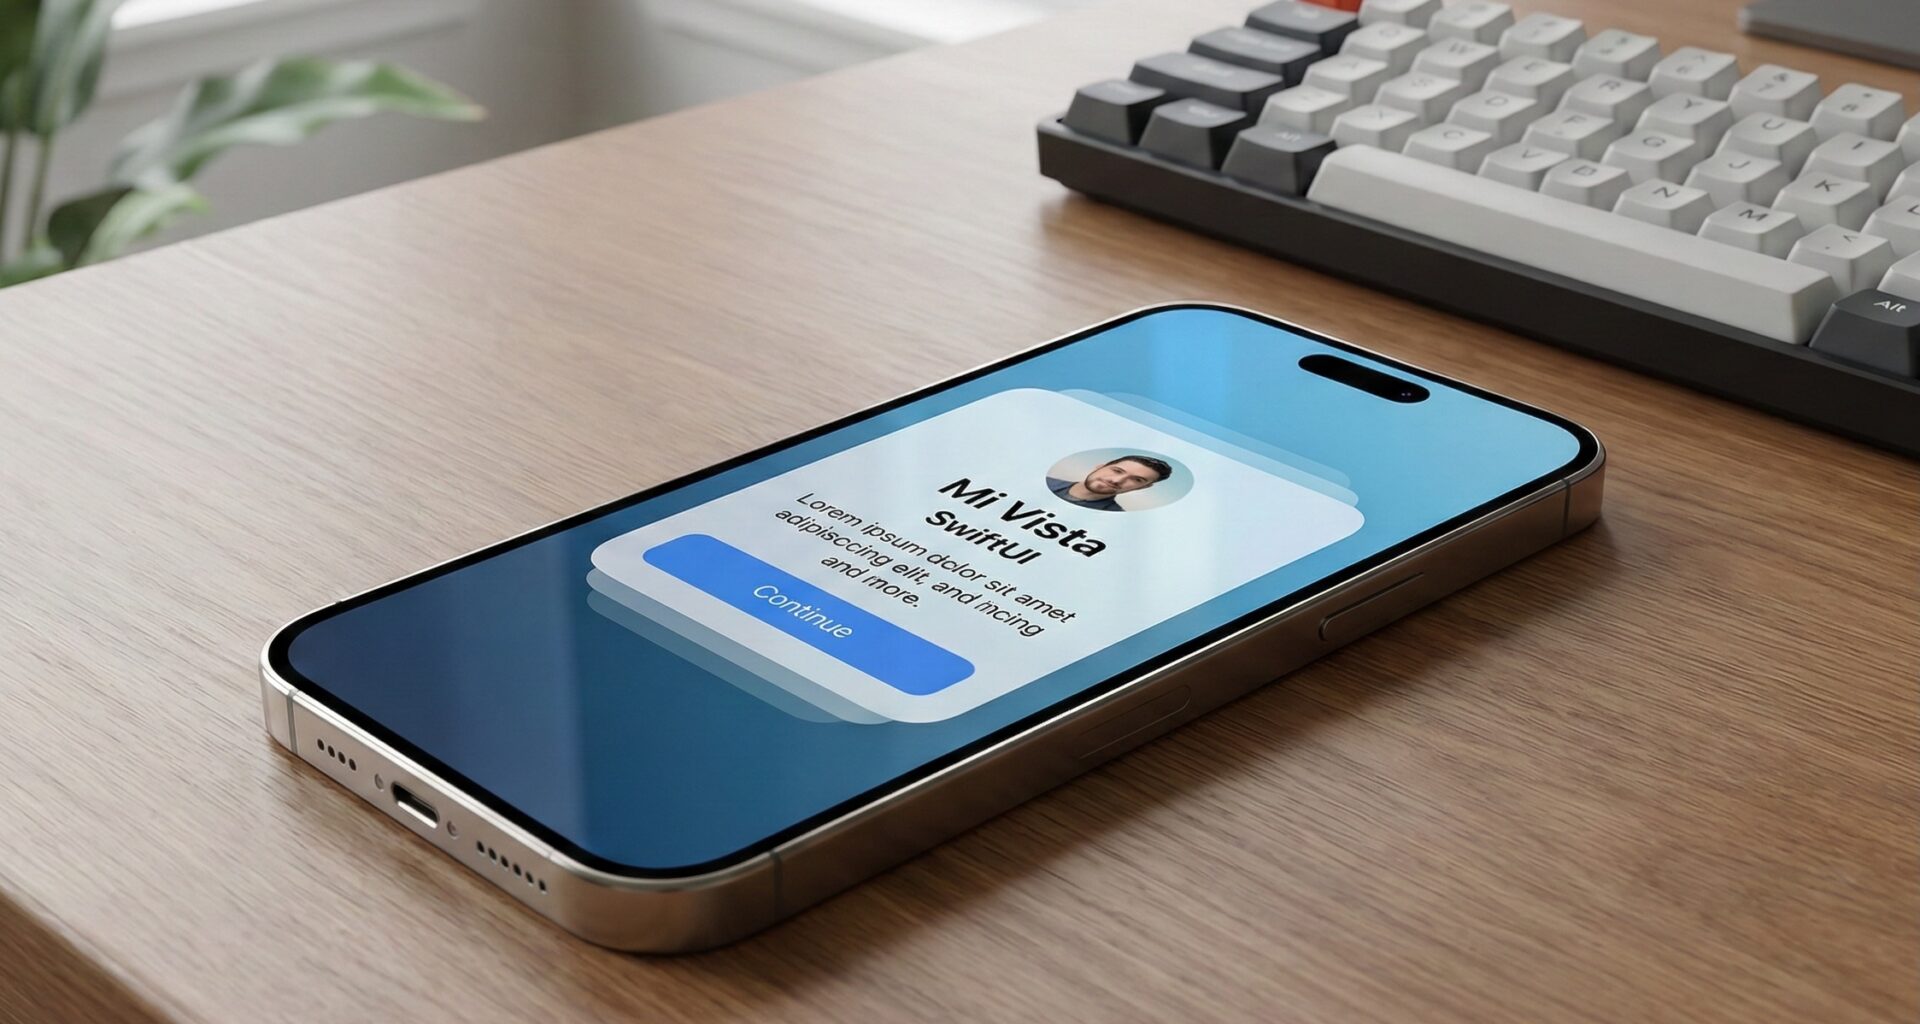
This modifier applies a uniform corner radius to all four corners of the view it is applied to. Let’s see a basic example of how an iOS Developer would create a simple profile card:
import SwiftUI

struct SimpleCardView: View {
    var body: some View {
        VStack {
            Image(systemName: "person.crop.circle.fill")
                .resizable()
                .frame(width: 80, height: 80)
                .foregroundColor(.white)

            Text("iOS Developer")
                .font(.title2)
                .bold()
                .foregroundColor(.white)
        }
        .padding(40)
        .background(Color.blue)
        // We apply the classic modifier
        .cornerRadius(20)
        .shadow(radius: 10)
    }
}
The optional antialiased parameter (which defaults to true) ensures the curved edge is drawn smoothly, blending the edge pixels with the background to avoid the dreaded “jaggies” or pixelated effect.
The End of an Era: The Deprecation of cornerRadius
Although .cornerRadius is incredibly easy to use, it has structural limitations. It doesn’t allow configuring the curve style and isn’t composable if you want to add borders of the same thickness. For this reason, starting with iOS 17 and macOS 14, Apple has gently marked this modifier with deprecation warnings, encouraging the Swift community to use a Shape-based approach.
2. Modern Evolution: clipShape in Swift Programming
To write modern, scalable, and future-proof code in Xcode, the correct way to round the corners of a view in SwiftUI today is by using the .clipShape() modifier in combination with the RoundedRectangle structure.
This not only does exactly the same thing as the old modifier, but it gives you granular control over how the curve is drawn.
import SwiftUI

struct ModernCardView: View {
    var body: some View {
        Text("Modern Swift Programming")
            .font(.headline)
            .foregroundColor(.white)
            .padding(30)
            .background(Color.purple)
            // The modern and recommended approach
            .clipShape(RoundedRectangle(cornerRadius: 25.0))
    }
}
By using clipShape, we are telling SwiftUI: “Take the area of this view and clip it using exactly this geometric shape”. Since RoundedRectangle is a native Shape, performance is highly optimized via Core Graphics and Metal.
3. The Magic of Apple Design: Continuous vs Circular
If you are a detail-oriented iOS Developer, you might have noticed that a rounded rectangle in CSS (web) doesn’t look exactly the same as an icon on your iPhone’s home screen, even if both have the same corner radius. This is due to a concept called “Curvature Continuity”.
Apple uses a mathematical shape known as a “Squircle” (a mix between a square and a circle). Instead of abruptly transitioning from a straight line to a circular curve (which creates a subtle but noticeable visual jump), Apple’s design gradually begins to curve.
In SwiftUI, this is controlled by the style parameter of the RoundedRectangle. You have two options:
.circular: The classic web rounding..continuous: The smooth, organic rounding characteristic of Apple devices.
Let’s see how to implement it in Swift:
import SwiftUI

struct SquircleView: View {
    var body: some View {
        HStack(spacing: 20) {
            // Standard Circular Style
            Rectangle()
                .fill(Color.red)
                .frame(width: 150, height: 150)
                .clipShape(
                    RoundedRectangle(cornerRadius: 30, style: .circular)
                )
                .overlay(Text("Circular").foregroundColor(.white))

            // Continuous Style (Apple Squircle)
            Rectangle()
                .fill(Color.green)
                .frame(width: 150, height: 150)
                .clipShape(
                    RoundedRectangle(cornerRadius: 30, style: .continuous)
                )
                .overlay(Text("Continuous").foregroundColor(.white))
        }
        .padding()
    }
}
As a general rule in your Swift programming: always use .continuous unless you are explicitly replicating a legacy web design. It is the gold standard in iOS, macOS, and watchOS.
4. Rounding Specific Corners: The Classic Challenge
One of the biggest headaches with the old .cornerRadius modifier was when the design team asked to round only the top corners of a card (very common in Bottom Sheets or modals).
The Modern Solution (iOS 17, macOS 14, watchOS 10+)
If you are developing apps with the latest SDK versions in Xcode, Apple has gifted us UnevenRoundedRectangle. This new geometric shape allows you to specify the radius of each individual corner declaratively.
import SwiftUI

struct BottomSheetCardView: View {
    var body: some View {
        VStack {
            Text("Top Corners Only")
                .font(.title3)
                .foregroundColor(.white)
                .padding()
            Spacer()
        }
        .frame(height: 200)
        .frame(maxWidth: .infinity)
        .background(Color.orange)
        // Available in iOS 17+
        .clipShape(
            UnevenRoundedRectangle(
                topLeadingRadius: 40,
                bottomLeadingRadius: 0,
                bottomTrailingRadius: 0,
                topTrailingRadius: 40,
                style: .continuous
            )
        )
    }
}
The Backward-Compatible Solution (Support for iOS 15 and below)
If, as an iOS Developer, you must support older operating system versions, UnevenRoundedRectangle won’t compile. In this case, we must create our own structure conforming to the Shape protocol using UIBezierPath under the hood (or Path directly in Swift).
import SwiftUI

// We create a custom Shape
struct CustomRoundedCorners: Shape {
    var radius: CGFloat = .infinity
    var corners: UIRectCorner = .allCorners

    func path(in rect: CGRect) -> Path {
        let path = UIBezierPath(
            roundedRect: rect,
            byRoundingCorners: corners,
            cornerRadii: CGSize(width: radius, height: radius)
        )
        return Path(path.cgPath)
    }
}

// Example view using our custom Shape
struct LegacyBottomSheetView: View {
    var body: some View {
        Text("Extended Compatibility")
            .padding(40)
            .background(Color.teal)
            // We apply our custom Shape with clipShape
            .clipShape(
                CustomRoundedCorners(
                    radius: 30,
                    corners: [.topLeft, .topRight]
                )
            )
    }
}
This design pattern is an excellent example of advanced Swift programming, demonstrating how you can extend SwiftUI by wrapping low-level UIKit APIs to solve complex UI problems.
5. Borders and Rounded Corners: Avoiding the Visual Defect
A rookie mistake when rounding the corners of a view in SwiftUI is trying to apply a stroke (border) and a corner radius at the same time without the correct modifier order. If you apply a .border() to a rounded view, the border will still be a square rectangle that bleeds outside the bounds of your curve.
To solve this elegantly in Xcode, we use overlays combined with Shapes.
import SwiftUI

struct OutlinedCardView: View {
    var body: some View {
        Text("Card with Rounded Border")
            .padding()
            .background(Color.black)
            .foregroundColor(.white)
            // 1. We clip the background
            .clipShape(RoundedRectangle(cornerRadius: 15, style: .continuous))
            // 2. We overlay the border using exactly the same shape
            .overlay(
                RoundedRectangle(cornerRadius: 15, style: .continuous)
                    .stroke(Color.yellow, lineWidth: 3)
            )
    }
}
By using RoundedRectangle for both the clipShape and the overlay, we guarantee that the outer border perfectly matches the inner content’s clipping, achieving a professional finish worthy of any expert iOS Developer.
6. ContainerRelativeShape: Cross-Platform Magic for iOS, macOS, and watchOS
When you develop universal apps, you run into a problem: the corner radius that looks good on a 6.7-inch iPhone Pro Max looks gigantic on the tiny screen of an Apple Watch. Furthermore, on iOS, home screen widgets change their corner radius depending on the user’s physical device.
To solve this, SwiftUI introduced ContainerRelativeShape. This special shape doesn’t take a fixed numerical radius; instead, it asks its parent container (or the OS) what its curvature should be to remain in harmony with the environment.
import SwiftUI

struct AdaptiveWidgetView: View {
    var body: some View {
        ZStack {
            // The background takes the shape the system considers correct
            ContainerRelativeShape()
                .fill(Color.indigo)

            VStack {
                Text("Adaptive Widget")
                    .font(.headline)
                    .foregroundColor(.white)
            }
        }
        // We apply relative padding
        .padding(16)
    }
}
This technique is mandatory if you are creating Widget extensions (WidgetKit) in Xcode, as it ensures your UI will respect the exact curves of the device, regardless of whether the user has an iPhone 15 or an iPad Pro, unifying your Swift programming across the ecosystem.
7. Performance Considerations and Shadows
When you round the corners of a view in SwiftUI, you modify how the rendering engine (Core Animation) draws pixels on the screen. If you have huge lists (like a LazyVStack or a List) full of cards with rounded corners and shadows, performance could degrade when scrolling.
The Problem with clipShape and shadow
If you apply a shadow after a clipShape, SwiftUI will calculate the shadow based on the exact outline of the clipping. This is computationally expensive.
Best practice for the iOS Developer: Apply the background color and the shape simultaneously using .background() with a Shape, and then apply the shadow. This is much more efficient than clipping the main content.
import SwiftUI

struct HighPerformanceCard: View {
    var body: some View {
        HStack {
            Image(systemName: "bolt.fill")
                .foregroundColor(.yellow)
            Text("High Efficiency")
                .fontWeight(.medium)
        }
        .padding()
        // Instead of using background(Color) + clipShape(), we do both in one step
        .background(
            RoundedRectangle(cornerRadius: 12, style: .continuous)
                .fill(Color.white)
                // We apply the shadow directly to the shape
                .shadow(color: .black.opacity(0.15), radius: 5, x: 0, y: 3)
        )
    }
}
This approach spares Xcode from having to do an off-screen rendering masking pass, which will keep your app’s framerate locked at 120fps on ProMotion devices.
Conclusion
Rounding the corners of a view in SwiftUI might seem like a trivial topic at first, but as we’ve seen throughout this Swift programming tutorial, it holds great architectural and design depth.
We have evolved from the simple and deprecated cornerRadius, embracing the robust clipShape and uneven rectangles (UnevenRoundedRectangle), to understanding the mathematical beauty behind Apple’s continuous curve (Squircle).
As an iOS Developer, mastering these subtleties in Xcode is what separates an app that simply “works” from one that feels truly native, refined, and worthy of being in the iOS, macOS, and watchOS ecosystem.
If you have any questions about this article, please contact me and I will be happy to help you  . You can contact me on my X profile or on my Instagram profile.