

In the current Apple ecosystem, user interaction is no longer limited to tapping buttons within an interface. As an iOS Developer, you face the challenge today of making your application “smart” and proactive. With the arrival of Apple Intelligence and the constant evolution of Siri, understanding how to use App Intents in SwiftUI has become a mandatory skill for any professional in Swift programming.
In this extensive tutorial, we will explore everything from the fundamentals to the advanced implementation of App Intents for iOS, macOS, and watchOS using Xcode and SwiftUI. If you want your app to stand out in Spotlight, Shortcuts, and be voice-controllable, you’ve come to the right place.
What is the App Intents Framework?
Introduced by Apple to progressively replace SiriKit, the App Intents framework is a native Swift API that allows you to expose your application’s functionalities to the operating system. Unlike the older “Intents Extensions,” App Intents live within the main binary of your app, which greatly simplifies development and improves performance.
For an iOS Developer, this means you can define actions that Siri can execute, that users can automate in the Shortcuts app, or that can even appear as smart suggestions in the system based on the user’s context.
Initial Setup in Xcode
To get started, make sure you are using the latest version of Xcode. The advantage of App Intents is their cross-platform nature. By writing your code in Swift, it will be compatible with:
- iOS: For mobile interaction and the Action Button.
- macOS: For automating professional workflows.
- watchOS: For quick commands right from the wrist.
Create a new file in your SwiftUI project called AppIntentsProvider.swift. Don’t forget to import the framework at the top of the file.
1. Creating Your First AppIntent
The heart of this system is the AppIntent protocol. Let’s define a simple but useful action: “Create a Quick Note.” This is the basic outline of how an intent is structured in Swift programming.
import AppIntents
import SwiftUI

struct CreateQuickNoteIntent: AppIntent {
    static var title: LocalizedStringResource = "Create Quick Note"
    static var description = IntentDescription("Allows you to instantly create a text note.")

    @Parameter(title: "Note content")
    var content: String

    @MainActor
    func perform() async throws -> some ReturnsValue<String> & ProvidesDialog {
        // The logic to save the note in your database or SwiftData would go here
        print("Saving note: \(content)")

        return .result(
            value: content,
            dialog: "Perfect! I have saved your note: '\(content)'"
        )
    }
}
In this snippet, the @Parameter attribute is crucial. It defines what information the intent needs to execute. If the user triggers this intent via Siri but doesn’t provide the content, the system will automatically ask, “What is the content of the note?”.
2. App Entities: The Bridge Between Data and Siri
If your application handles complex objects (like books, projects, or recipes), you need the system to understand them as entities. For this, we use AppEntity. This allows a user to say: “Add this ingredient to the Taco Recipe,” where “Taco Recipe” is an identifiable entity.
Implementing AppEntity also requires an EntityQuery so the system can search and filter your data.
struct RecipeEntity: AppEntity {
    let id: UUID
    let name: String

    static var typeDisplayRepresentation: TypeDisplayRepresentation = "Recipe"

    var displayRepresentation: DisplayRepresentation {
        DisplayRepresentation(title: "\(name)")
    }

    static var defaultQuery = RecipeQuery()
}

struct RecipeQuery: EntityQuery {
    func entities(for identifiers: [UUID]) async throws -> [RecipeEntity] {
        // Database search simulation
        return []
    }

    func suggestedEntities() async throws -> [RecipeEntity] {
        // Suggestions that appear when configuring a shortcut
        return [RecipeEntity(id: UUID(), name: "Pasta Carbonara")]
    }
}
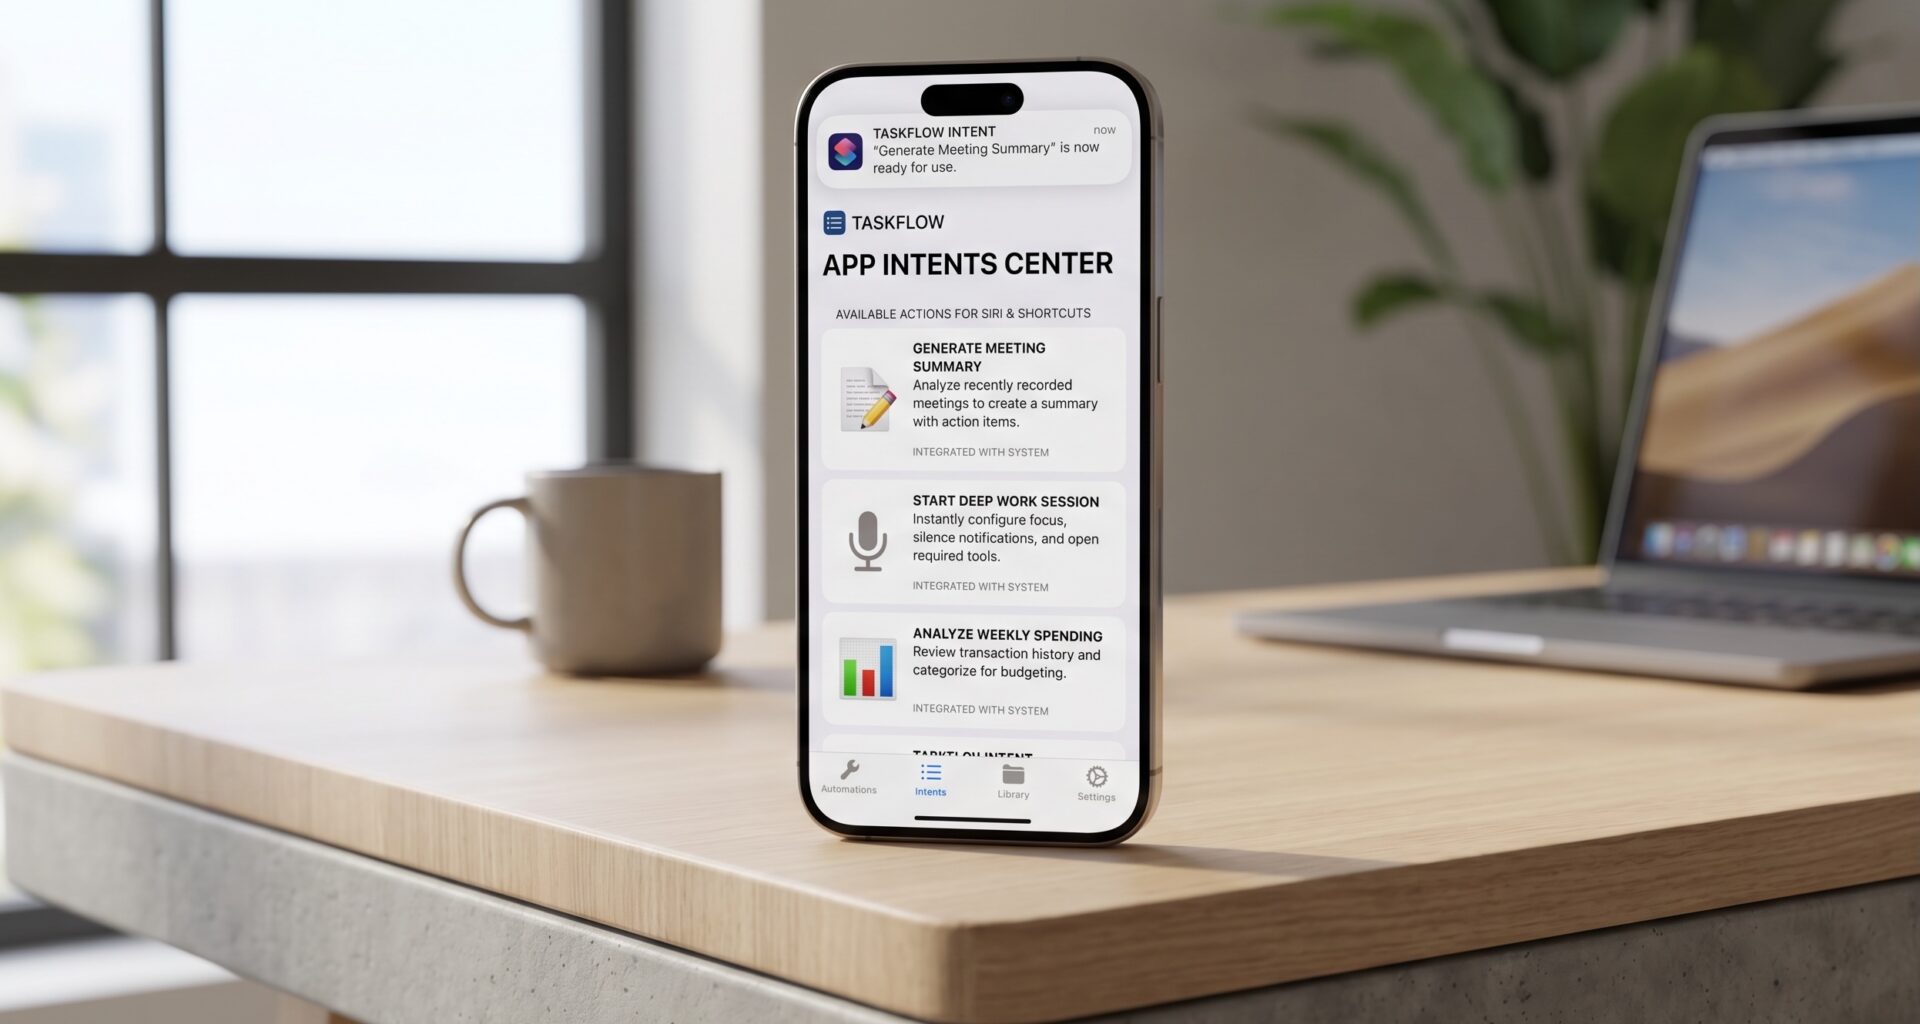
3. App Shortcuts: Instant Discovery
As an iOS Developer, you want your users to find your features effortlessly. AppShortcuts allow your intents to appear in the Shortcuts app and Spotlight automatically after installing the app, without the user having to configure anything manually.
struct MyAppShortcuts: AppShortcutsProvider {
    static var appShortcuts: [AppShortcut] {
        AppShortcut(
            intent: CreateQuickNoteIntent(),
            phrases: [
                "Write a note in \(.applicationName)",
                "New quick note with \(.applicationName)",
                "Create note in \(.applicationName)"
            ],
            shortTitle: "New Note",
            systemImageName: "note.text.badge.plus"
        )
    }
}
Using .applicationName is a great Swift programming practice, as it automatically adapts the phrase to the name of your app, improving localization and Siri’s voice recognition capabilities.
4. Integrating with the SwiftUI Interface
What if you want to trigger an intent from a button inside your app? SwiftUI makes this incredibly easy. You can use the IntentButton component or simply call the intent programmatically.
struct ContentView: View {
    var body: some View {
        VStack(spacing: 20) {
            Text("Notes Manager")
                .font(.largeTitle)

            // Native button that triggers the App Intent
            Button(intent: CreateQuickNoteIntent()) {
                Label("Add Note via Intent", systemImage: "plus")
            }
            .buttonStyle(.borderedProminent)
        }
        .padding()
    }
}
Cross-Platform Development: iOS, macOS, and watchOS
One of the biggest advantages of using Xcode to implement App Intents is that the code is almost 100% reusable. However, there are nuances that every iOS Developer should consider:
App Intents on macOS
On the Mac, App Intents are essential for AppleScript support and the macOS Shortcuts app. They allow your app to become a professional productivity tool, letting other system processes automate tasks within your application.
App Intents on watchOS
On the Apple Watch, voice is the primary interface. App Intents allow users to execute complex actions without having to navigate menus on a small screen. It is vital that responses (Dialogs) are short and concise.
Optimizing for Apple Intelligence and Siri
With the integration of advanced language models, the operating system now tries to “understand” what your intent does based on metadata. To optimize your app in 2026, follow these tips:
- Semantic names: Don’t call a parameter “p1”, call it “clientName”.
- Rich descriptions: Use
IntentDescriptionto explain exactly what happens when the action is executed. - Intent Categories: Classify your intents (e.g., `MailIntent`, `WorkIntent`) to help the system index them correctly.
Conclusion
Mastering how to use App Intents in SwiftUI not only improves your application’s accessibility but also positions it as a modern tool ready for artificial intelligence. Swift programming has evolved so that the integration between the system and the app is invisible and powerful.