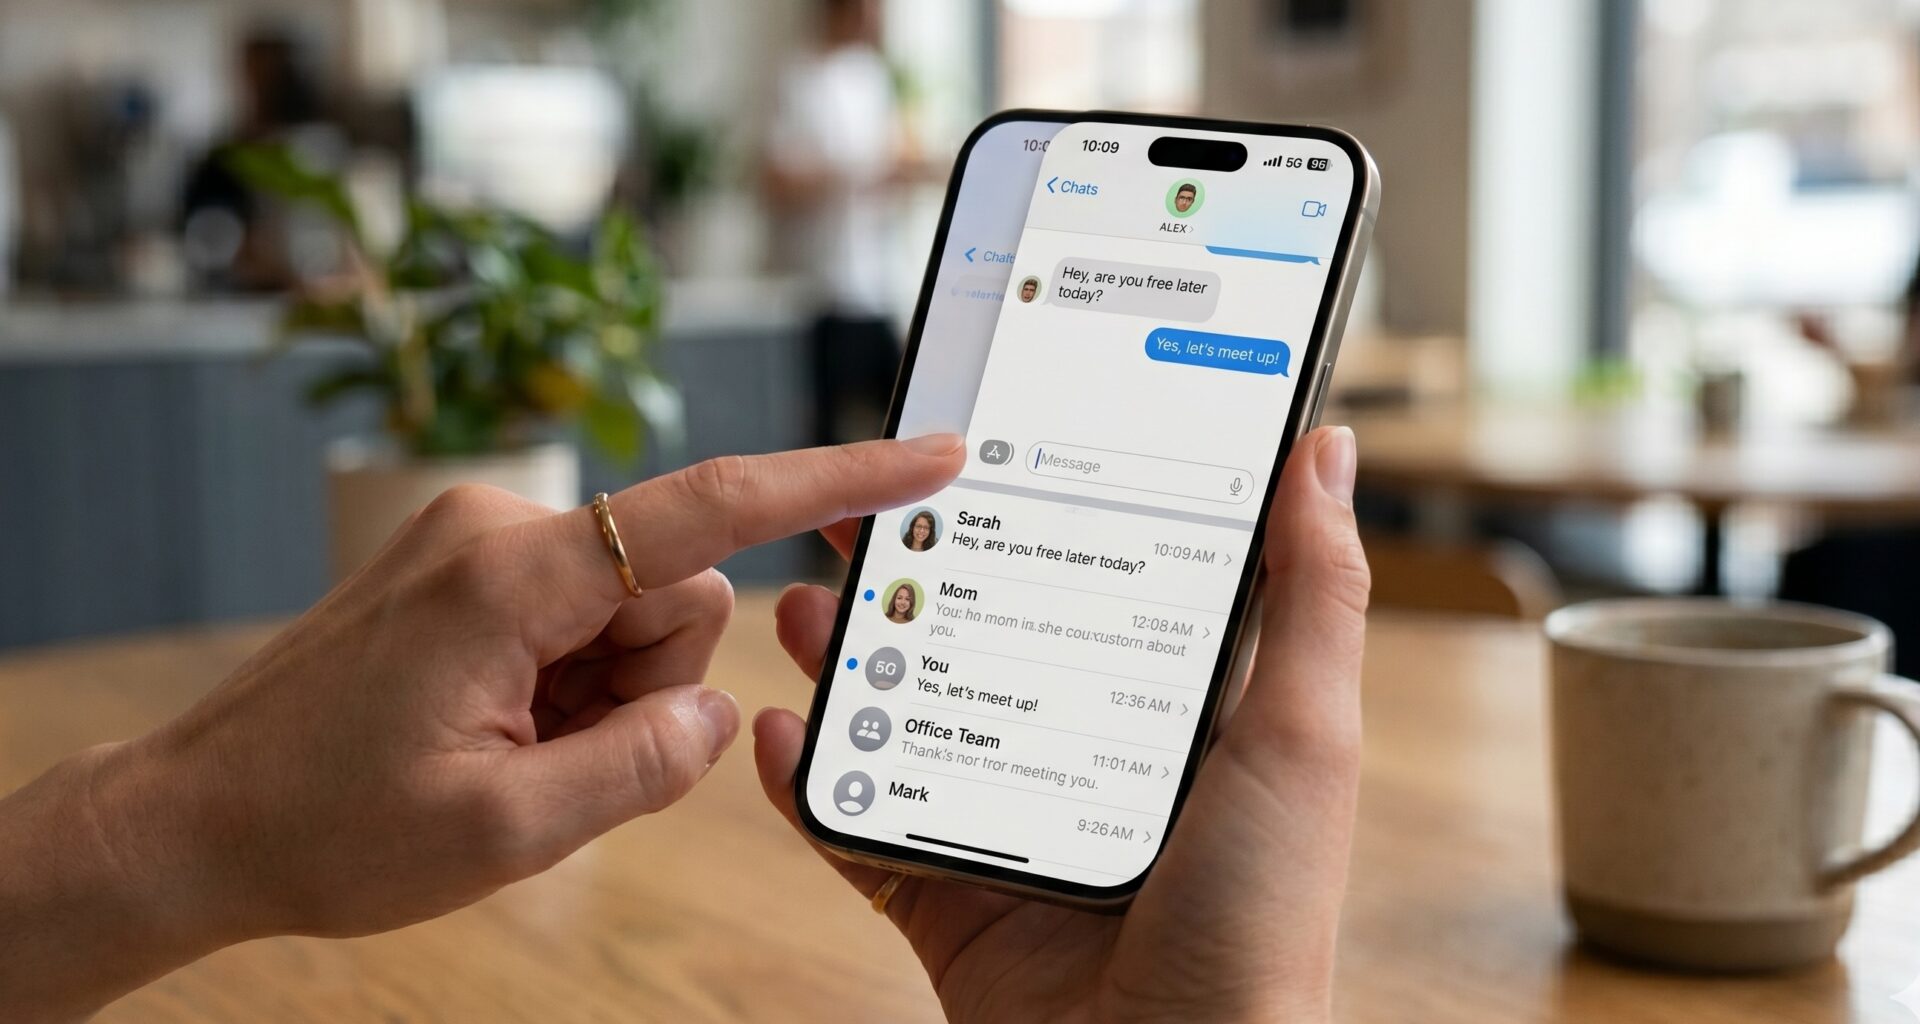
In modern application development for the Apple ecosystem, user experience (UX) is everything. A good iOS Developer knows that the success of a mobile application lies not only in the robustness of its technical architecture or the cleanliness of its code, but in absolute respect for the native interaction patterns that users are accustomed to. One of those intuitive and indispensable gestures is swiping from the left edge of the screen to return to the previous view, commonly known as the swipe-back gesture or interactive pop gesture.
With the arrival of SwiftUI, the development paradigm shifted from imperative to declarative, drastically simplifying the creation of complex interfaces. However, this abstraction layer sometimes creates friction when we try to customize native components. The scenario is classic: the design team requests a completely custom navigation bar, you hide the native “Back” button, and suddenly, the swipe-to-back gesture stops working. The application feels rigid, interrupting the fluid experience of the system.
In this comprehensive Swift programming tutorial, you will learn definitively how to activate Swipe-Back in SwiftUI using Xcode, covering not only the particularities of iOS, but expanding the ecosystem towards watchOS and macOS to create a truly multiplatform and professional experience.
1. Anatomy of Navigation in SwiftUI and the Origin of the Problem
To solve a problem from its root, we must first understand what happens under the hood of SwiftUI. In the initial versions of the framework, navigation was structured using NavigationView, an API that very directly inherited the behaviors of UINavigationController in UIKit, but lacked flexibility for complex routing architectures.
Starting with iOS 16 and contemporary versions of Apple systems, NavigationStack and NavigationSplitView were introduced. These new containers allow a data-driven navigation approach (data-driven navigation), where the view stack is managed via data collections or a NavigationPath, greatly facilitating programmatic routing and the decoupling of views.
When an iOS Developer implements a standard NavigationStack, the operating system grants the top navigation bar, an automatic back button based on the title of the preceding screen, and the interactive drag gesture from the screen edge for free.
However, problems arise when we require total aesthetic control and decide to do without the native interface. The code usually begins like this:
struct DetailView: View {
    var body: some View {
        Text("Vista de Detalle")
            .navigationBarBackButtonHidden(true) // ¡Adiós swipe-back!
    }
}
By applying the .navigationBarBackButtonHidden(true) modifier, the framework not only visually hides the interactive header element, but internally disables the interactivePopGestureRecognizer object of the underlying navigation controller. This is done for safety reasons within the framework itself: if there is no physical button to go back, the system assumes that the developer wants to block navigation out of that screen due to business flow reasons (for example, in a critical form or a payment gateway flow).
2. Solution in iOS: Restoring the Gesture via UIKit Bridge
Despite the rapid advancement of SwiftUI, the framework still relies heavily on the fundamental components of UIKit to render the view hierarchy in iOS. The stack of a NavigationStack continues to be managed by a UINavigationController deep down within the system.
To activate Swipe-Back in SwiftUI when the button is hidden, the cleanest, most global, and elegant strategy is to create a UINavigationController extension and adopt the UIGestureRecognizerDelegate protocol. In this way, we instruct the system’s gesture recognizer to remain active regardless of the internal flags that SwiftUI alters.
Create a new file in your Xcode project named UINavigationController+SwipeBack.swift and implement the following code block in Swift:
import SwiftUI
import UIKit

// Extensión para recuperar el gesto de swipe-back en iOS
extension UINavigationController: UIGestureRecognizerDelegate {

    override open func viewDidLoad() {
        super.viewDidLoad()
        interactivePopGestureRecognizer?.delegate = self
    }

    public func gestureRecognizerShouldBegin(_ gestureRecognizer: UIGestureRecognizer) -> Bool {
        // Solo permite el gesto si hay más de una vista en la pila de navegación
        return viewControllers.count > 1
    }
}
Technical Breakdown of the Solution
Let’s analyze in detail why this approach is the industry standard and what it prevents:
1. Lifecycle Injection (viewDidLoad): By overriding the controller’s view loading method, we ensure we intercept every navigation instance of the app. We assign the delegate of the interactivePopGestureRecognizer to the controller instance itself.
2. Critical Safety Validation (viewControllers.count > 1): This step is vital for the application’s stability. If we allow the gesture recognizer to activate when the user is on the root view (Home Screen) of the application, the system will attempt to pop a screen that has no predecessor. This breaks the iOS navigation state machine, causing the application’s visual interface to freeze completely (a common freezing error known as UI Freezing), forcing the user to force quit the app.
3. Creating a Custom User Interface
Once the global extension is implemented, we can proceed to design custom navigation bars without fear of degrading the native touch experience. We will use the SwiftUI environment to handle the dismissal action using the reactive property @Environment(\.dismiss), available starting with iOS 15.
Below is the correct way to structure a secondary view with a customized toolbar:
import SwiftUI

struct CustomNavBarView: View {
    @Environment(\.dismiss) var dismiss

    var body: some View {
        VStack {
            Text("Contenido de la vista")
        }
        .navigationBarBackButtonHidden(true)
        .toolbar {
            ToolbarItem(placement: .navigationBarLeading) {
                Button(action: {
                    dismiss()
                }) {
                    HStack {
                        Image(systemName: "arrow.left.circle.fill")
                            .foregroundColor(.blue)
                        Text("Volver")
                            .foregroundColor(.blue)
                    }
                }
            }
        }
    }
}
When running this design in the Xcode simulator, you will notice that the custom button responds perfectly to the touch, but if you drag your finger from the left side, the interactive transition continues to respond in a fluid and organic manner, maintaining the system’s native physical interpolation animations.
4. watchOS: Optimizing for Wrist Interfaces
Swift programming for wearable devices demands radically different design principles due to hardware dimensions. On the Apple Watch, screen real estate is extremely limited, making physical gestures the true protagonists of navigation over digital buttons.
In watchOS, the swipe-to-dismiss gesture is indissociably built in at the operating system level. SwiftUI for watchOS does not use UIKit underneath, so our previous extension has no effect and is not necessary in this environment.
UX Considerations in watchOS
Attempting to hide or aggressively intercept the swipe gesture on the Apple Watch is considered a bad design practice that usually results in application rejection during the App Store review process. Apple Watch users rarely press the top left corner of the screen because their own finger blocks the content view; their reflexive and instinctive action is to swipe horizontally.
However, if you are developing a sports or financial application where an accidental swipe could ruin a workout recording or a transaction, you can implement a confirmation strategy combining specific toolbars and controlled alert flows:
import SwiftUI

struct WatchDetailView: View {
    @Environment(\.dismiss) var dismiss
    @State private var showingAlert = false

    var body: some View {
        ScrollView {
            Text("Detalles de Entrenamiento")

            Button("Terminar y Volver") {
                showingAlert = true
            }
        }
        .navigationBarBackButtonHidden(true) // En watchOS esto es menos común, pero posible
        .toolbar {
            ToolbarItem(placement: .cancellationAction) {
                Button(action: {
                    showingAlert = true
                }) {
                    Image(systemName: "chevron.left")
                }
            }
        }
        .alert("¿Guardar progreso?", isPresented: $showingAlert) {
            Button("Sí") { dismiss() }
            Button("No", role: .cancel) { }
        }
    }
}
5. macOS: Desktop Transitions with Trackpad and Mouse
When we take our iOS Developer skills to desktop application development on macOS (either through native AppKit projects or via Mac Catalyst), interaction changes completely. Mac users do not touch the screen; they interact through pointers, mice, and the Magic Trackpad.
The equivalent of swipe-back on the Mac is the horizontal two-finger scroll on the trackpad surface, a standard behavior in applications like Safari or Finder.
Multiplatform Strategies with Conditional Compilation
To ensure your source code compiles cleanly on all target platforms within Xcode, it is mandatory to use conditional compilation directives. You don’t want to drag UIKit logic into a pure macOS binary, as it would generate fatal compilation errors.
Below is a highly optimized view model that discriminates behaviors between mobile and desktop operating systems, ensuring that each retains its native design metaphors:
import SwiftUI

struct MacDetailView: View {
    @Environment(\.dismiss) var dismiss

    var body: some View {
        VStack {
            Text("Contenido optimizado para Mac")
                .font(.largeTitle)
        }
        // Condicional de compilación: Solo ocultamos en iOS
        #if os(iOS)
        .navigationBarBackButtonHidden(true)
        #endif
        .toolbar {
            // macOS manejará este placement de forma nativa en la barra superior
            #if os(macOS)
            ToolbarItem(placement: .navigation) {
                Button(action: { dismiss() }) {
                    Image(systemName: "chevron.left")
                }
            }
            #endif
        }
    }
}
In macOS, using ToolbarItem(placement: .navigation) automatically positions the back button in the window’s title bar in a standardized way. In parallel, the operating system directly associates trackpad gestures to this hierarchy, allowing two-finger scrolling to work without the need for low-level patches.
6. Advanced Architecture: ViewModifiers and the Coordinator Pattern
If you are building a large-scale enterprise application in Swift, repeating code for hiding bars and assigning custom buttons across fifty different screens introduces unacceptable technical debt and violates the DRY (Don’t Repeat Yourself) principle.
The best architectural solution is to abstract this behavior using a custom ViewModifier and expose it through a clean extension on the View protocol.
struct CustomBackButtonModifier: ViewModifier {
    @Environment(\.dismiss) var dismiss

    func body(content: Content) -> some View {
        content
            .navigationBarBackButtonHidden(true)
            .toolbar {
                ToolbarItem(placement: .navigationBarLeading) {
                    Button(action: {
                        dismiss()
                    }) {
                        Image(systemName: "arrow.left")
                            .font(.system(size: 16, weight: .bold))
                            .foregroundColor(.primary)
                    }
                }
            }
    }
}

extension View {
    func withCustomBackButton() -> some View {
        self.modifier(CustomBackButtonModifier())
    }
}
With this abstraction in your arsenal, applying your corporate design and ensuring that swipe-back remains active in your iOS application is as simple as writing a single line of code:
MyDetailView().withCustomBackButton()
State Synchronization with NavigationPath
In modern architectures that use routers or coordinators based on a reactive NavigationPath, we must exercise extreme caution. When the user uses the custom on-screen button, we explicitly call a function in our view model or remove an item from our Coordinator’s route array.
However, when the user performs a Swipe-Back in SwiftUI via the physical gesture, the view is physically dismissed, but the underlying SwiftUI NavigationPath is automatically updated thanks to the built-in two-way binding provided by Apple. If you are using a custom routing array (for example, [Route]), make sure to bind it correctly via a Binding in your NavigationStack(path:) to avoid desynchronization where your data stack reflects that you are on a different screen than the one the user is physically viewing.
7. Avoiding Gesture Collision and Troubleshooting
During the quality control or QA phase in Xcode, it is common to discover intermittent bugs where the back gesture feels clunky or simply does not respond. Below, we list the most common gesture collision scenarios and how to solve them:
Collision with Maps and Horizontal ScrollViews
If your screen contains a full-screen Map (MapKit) component or a ScrollView configured with a horizontal axis (.horizontal), both components directly compete for touch interactions in the X-axis. When the user attempts to swipe from the left edge, the map may interpret that panning the cartography is desired, blocking the back action.
Solution: Apply safety margins in the design or use the .allowsHitTesting(false) modifier on background decorative views to ensure that the left boundary zone of the screen (approximately the first 15-20 points) remains free for the operating system to capture the start of the navigation drag.
The Global Tinting Trick
Before making the drastic decision to completely hide the native bar just to change its color or typography, remember that recent versions of SwiftUI have matured significantly. You can drastically customize the visual appearance of the default back button by applying the .tint() modifier at the root of the navigation tree:
// Cambiar el color de toda la navegación sin romper gestos
NavigationStack {
    ContentView()
}
.tint(.purple) // Hace que el botón "Atrás" sea morado
8. Conclusions and the Future of Navigation
Mastering navigation flows and learning how to activate Swipe-Back in SwiftUI is a mandatory skill that separates junior developers from senior software engineers in the Apple ecosystem. Mobile applications must feel organic; forcing a user to stretch their thumb to the top corner of large-format screens like the iPhone Plus or Max variants breaks the basic ergonomics of modern software.
By understanding the existing symbiosis between SwiftUI and UIKit, structuring clean and reusable view modifiers, and writing clean conditional code to support both watchOS and macOS coherently, you guarantee a polished, professional, and scalable final product.