

Introduction: The Art of Moving
A single-screen application is like a house with only one room: functional for a studio, but terrible for a mansion. In software development, the ability to move the user from A to B—from a product list to a detail view, or from a signup form to a “Dashboard”—is what gives life and structure to your app.
In the early days of SwiftUI (2019-2021), navigation was a constant pain point. NavigationView was limited,unpredictable, and difficult to control programmatically. If you came from UIKit and UINavigationController, you felt like you were fighting the system.
But everything changed with iOS 16. Apple introduced NavigationStack, a robust, flexible API designed for the future.
In this massive tutorial, we are going to break down everything you need to know to create fluid navigation flows in Xcode. Forget obsolete tutorials; here you will learn “The Modern Way,” from basic links to managing complex routes with dynamic data.
Part 1: The Fundamentals – Goodbye NavigationView, Hello NavigationStack
Before writing a single line of code, it is vital to understand the paradigm shift.
- Formerly (
NavigationView): It behaved erratically on iPads (split screen) and had serious issues if you wanted to go to a specific screen from code. (Currently Deprecated). - Currently (
NavigationStack): It is a literal stack of views. You put one view on top of another. It is deterministic,controllable, and handles data excellently.
Your First Basic Navigation
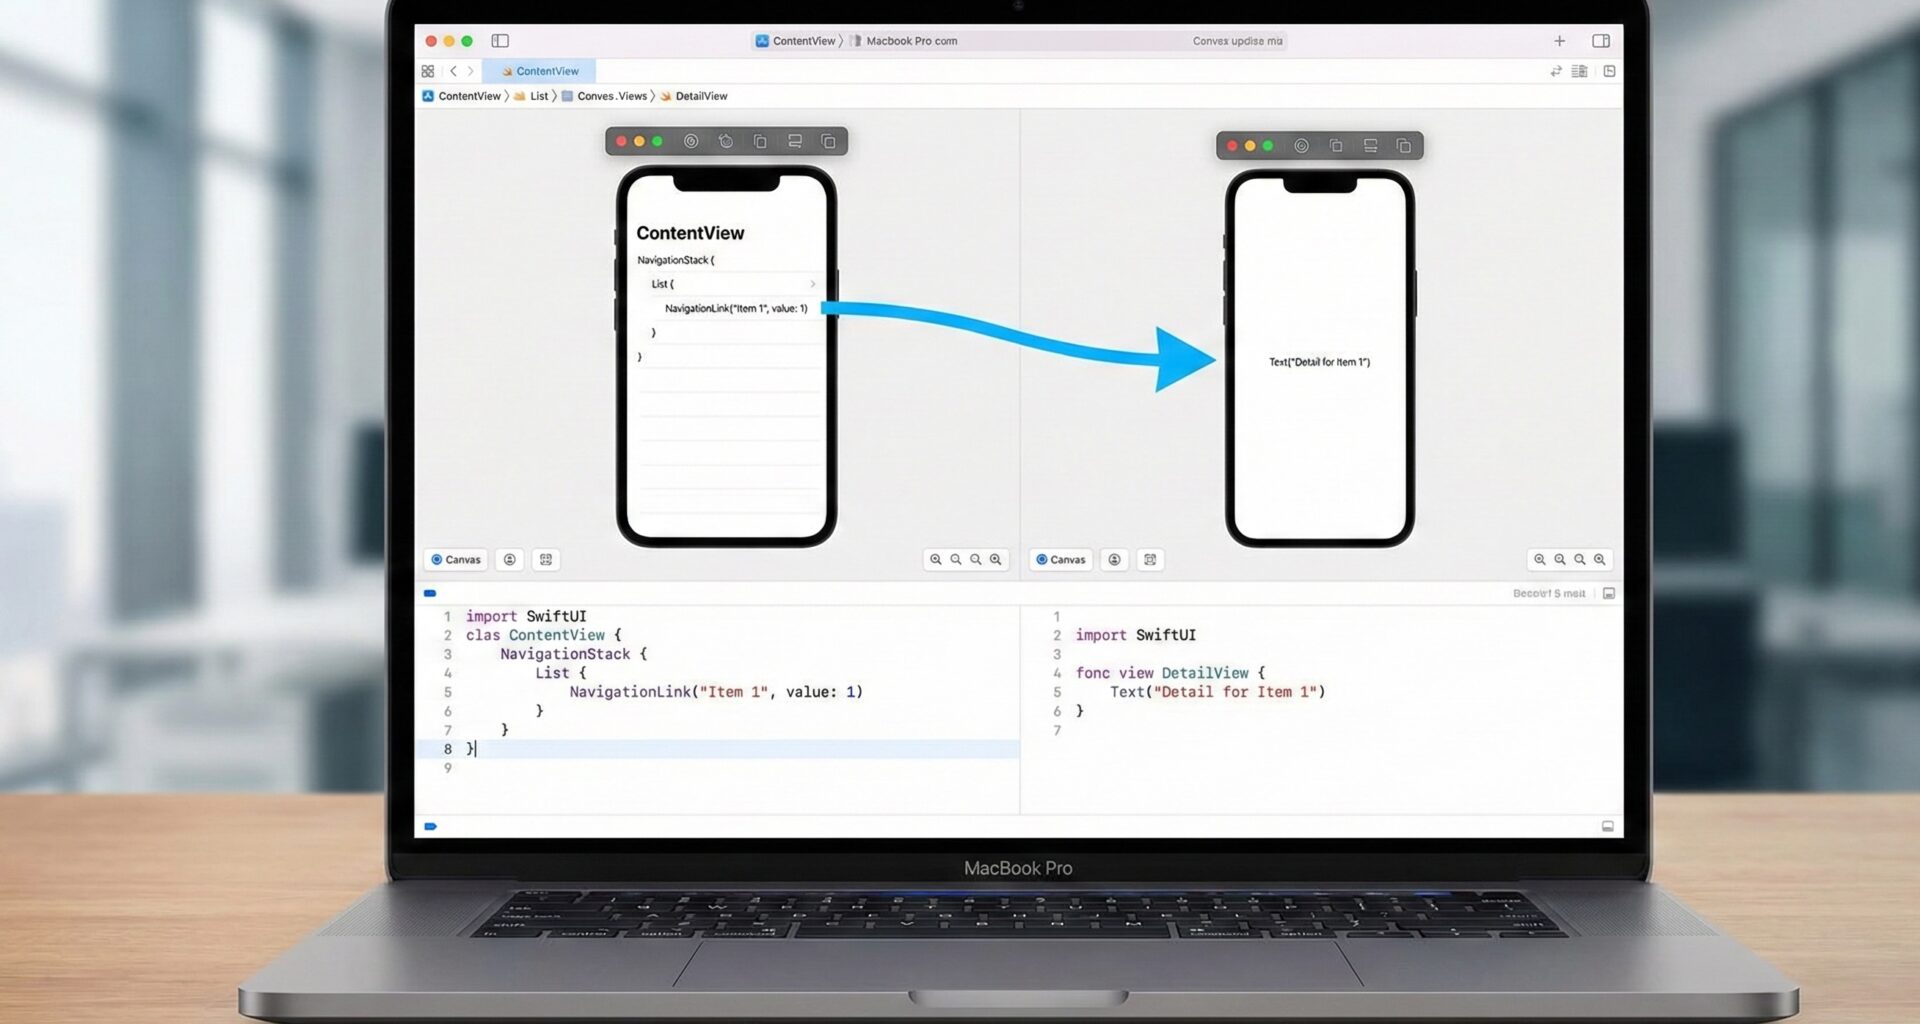
The simplest component for moving around is the NavigationLink. Think of it like the HTML <a> tag or a button (UIButton) that automatically performs the “Push” action (sliding the new screen in from the right).
import SwiftUI

struct HomeView: View {
    var body: some View {
        NavigationStack {
            VStack(spacing: 20) {
                Image(systemName: "map.fill")
                    .font(.system(size: 60))
                    .foregroundStyle(.blue)

                Text("Welcome to the Explorer")
                    .font(.title)

                // The basic link
                NavigationLink("Go to Detail") {
                    DetailView()
                }
                .buttonStyle(.borderedProminent)
            }
            .navigationTitle("Home")
        }
    }
}

struct DetailView: View {
    var body: some View {
        Text("You are in the detail view")
            .font(.largeTitle)
            .navigationTitle("Detail") // Title in the top bar
            .navigationBarTitleDisplayMode(.inline) // Small title
    }
}
Key Points:
- The Container: Everything must be wrapped in a
NavigationStack. If you don’t include it, the link will appear disabled (grayed out) and won’t work. - The Destination: In the example above, the destination (
DetailView) is “hardcoded” directly inside the link. This is fine for very simple apps, but bad for scalability.
Part 2: The Revolution – Value-Based Navigation (Data-Driven)
This is where SwiftUI shines today. Instead of telling the view “Navigate to View X”, you tell it “Here is a piece of data (a value), you decide where to go”.
This decouples your interface from your navigation logic.
The .navigationDestination modifier
Imagine you have a list of numbers. Instead of creating a link containing the destination view for every single number (which consumes memory), we simply pass the number.
struct NumberListView: View {
    let numbers = 1...20

    var body: some View {
        NavigationStack {
            List(numbers, id: \.self) { number in
                // 1. The link only carries DATA (Int)
                NavigationLink("View number \(number)", value: number)
            }
            .navigationTitle("Counter")
            // 2. The destination is defined ONCE for the entire data type
            .navigationDestination(for: Int.self) { selectedNumber in
                NumberScreen(number: selectedNumber)
            }
        }
    }
}

struct NumberScreen: View {
    let number: Int
    var body: some View {
        Text("\(number)")
            .font(.system(size: 100))
            .bold()
    }
}
Why is this better?
- Performance: SwiftUI doesn’t need to instantiate destination views until you actually click.
- Organization: You have a single place where you manage where the user goes when they select an
Int.
Handling Multiple Data Types
What if in the same list you want to navigate to a “User Profile” and a “Settings” page? Easy. You just need to ensure your data is Hashable.
// Define our data types
struct User: Hashable {
    let name: String
}

struct Setting: Hashable {
    let id: String
}

struct MultiNavigationView: View {
    var body: some View {
        NavigationStack {
            VStack(spacing: 20) {
                NavigationLink("View Ana's Profile", value: User(name: "Ana"))
                NavigationLink("View Wifi Settings", value: Setting(id: "Wifi"))
            }
            .navigationTitle("Control Panel")
            // Destination for Users
            .navigationDestination(for: User.self) { user in
                Text("Profile of \(user.name)")
                    .background(Color.yellow)
            }
            // Destination for Settings
            .navigationDestination(for: Setting.self) { setting in
                Text("Configuring: \(setting.id)")
                    .background(Color.gray)
            }
        }
    }
}
SwiftUI is smart enough to detect which data type (value) you are sending and choose the correct .navigationDestination.
Part 3: Programmatic Navigation (The Holy Grail)
This is the most common question on StackOverflow: “How do I navigate to the next screen automatically after a download finishes, without the user touching anything?”
With NavigationStack, this is handled via the Path.
Using a NavigationPath
The NavigationStack accepts a parameter called path. This path is, essentially, an array of data.
- If the array is empty
[], you are at the root view. - If you add an element to the array, the app automatically navigates to the view corresponding to that element.
- If you delete the last element, the app goes “Back” (Pop).
- If you clear the entire array, the app goes back to the start (Pop to Root).
struct ProgrammaticNavigationView: View {
    // The state that controls navigation
    @State private var path: [Int] = [] // We use a simple array of Integers

    var body: some View {
        NavigationStack(path: $path) {
            VStack {
                Button("Go to level 1") {
                    path.append(1) // Magic! Navigates automatically
                }

                Button("Go directly to level 3") {
                    path.append(contentsOf: [1, 2, 3]) // Skips 3 screens at once
                }
            }
            .navigationTitle("Root")
            .navigationDestination(for: Int.self) { level in
                LevelView(level: level, path: $path)
            }
        }
    }
}

struct LevelView: View {
    let level: Int
    @Binding var path: [Int]

    var body: some View {
        VStack(spacing: 20) {
            Text("You are on level \(level)")
                .font(.title)

            Button("Next Level") {
                path.append(level + 1)
            }

            Button("Back to Root") {
                path.removeAll() // This performs "Pop to Root"
            }
        }
    }
}
This total control is what makes NavigationStack superior to any previous solution. You can save this array in UserDefaults or a JSON file and, upon restarting the app, the user will appear exactly on the deep screen where they left off! (State Restoration).
Part 4: Modal Navigation (Sheets and FullScreenCover)
Not all navigation is “lateral” (Push). Sometimes you need to present temporary information, forms, or settings that appear from the bottom. This is not done with NavigationStack directly, but with state modifiers.
.sheet (The floating card)
It is the card that appears covering almost the entire screen but leaving a bit of the background visible (on iOS). The user can drag it down to close it.
.fullScreenCover (Total coverage)
Covers the entire screen. The user CANNOT close it by dragging; you must provide a “Close” button.
struct ModalExampleView: View {
    @State private var showSheet = false
    @State private var showFullScreen = false

    var body: some View {
        VStack(spacing: 20) {
            Button("Open Sheet") {
                showSheet = true
            }

            Button("Open Full Screen") {
                showFullScreen = true
            }
        }
        // MODAL TYPE SHEET
        .sheet(isPresented: $showSheet) {
            VStack {
                Text("I am a modal sheet")
                Button("Close") { showSheet = false }
            }
            .presentationDetents([.medium, .large]) // iOS 16+: Controls height
        }
        // MODAL FULL SCREEN
        .fullScreenCover(isPresented: $showFullScreen) {
            // Important! Modals do not inherit the NavigationStack
            // If you want to navigate INSIDE the modal, you need a new one.
            NavigationStack {
                ModalContentView()
                    .toolbar {
                        ToolbarItem(placement: .cancellationAction) {
                            Button("Close") { showFullScreen = false }
                        }
                    }
            }
        }
    }
}
Pro Tip: Views presented with
.sheetor.fullScreenCovercreate a new context. If you want to navigate within them, you must wrap their content in its ownNavigationStack.
Part 5: TabView – Hierarchical Navigation
Most large apps (Instagram, Spotify, App Store) use a tab bar (TabBar) at the bottom.
The correct structure in SwiftUI is: TabView -> Tab -> NavigationStack -> Views
Do not put the TabView inside a NavigationStack. The TabView is the supreme parent.
struct MainApp: View {
    var body: some View {
        TabView {
            // Tab 1
            NavigationStack {
                HomeView()
            }
            .tabItem {
                Label("Home", systemImage: "house")
            }

            // Tab 2
            NavigationStack {
                Text("Search Screen")
                    .navigationTitle("Search")
            }
            .tabItem {
                Label("Search", systemImage: "magnifyingglass")
            }
        }
    }
}
This allows each tab to maintain its own navigation history. If you navigate deep into the “Home” tab, switch to “Search”, and return to “Home”, you will still be on the deep screen where you left off.
Part 6: Customizing the Navigation Bar
Xcode gives us tools to tune the top bar (NavigationBar).
1. Title and Style
.navigationTitle("My Title")
.navigationBarTitleDisplayMode(.inline) // .large (default) or .inline (small)
2. Hiding the Bar (Immersive Mode)
Useful for loading screens or video players.
.toolbar(.hidden, for: .navigationBar)3. Buttons in the Bar (Toolbar)
You can add buttons to the left, right, or even on the keyboard.
.toolbar {
    ToolbarItem(placement: .primaryAction) { // Right (or primary)
        Button(action: save) {
            Image(systemName: "square.and.arrow.down")
        }
    }

    ToolbarItem(placement: .cancellationAction) { // Left (or cancel)
        Button("Cancel", action: cancel)
    }
}
Part 7: Common Mistakes and Best Practices
To wrap up, let’s avoid typical headaches.
The Nested NavigationStack Error
Never put a NavigationStack inside another NavigationStack (unless it is inside a .sheet). If you do, you will see a double navigation bar and strange behaviors. The Stack should be at the root of the hierarchy or the root of the tab.
Passing Data vs. EnvironmentObject
- To pass simple data (an ID, a name, a small struct), use the
valueof the NavigationLink. - If you need all screens to access global data (like
LoggedInUser), inject an@EnvironmentObjector use@Environment(MyData.self)(with the new iOS 17@Observablemacro).
Where does the .navigationDestination modifier go?
This is a subtle error. The modifier must be applied inside the NavigationStack, but generally, it is placed at the end of the root view (like a List or a main VStack), not on every child cell. If you put it inside a ForEach loop, SwiftUI will register the destination hundreds of times, slowing down your app.
Incorrect:
List(items) { item in
   NavigationLink(value: item)
       .navigationDestination(...) // WRONG! Repeats for every row
}
Correct:
List(items) { item in
   NavigationLink(value: item)
}
.navigationDestination(...) // RIGHT! Defined only once
Conclusion
Navigation in SwiftUI has matured. It is no longer necessary to fight with hidden booleans (isActive) or dirty hacks to make the app work. With NavigationStack, navigationDestination, and path management via arrays, you have the power to create complex, robust, and above all, maintainable user flows.
Your next step is to open Xcode, create a new project, and try to replicate a “Login -> Home -> Detail -> Cart” flow. Once you master the data flow, you will master SwiftUI.
If you have any questions about this article, please contact me and I will be happy to help you 🙂. You can contact me on my X profile or on my Instagram profile.