For decades, the path to becoming an iOS developer was paved with a costly and technically intimidating barrier to entry: you needed a powerful Mac, a developer account, you had to download Xcode (software exceeding 10GB), and learn how to configure provisioning profiles before writing even your first line of code.
But Apple, in its mission to democratize Swift programming, launched a tool that has silently evolved into a powerhouse: Swift Playgrounds.
If you are a veteran developer, you might remember Playgrounds as that app for kids where a character named “Byte” collected gems. If that is your current image, you need to update your knowledge urgently. Today, Swift Playgrounds is a development environment capable of creating, compiling, and publishing real applications to the App Store.
In this deep analysis, we will break down exactly what this tool is, where to get it, and the million-dollar question: Is it worth investing your time in it to learn Swift and SwiftUI?
What is Swift Playgrounds Really Today?
Swift Playgrounds is not just an application; it is a lightweight Integrated Development Environment (IDE). Originally launched in 2016 for iPad, its goal was to teach coding. However, with the arrival of SwiftUI (Apple’s declarative framework) and version 4.0 of the app, Playgrounds underwent a metamorphosis.
It now allows for the development of full applications (“App Projects”). You are no longer limited to writing isolated code snippets; now you manage a file structure, import assets (images, colors), manage device capabilities (camera, Bluetooth), and preview your app in real-time.
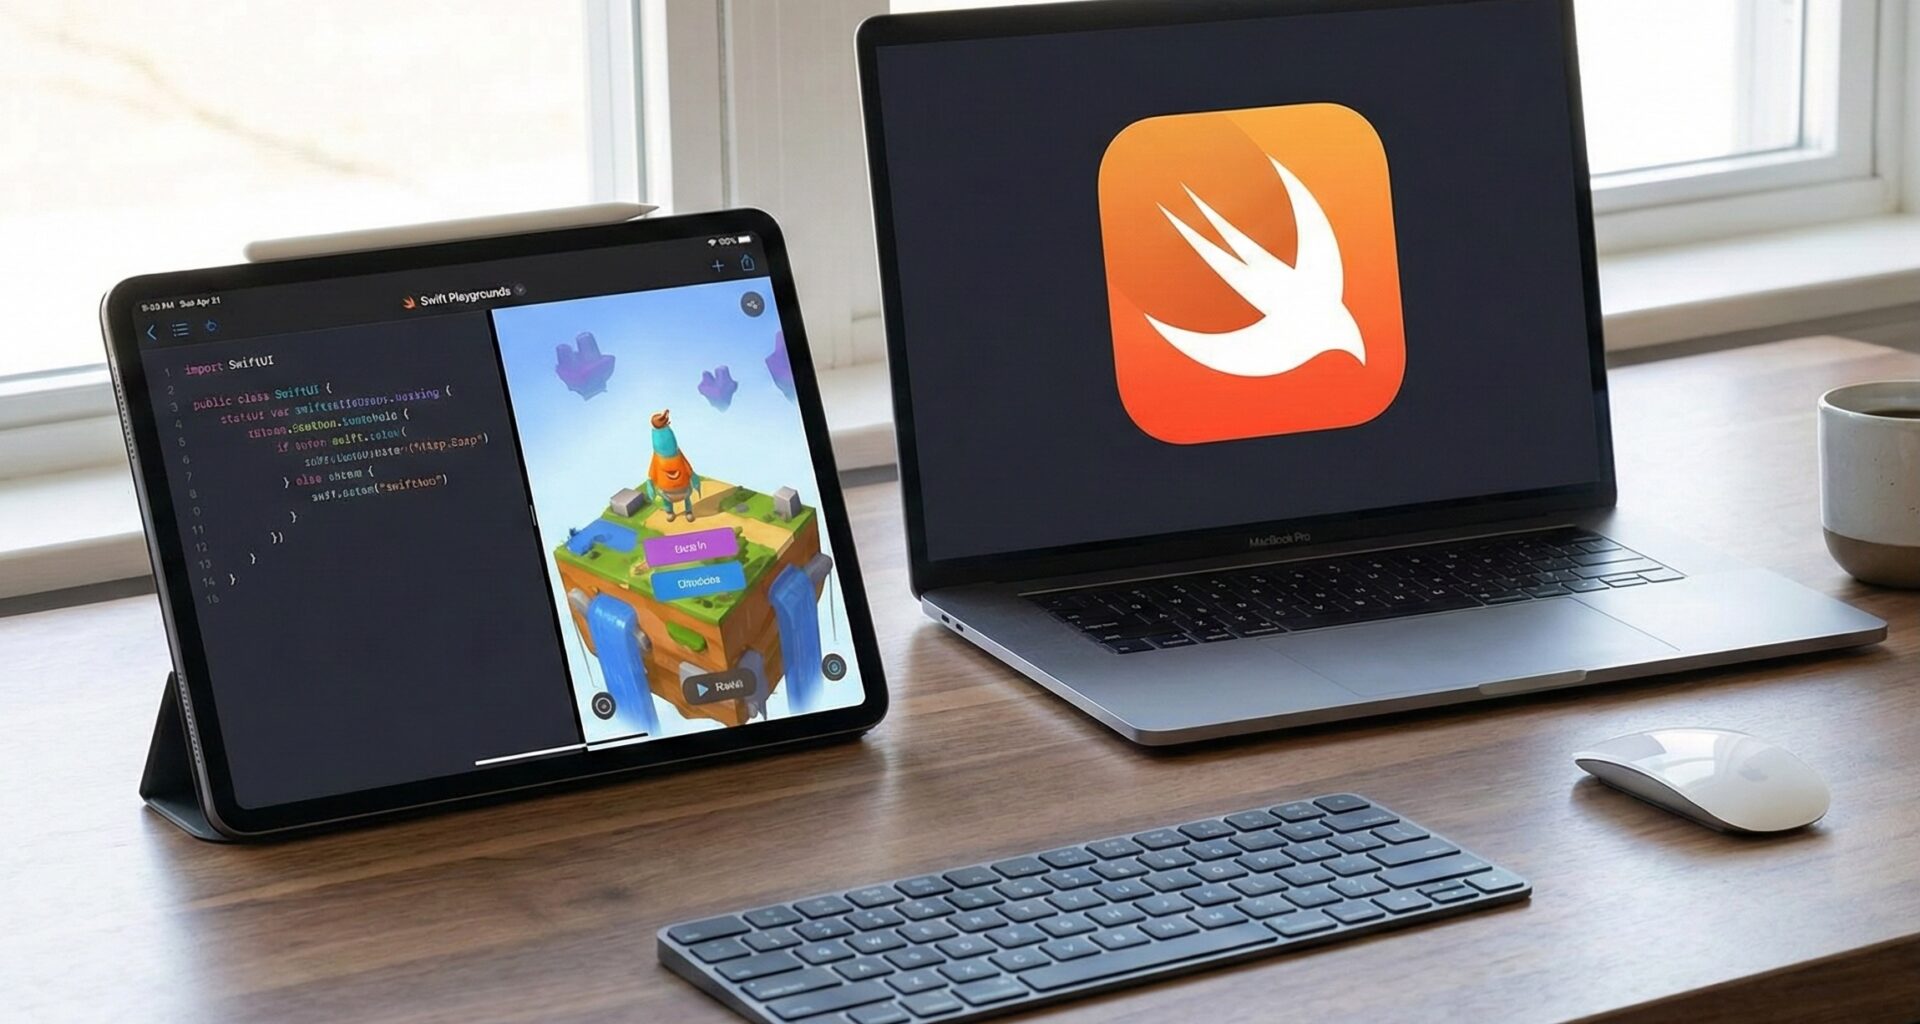
For the modern iOS developer, Swift Playgrounds represents portability. It is the only official tool that allows you to write native code and compile it directly on an iPad, without the need for a Mac.
Key Features:
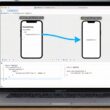
- Real-Time Editing: Unlike Xcode, where you sometimes have to wait for the simulator to boot up, Playgrounds shows changes to your SwiftUI code almost instantly on the right side of the screen.
- App Store Connect Integration: You can upload your finished app directly to Apple’s store for review and sale, all from the iPad.
- Universal Format: Projects created in Playgrounds are compatible with Xcode. You can start on the couch with your iPad and finish at the desk with your Mac.
Where to Download It and What Do You Need?
Accessibility is this tool’s strong suit.
Download
Swift Playgrounds is completely free. There are no subscriptions, no in-app purchases, and no “Pro” versions.
- For iPad: Search for “Swift Playgrounds” in the iPadOS App Store.
- For Mac: Available in the Mac App Store.
System Requirements
Here is where you must pay attention to have a smooth Swift programming experience.
- iPad:
- You need iPadOS 16 or higher for the newest features.
- Recommendation: Although it works on basic iPads, for developing complex apps with many SwiftUIviews, an iPad with an M-series processor (M1, M2, M4) or a latest-generation iPad Air is strongly recommended. Code compilation requires power.
- Mac:
- macOS Monterey 12.0 or higher.
- Any compatible Mac will work, but the experience is identical to the iPad (it is built with Catalyst technology), so on Mac, many developers prefer to jump directly into Xcode.
Swift and SwiftUI: The Engine Under the Hood
To understand if it is worth it, we must talk technology. Swift Playgrounds is based entirely on Swift (the language) and SwiftUI (the visual framework).
Learning Swift Programming
If you are new, Playgrounds offers interactive modules (“Learn to Code 1 & 2”) that gamify syntax. But if you jump into App creation, you face pure Swift. You have access to almost all modern features of the language:
- Concurrency (Async/Await): For background tasks.
- Generics and Protocols: The foundation of solid architecture.
- Swift Package Manager (SPM): Yes, you can import third-party libraries (like Alamofire or Kingfisher) directly into Playgrounds by pasting the GitHub URL. This is a game-changer for an iOS developer.
Mastering SwiftUI
Playgrounds and SwiftUI are the perfect marriage. Since SwiftUI is a declarative framework (you write code and the UI reacts), the lightweight nature of Playgrounds shines.
- No Storyboards or old
.xibfiles. - Everything is code.
- You learn to think in “Views,” “State” (
@State), and “Environment” (@Environment), which are the pillars of modern Apple development.
Is It Worth It for Developing Apps on iOS, macOS, and watchOS?
We arrive at the core of the matter. Let’s break it down by platform and experience level.
1. For iOS Development (iPhone/iPad)
Verdict: YES, ABSOLUTELY.
If your goal is to create apps for iPhone or iPad, Swift Playgrounds is a legitimate production tool for small to medium projects.
- Pros: The barrier to entry is zero. Code prediction is fast. Permission management (asking for camera or photo access) is visual and simple.
- Ideal Use Case: To-do list apps, photo viewers, utility tools, rapid prototypes, and educational apps.
2. For macOS Development
Verdict: PARTIALLY.
Thanks to “Mac Catalyst” technology and the universal design of SwiftUI, apps you create in Playgrounds for iPad can run on Mac natively.
- The Limitation: You cannot easily access exclusive, deep Mac features (like advanced menu bars, system drivers, or complex shell scripting) from Playgrounds. You are essentially building an iPad app that works very well on Mac, but not an “old school” pure Mac app.
3. For watchOS Development
Verdict: NOT DIRECTLY.
Here is where Playgrounds shows its limits compared to Xcode.
- In Xcode, you can create a specific “Target” for Apple Watch.
- In Swift Playgrounds, you are creating an iOS App. Although SwiftUI is compatible with watchOS, Playgrounds does not allow you (as of 2026) to compile and export a specific standalone binary for the watch.
- Workaround: You can use Playgrounds to learn how to design watch views (since the SwiftUI code is the same), but you will need to move your project to Xcode to package and publish it correctly for the Apple Watch.
Comparison: Swift Playgrounds vs. Xcode
For an iOS developer, this is the battle royale.
| Feature | Swift Playgrounds | Xcode |
| Learning Curve | Very Low (Friendly) | High (Intimidating) |
| Required Hardware | iPad or Mac | Mac Only |
| UI Language | SwiftUI Only | SwiftUI + UIKit (Legacy) |
| Debugging | Basic (Prints and visual errors) | Advanced (Instruments, View Hierarchy, Memory Graph) |
| File Management | Simplified | Complete and Complex |
| Version Control | Basic (no full visual Git) | Full Git Integration |
| Publishing | Direct to App Store | Direct + Enterprise + AdHoc |
Why Would a Senior iOS Developer Use Playgrounds?
You might think this is just for newbies, but you are mistaken. Senior developers use Playgrounds for three reasons:
- Rapid Prototyping: You have an idea on the train. You take out the iPad, open Playgrounds, and mock up the view in SwiftUI in 10 minutes. You get home, transfer the file to the Mac, and continue in Xcode.
- Issue Isolation: Sometimes your Xcode project is so giant that it takes minutes to compile. If you want to test a new Swift programming algorithm or a complex animation, it is faster to do it in an isolated Playground.
- Swift Student Challenge: Apple organizes this contest annually. Winners are often hired or offered scholarships by Apple. The mandatory requirement is that the project must be a Swift Playground. Mastering this tool can be your golden ticket to Cupertino.
Quick Tutorial: Your First “Hello World” in 5 Minutes
To show you how easy it is, let’s simulate your first experience:
- Open the App: Select “New App” in the bottom left corner.
- The Interface: You will see code on the left and a preview on the right.
- The Code: By default, you will see something like this:
import SwiftUI

struct ContentView: View {
    var body: some View {
        VStack {
            Image(systemName: "globe")
                .imageScale(.large)
                .foregroundColor(.accentColor)
            Text("Hello, world!")
        }
    }
}
4. The Magic: Change "Hello, world!" to "Hello, iOS Developer". You will see the text on the right change instantly without touching any “Run” button.
5. Add a Modifier: Write .font(.largeTitle) below the Text. The text grows.
6. Add Logic: Add @State var counter = 0 and a Button. In less than 20 lines, you have an interactive app.
Conclusion: The Final Verdict
Is Swift Playgrounds worth it?
If you are an aspiring iOS developer who doesn’t have a Mac, or who has an iPad and wants to start learning Swift and SwiftUI today without spending money: It is the best tool in the world. There is nothing on Android or Web that comes close to it in terms of power, ease of use, and nativeness on a tablet.
If you are already a professional, Playgrounds is your digital sketchbook. It will not replace Xcode for architecting complex systems, CI/CD, or managing large teams, but it is the perfect complement to your workflow.
The tech industry is moving towards simplicity and mobility. Learning to develop in Playgrounds is not learning a “lite” version of programming; it is learning the future of how software will be built: declaratively, visually, and portably.
If you have any questions about this article, please contact me and I will be happy to help you 🙂. You can contact me on my X profile or on my Instagram profile.