The day-to-day life of an iOS Developer can be as rewarding as it is frustrating, and a large part of that experience relies on a single tool: Xcode. As the Apple ecosystem continues to grow and Swift programming becomes more sophisticated with new concurrency features and macros, having your development environment optimized is no longer optional; it is an absolute necessity.
Many developers spend years writing code without stopping to configure their primary work tool. In this tutorial, we will dive deep into the best Xcode settings to take your productivity to the next level. Whether you are developing for iOS, macOS, or watchOS, these configurations will help you compile faster, write cleaner Swift code, and visualize your SwiftUI interfaces without interruptions.
1. General and Appearance Settings: Your Workspace
Before diving into the guts of the compiler, we must prepare the visual ground. A clean environment reduces visual and mental fatigue, which is crucial for any iOS Developer.
Theme and Typography
Go to Xcode > Settings > Themes.
- Choose a high-contrast theme: Dark themes like Default (Dark) or Civic reduce blue light emission.
- Font: The default font (SF Mono) is excellent, but make sure the size is legible (12pt or 13pt). A font that is too small will force you to strain your eyes during long Swift programming sessions.
Navigation and Tabs
Go to Settings > Navigation.
- Navigation: Change “Uses” to Tabs. Working with multiple windows in Xcode can quickly become chaotic. Tabs keep everything organized in a single window.
- Optional Navigation: Configure “Double-click” actions to open the file in a new tab (Open in Place often overwrites what you are currently viewing).
Text Editing: Visual Cleanliness
Go to Settings > Text Editing > Display.
- Enable “Line Numbers”: Essential for debugging and discussing code with other developers.
- Enable “Page Guide”: Set it to 80 or 100 columns. This will draw a subtle vertical line. In Swift, writing excessively long lines of code makes reading difficult. This guide will remind you when it’s time to add a line break.
- Enable “Code Folding Ribbon”: This allows you to collapse large functions or SwiftUI views, making it easier to read the overall structure of the file.
2. Optimizing Performance: Faster Builds
The time you spend waiting for Xcode to compile your code is wasted time. Here are the best Xcode settings to speed up this process.
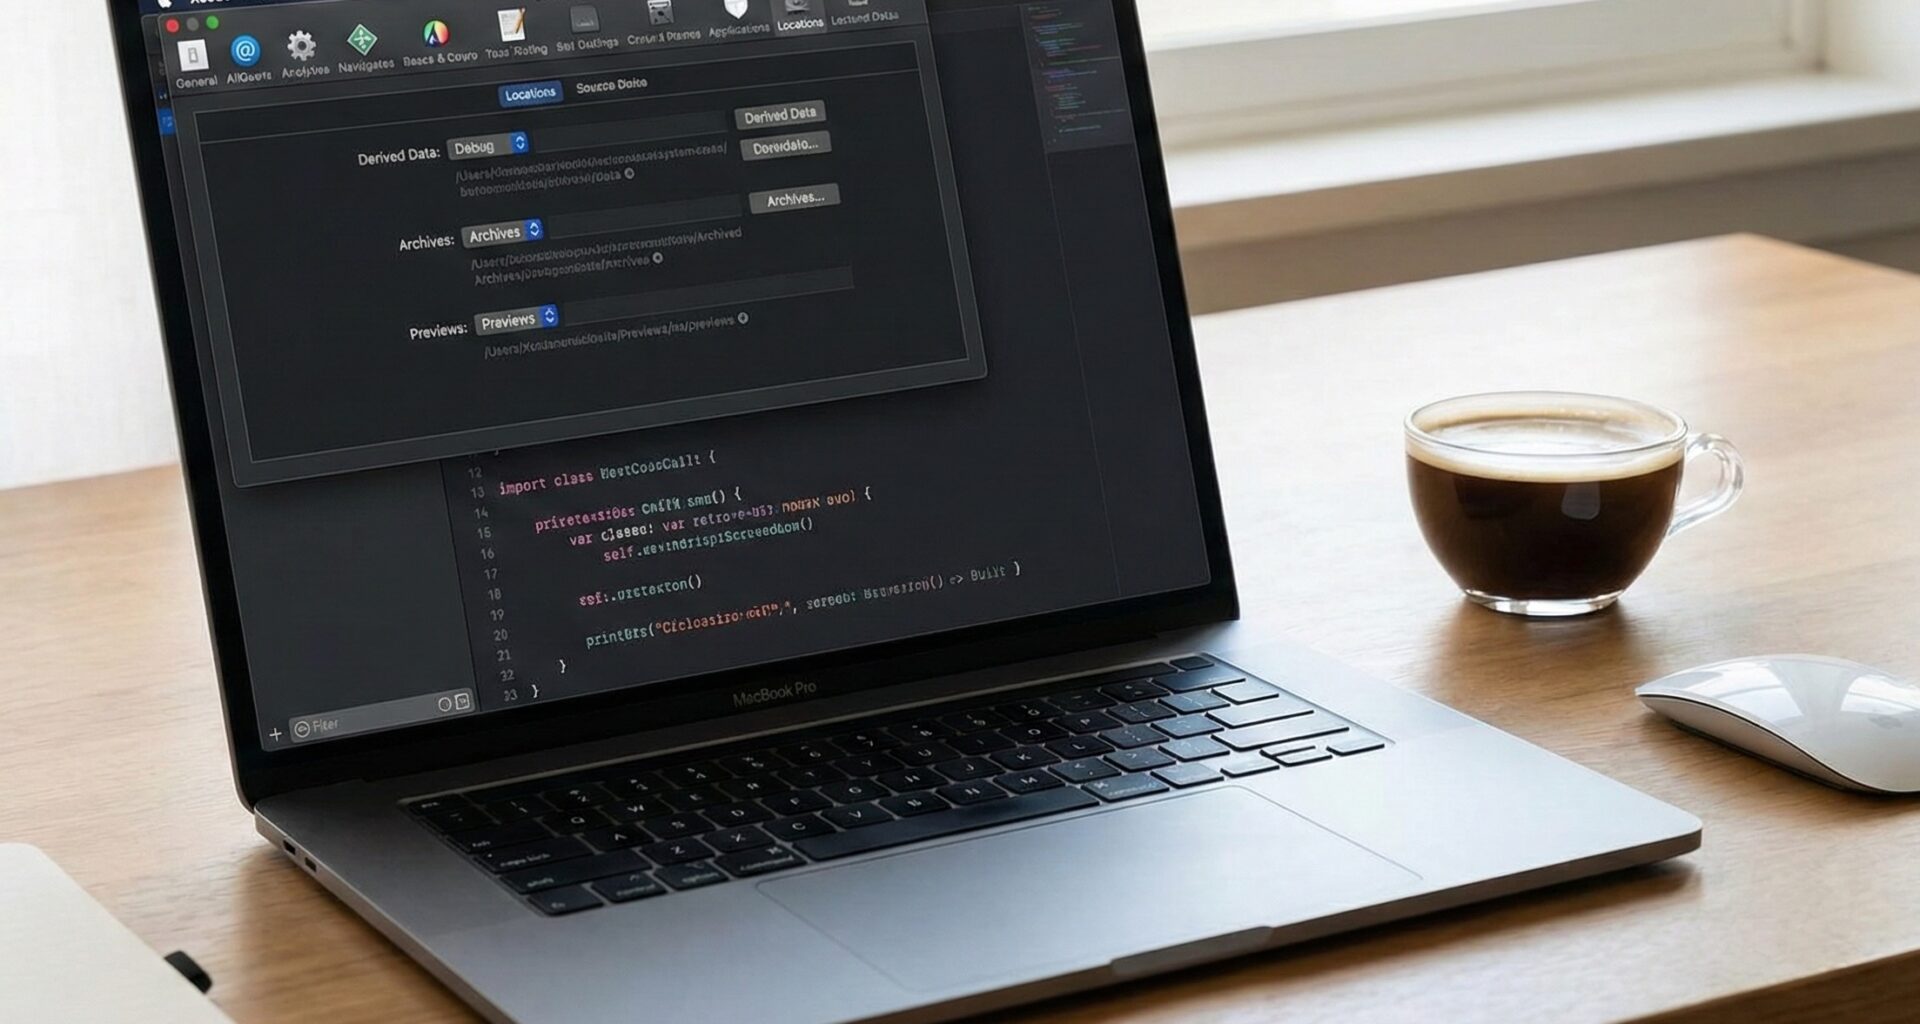
Derived Data Management
Derived Data is where Xcode saves intermediate build files and indexes. Sometimes, this directory gets corrupted or grows out of proportion, slowing down the IDE.
- Go to
Settings > Locations. - Make sure you know where your Derived Data folder is (defaults to
~/Library/Developer/Xcode/DerivedData). - Pro Tip: Create a keyboard shortcut on your Mac or use a terminal tool to quickly clean this folder when Xcode starts behaving erratically.
Build Settings
To optimize compile times, you must adjust how the Swift compiler processes your code. Select your project in the navigator, go to the Build Settings tab, and look for the following:
- Compilation Mode:
- For Debug (Development): Make sure it is set to Incremental. This tells the compiler to only recompile files that have changed.
- For Release (Production): It should be set to Whole Module. This is slower but allows the compiler to perform global optimizations, resulting in a much faster app.
- Optimization Level:
- For Debug: No Optimization [-Onone]. This is vital for the debugger to work properly and for fast compile times.
- For Release: Optimize for Speed [-O].
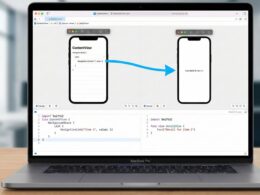
3. Preparing Xcode for SwiftUI
SwiftUI has revolutionized the way we build interfaces, but its Canvas (the preview panel) can be finicky and resource-heavy.
Refreshing the Canvas Automatically
By default, SwiftUI Previews try to update live. However, in very large projects, this can freeze Xcode.
- Make sure to structure your SwiftUI views into small, modular components. The Canvas will compile much faster if it only has to render a small button instead of the entire screen.
- Use the shortcut
Option + Command + Pto force the Canvas to reload (Resume Preview) when it pauses. It is one of the most valuable shortcuts for a SwiftUI developer.
Previews on Different Devices
You don’t need to run the simulator constantly. Within your SwiftUI code, use preview modifiers to see multiple states at once:
#Preview("Dark Mode and Clock") {
    MyMainView()
        .preferredColorScheme(.dark)
        .previewDevice(PreviewDevice(rawValue: "Apple Watch Ultra 2"))
}
Taking full advantage of the #Preview macro integrated into recent versions of Swift will drastically reduce your reliance on heavy iOS or watchOS simulators.
4. Behaviors and Keyboard Shortcuts
Behaviors tell Xcode how to react to certain events (like when a build fails or code pauses at a breakpoint). Configuring this is one of the best Xcode settings to avoid losing visual context.
Go to Settings > Behaviors.
- Build > Fails: Set it to play an error sound (so you don’t have to stare at the screen while waiting), and have it automatically open the “Issue Navigator” to see the errors.
- Running > Pauses: Set it to open a new tab called “Debug”, show the bottom console, and display the variables view. This way, when the app stops due to an error, you will have all the debugging information instantly, and upon stopping the app, the tab can be closed to return you to your clean writing environment.
5. Writing Better Swift Code: Linters and Formatters
Although Swift programming is highly expressive, every iOS Developer has their own style. To maintain consistent code, especially if you work on a team, don’t rely solely on Xcode‘s native indentation settings.
SwiftLint Integration
SwiftLint is not installed by default in Xcode, but it is the industry standard. To integrate it:
- Install SwiftLint (usually via Homebrew:
brew install swiftlint). - In Xcode, go to your Target, Build Phases tab.
- Add a new “Run Script Phase” with the following code:
if which swiftlint >/dev/null; then
  swiftlint
else
  echo "warning: SwiftLint not installed, download from https://github.com/realm/SwiftLint"
fi
This setting will cause Xcode to display formatting warnings and errors (like unnecessary empty lines or incorrect variable names) directly in the editor, just as if they were native Swift errors.
Strict Concurrency Checking
With the evolution of concurrency in Swift (Actors, Async/Await), it is vital to avoid dreaded data races.
- Go to Build Settings and search for Strict Concurrency Checking.
- Change it to Complete.
Although it will throw more warnings at first, this is the definitive setting to ensure your code is safe and ready for modern versions of Swift.
6. Version Control: Git inside Xcode
While many prefer to use external Git clients or the terminal, Xcode has a very powerful Source Control integration if configured correctly.
Go to Settings > Source Control.
- Enable “Show Source Control changes”: This will add visual indicators (blue bars) in the left gutter of your editor, showing which lines you have added or modified since your last commit.
- Compare changes (Code Review): Use the icon with the two facing arrows in the top right corner of the editor to activate the Code Review view. It is excellent for reviewing your own changes in Swift programming before pushing them to production.
Conclusion
Becoming an exceptional iOS Developer goes far beyond knowing Swift syntax or SwiftUI modifiers. Your development environment is an extension of your logical mind. By applying these best Xcode settings, you will reduce friction, minimize wait times, and catch errors in the writing phase rather than the execution phase.
From a clean Derived Data folder to an efficient Canvas and strict concurrency warnings, customizing Xcode to your needs is a time investment that pays for itself in your first week of work.
If you have any questions about this article, please contact me and I will be happy to help you 🙂. You can contact me on my X profile or on my Instagram profile.