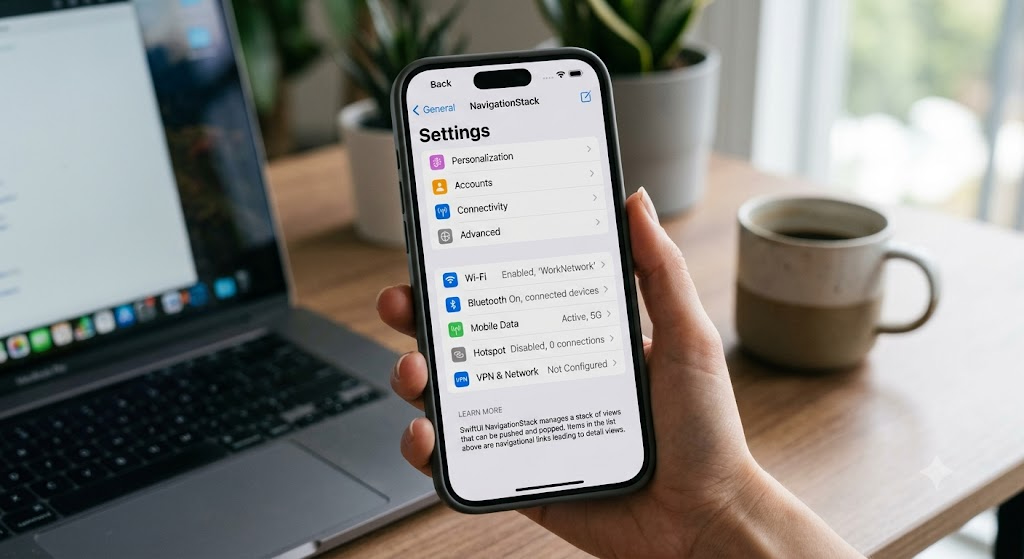

Navigation flow management has historically been one of the most debated topics in app development for the Apple ecosystem. With the arrival of iOS 16, macOS 13, and watchOS 9, Apple completely transformed this paradigm by introducing NavigationStack and NavigationPath. These components replaced the old (and often problematic) NavigationLink(isActive:...), offering any iOS Developer a robust, programmatic, and predictable way to control the screens of their applications.
One of the most common user interface design patterns is the need to completely reset the navigation flow; for example, after completing a checkout process, logging out a user, or repeatedly tapping the active tab in a bottom menu. In this strategic Swift programming tutorial, you will learn in detail how to pop to the root view in SwiftUI using the best software architecture practices in Xcode.
Understanding the Concept of Data-Driven Navigation
Before writing code, it is crucial to understand why the new SwiftUI system is so powerful. NavigationStack bases its behavior on a data collection (an Array or a NavigationPath). Every time we add an element to that collection, Swift renders a new view on the screen. Therefore, to pop to the root view, we no longer have to perform acrobatics with environment variables or fuzzy closures; we simply need to empty the data collection that handles the stack.
Array of Homogeneous Types or NavigationPath?
We have two ways to manage the navigation stack in SwiftUI:
- A standard Array (
[T]): Ideal if all secondary screens in your flow receive the same data type or model. - NavigationPath: A type-erased collection provided by Apple that allows you to stack screens receiving completely different data (for example, a
String, then an integerInt, and later a custom object).
For this tutorial, we will use a professional architectural approach using an ObservableObject (or the new @Observable macro if you are already using the latest versions of the tools in Xcode). This will allow us to inject the navigation state into the application’s environment.
Setting up the Navigation Manager (Router)
To ensure our solution is scalable and works perfectly on iOS, macOS, and watchOS, we will create a coordinator or Router. This pattern separates the business and navigation logic from the purely visual layer of SwiftUI.
Create a new file in your Xcode project called NavigationRouter.swift and add the following code:
import SwiftUI

/// Defines the possible destinations in our application to maintain strong typing.
enum AppDestination: Hashable {
    case profile
    case configuration
    case productDetails(id: String)
}

@MainActor
final class NavigationRouter: ObservableObject {
    /// The navigation stack that controls the active screens.
    @Published var path: [AppDestination] = []

    /// Navigate to a specific screen.
    func navigate(to destination: AppDestination) {
        path.append(destination)
    }

    /// Go back a single screen.
    func navigateBack() {
        guard !path.isEmpty else { return }
        path.removeLast()
    }

    /// The key of the tutorial: How to pop to the root view in SwiftUI instantly.
    func popToRoot() {
        path.removeAll()
    }
}
Architecture Note: By marking the class with
@MainActor, we ensure that all modifications to the@Published var pathproperty strictly occur on the main thread, avoiding annoying visual glitches or concurrency warnings in Xcode.
Implementing the Root View in SwiftUI
With our router ready, it is time to build the user interface of our cross-platform application. We will use the .navigationDestination(for:) modifier to intercept changes in the destinations array and render the corresponding view.
Replace the content of your main view (for example, ContentView.swift) with the following structure:
import SwiftUI

struct ContentView: View {
    // Instantiate the Router as a StateObject so it persists during the app's lifecycle
    @StateObject private var router = NavigationRouter()

    var body: some View {
        NavigationStack(path: $router.path) {
            VStack(spacing: 20) {
                Text("Root View (Home)")
                    .font(.title)
                    .fontWeight(.bold)

                Button(action: {
                    router.navigate(to: .profile)
                }) {
                    Text("Go to User Profile")
                        .padding()
                        .frame(maxWidth: .infinity)
                        .background(Color.blue)
                        .foregroundColor(.white)
                        .cornerRadius(10)
                }

                Button(action: {
                    router.navigate(to: .productDetails(id: "SWIFTUI-2026"))
                }) {
                    Text("View Featured Product")
                        .padding()
                        .frame(maxWidth: .infinity)
                        .background(Color.orange)
                        .foregroundColor(.white)
                        .cornerRadius(10)
                    }
            }
            .padding()
            .navigationTitle("Main Menu")
            // Intercept the destination to decide which view to draw
            .navigationDestination(for: AppDestination.self) { destination in
                switch destination {
                case .profile:
                    ProfileView()
                        .environmentObject(router)
                case .configuration:
                    ConfigurationView()
                        .environmentObject(router)
                case .productDetails(let id):
                    ProductDetailView(id: id)
                        .environmentObject(router)
                }
            }
        }
        // Inject the router into the global environment so subviews can access it
        .environmentObject(router)
    }
}
Creating the Deep Secondary Views
To demonstrate the potential of popToRoot(), we need to simulate a deep navigation stack (Root -> Screen A -> Screen B).
Next, we will implement the necessary subviews for our flow in Swift:
import SwiftUI

// MARK: - Profile View (Screen A)
struct ProfileView: View {
    @EnvironmentObject var router: NavigationRouter

    var body: some View {
        VStack(spacing: 20) {
            Text("This is the Profile screen")
                .font(.headline)

            Button("Go to Advanced Configuration") {
                router.navigate(to: .configuration)
            }
            .buttonStyle(.borderedProminent)

            Button("Back") {
                router.navigateBack()
            }
            .buttonStyle(.bordered)
        }
        .navigationTitle("My Profile")
    }
}

// MARK: - Configuration View (Screen B)
struct ConfigurationView: View {
    @EnvironmentObject var router: NavigationRouter

    var body: some View {
        VStack(spacing: 25) {
            Text("System Settings")
                .font(.headline)

            Text("You have navigated very deep into the application.")
                .foregroundColor(.secondary)
                .multilineTextAlignment(.center)
                .padding(.horizontal)

            Divider()

            // Main action of our tutorial
            Button(action: {
                router.popToRoot()
            }) {
                HStack {
                    Image(systemName: "house.fill")
                    Text("Pop to the Root View")
                }
                .font(.headline)
                .padding()
                .frame(maxWidth: .infinity)
                .background(Color.red)
                .foregroundColor(.white)
                .cornerRadius(12)
            }
            .shadow(radius: 5)
        }
        .navigationTitle("Configuration")
        .padding()
    }
}

// MARK: - Product Detail View
struct ProductDetailView: View {
    let id: String
    @EnvironmentObject var router: NavigationRouter

    var body: some View {
        VStack(spacing: 20) {
            Text("Product Details")
                .font(.headline)
            Text("Product ID: \(id)")
                .font(.subheadline)
                .foregroundColor(.gray)

            Button("Pop to Root Directly") {
                router.popToRoot()
            }
            .buttonStyle(.borderedProminent)
            .tint(.red)
        }
        .navigationTitle("Product")
    }
}
Cross-Platform Optimization: iOS, macOS, and watchOS
As an iOS Developer, writing code once and deploying it to multiple devices is a massive competitive advantage. The solution presented above, based on a NavigationRouter with a native Swift array, is 100% compatible with macOS and watchOS without modifying a single line of internal logic.
Interface Adaptations by Device
Although the logic in Xcode is identical, the design must respect the ergonomics of each screen:
- iOS: The flow feels natural. The red reset button clears the array, and the interface performs a smooth, default animated transition back to the main menu.
- macOS: In desktop applications,
NavigationStackusually transforms visually into columns or full-replacement views. Emptying the array works wonders for utility apps or toolbars (Toolbars). - watchOS: Screen space on the Apple Watch is extremely limited. By executing
router.popToRoot(), the smartwatch instantly discards all views stacked on the digital crown, offering a fast and frictionless user experience.
Advanced Considerations for the Senior Developer
If you are preparing your application for production, keep in mind these two advanced scenarios in Swift programming:
1. Data Lifecycle (Intermediate State)
When you destroy the stack by calling path.removeAll(), all intermediate views (ProfileView and ConfigurationView) are immediately destroyed from the SwiftUI render tree. Make sure to save critical states in local databases (SwiftData or CoreData) or external repositories before executing the flush if the user was filling out a form.
2. Custom Animations
By default, SwiftUI automatically animates the mass backward navigation of screens. If for design reasons you need this return to the root to be instantaneous and without visual transitions, you can wrap the state mutation inside a transaction without animations:
var transaction = Transaction()
transaction.disablesAnimations = true
withTransaction(transaction) {
    router.popToRoot()
}
Conclusion
Knowing how to pop to the root view in SwiftUI programmatically is a fundamental skill for any modern iOS Developer. By moving away from the old UIKit-based solutions integrated through complex wrappers, the Apple development ecosystem becomes more predictable and fun thanks to the benefits of Swift, SwiftUI, and the diagnostic tools in Xcode.