First impressions are everything. In the competitive world of mobile applications, the first few seconds of a user’s interaction with your app can determine whether they become an active user or uninstall it immediately. As an iOS Developer, your responsibility is not only to write clean code but also to ensure an exceptional user experience (UX). This is where the welcome or “onboarding” screen comes into play.
In this extensive and detailed tutorial, we will explore in depth exactly what this screen is, why it is crucial for user retention, and we will answer the big question: how to create an Onboarding screen in SwiftUI. In addition, we will see how Swift programming allows us to seamlessly adapt this experience across the entire Apple ecosystem, including iOS, macOS, and watchOS, using Xcode.
1. What is an Onboarding Screen?
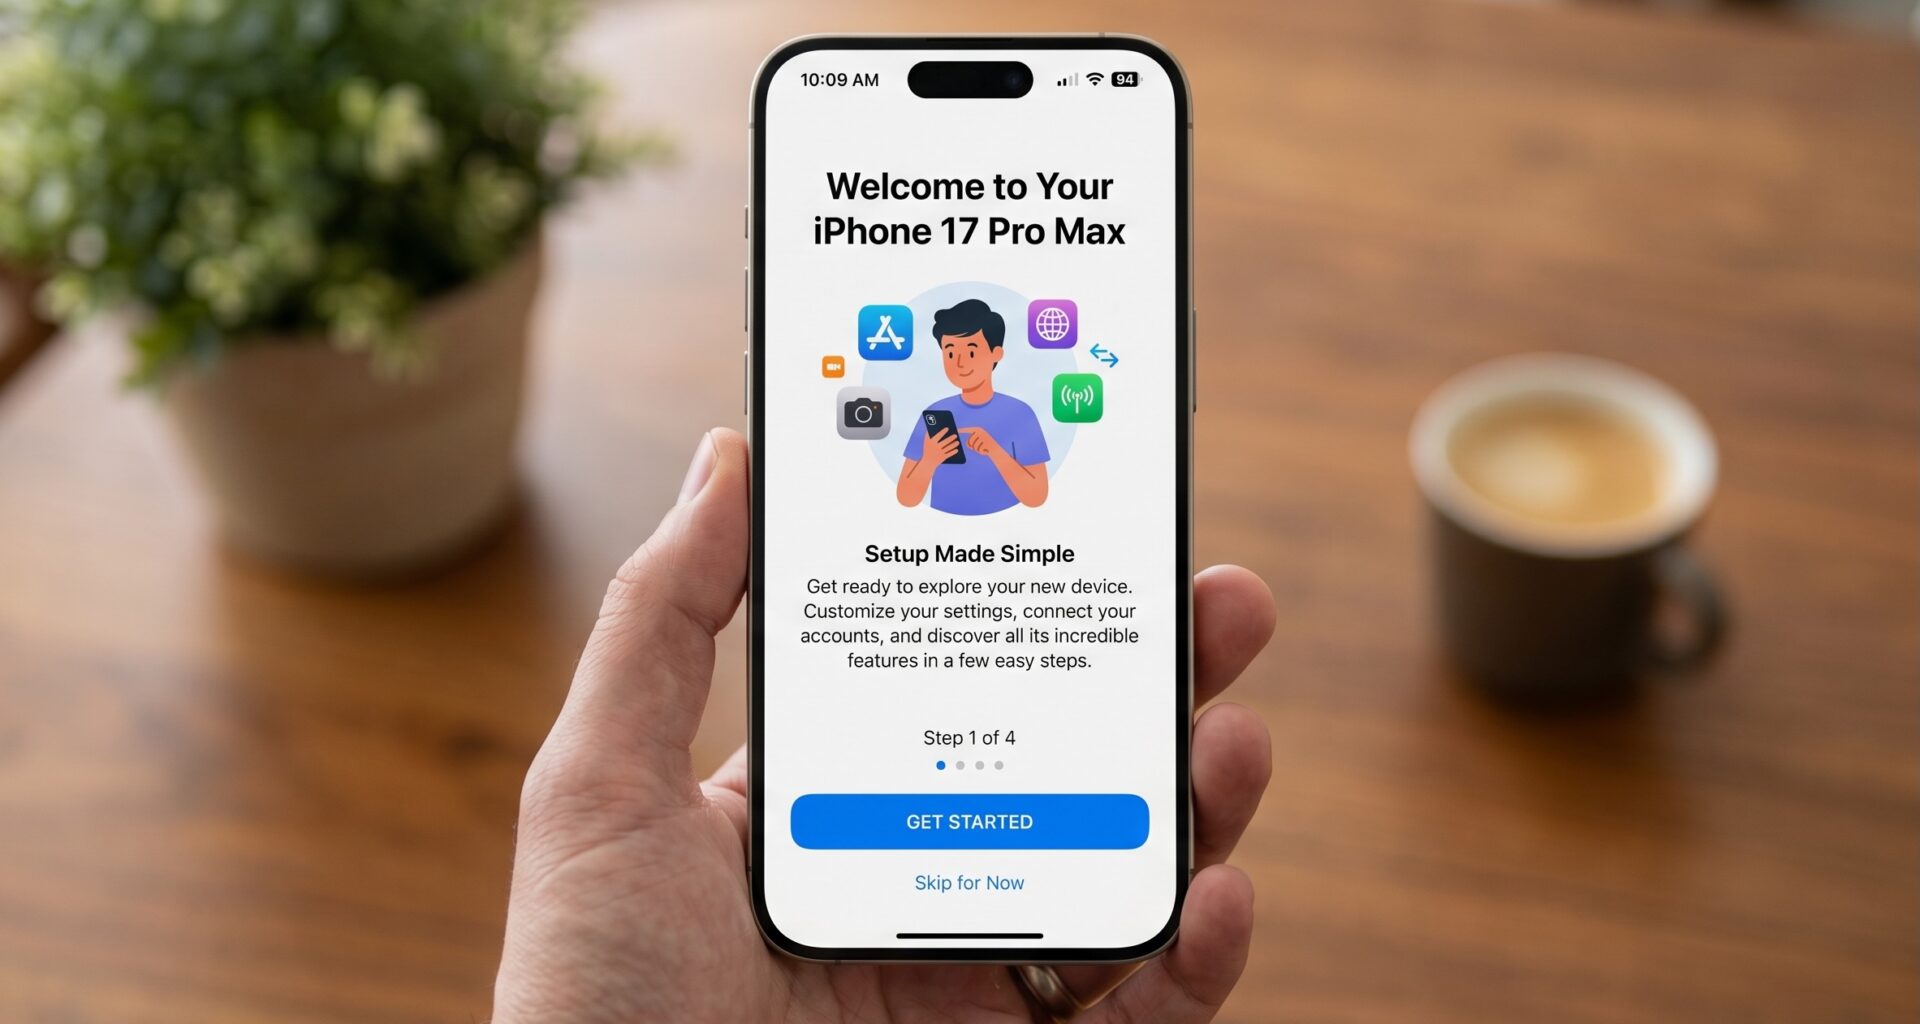
An Onboarding screen (or welcome screen) is a series of introductory screens shown to users the first time they open an app. Its main goal is to act as a bridge between downloading the app and actively using it.
A good onboarding process fulfills three fundamental functions:
- Educate: Quickly explain the core value of the application and its most prominent features. What problem does your app solve?
- Request Permissions: This is the ideal time to ask for access to notifications, location, or the camera, explaining why they are necessary before triggering the system alert.
- Gather Information: In personalized apps, it serves to ask the user for their initial preferences (topics of interest, experience level, etc.).
Ignoring the design of this screen is a common mistake. A clear introduction reduces friction, lowers the abandonment rate, and significantly increases user satisfaction from minute zero.
2. The Advantage of SwiftUI and Swift Programming
Historically, creating swipeable tutorials in UIKit required implementing UIPageViewController, managing delegates, data sources, and imperatively maintaining the state of the interface. It was an error-prone process that required a lot of boilerplate code.
Today, SwiftUI has revolutionized this process. Thanks to its declarative nature, building an interactive and animated interface requires a fraction of the code. Modern Swift programming focuses on describing what the interface should do, and the framework takes care of how. Additionally, Swift provides us with safe tools for type handling and state management (like @State and @AppStorage) that make controlling when to show the onboarding trivial.
3. Setting up the Environment in Xcode
Before we start writing code, we need to prepare our canvas.
- Open Xcode and select Create a new Xcode project.
- Choose the App template under the Multiplatform, iOS, or macOS tab (for this tutorial, you can start with iOS, but the code will be compatible).
- Name your project (for example, “OnboardingMasterclass”).
- Make sure the Interface is set to SwiftUI and the Language to Swift.
- Click Next and save the project.
Once inside Xcode, we are ready to start structuring our application.
4. Designing the Data Model in Swift
A fundamental principle for any iOS Developer is separating data from the user interface. Our onboarding will consist of several pages, and each page will have an image, a title, and a description.
Let’s create a structured data model. Create a new Swift file named OnboardingPage.swift:
import Foundation

// We define the structure of our page
struct OnboardingPage: Identifiable {
    let id = UUID()
    let image: String
    let title: String
    let description: String
}

// We create a static array with mock data
extension OnboardingPage {
    static let samplePages: [OnboardingPage] = [
        OnboardingPage(
            image: "star.fill",
            title: "Welcome to the App",
            description: "Discover a new way to organize your daily life with our productivity tools."
        ),
        OnboardingPage(
            image: "bolt.fill",
            title: "Maximum Performance",
            description: "Lightning-fast cloud synchronization so you don't lose a single second of your time."
        ),
        OnboardingPage(
            image: "shield.fill",
            title: "Guaranteed Security",
            description: "Your data is encrypted and safe. We never share your information with third parties."
        )
    ]
}
Using the Identifiable protocol is an excellent practice in Swift programming, as it allows SwiftUI to iterate over arrays of these objects safely and efficiently without needing to provide an explicit id parameter in loops.
5. Building the Individual Page View
Now that we have our data, we need to create the layout for a single page. This view will receive an OnboardingPage object and render it on the screen.
Create a new SwiftUI file named OnboardingPageView.swift:
import SwiftUI

struct OnboardingPageView: View {
    let page: OnboardingPage

    var body: some View {
        VStack(spacing: 20) {
            Spacer()

            // We render the image using SF Symbols
            Image(systemName: page.image)
                .resizable()
                .scaledToFit()
                .frame(width: 150, height: 150)
                .foregroundColor(.blue)
                // We add a small entrance animation
                .symbolEffect(.bounce, options: .repeating)

            // Title
            Text(page.title)
                .font(.system(size: 28, weight: .bold, design: .rounded))
                .multilineTextAlignment(.center)

            // Description
            Text(page.description)
                .font(.body)
                .foregroundColor(.secondary)
                .multilineTextAlignment(.center)
                .padding(.horizontal, 30)

            Spacer()
        }
    }
}

// Xcode Preview
#Preview {
    OnboardingPageView(page: OnboardingPage.samplePages[0])
}
In this step, we are leveraging the power of declarative design in SwiftUI. With just a few modifiers, we have created a clean interface. Notice the use of .symbolEffect, a recent feature that brings system icons to life with zero extra effort.
6. The Core: How to create an Onboarding screen in SwiftUI
This is where we put all the pieces together. To create the “swipe” experience between pages, we will use the TabView component configured with a specific style.
Create a new file named OnboardingView.swift:
import SwiftUI

struct OnboardingView: View {
    // Variable to control whether the onboarding should be dismissed
    @Binding var isOnboardingShowing: Bool

    // State to know which page we are on
    @State private var currentPage = 0
    private let pages = OnboardingPage.samplePages

    var body: some View {
        ZStack {
            // Subtle background
            Color(UIColor.systemGroupedBackground)
                .ignoresSafeArea()

            VStack {
                // The TabView is responsible for pagination
                TabView(selection: $currentPage) {
                    ForEach(0..<pages.count, id: \.self) { index in
                        OnboardingPageView(page: pages[index])
                            .tag(index)
                    }
                }
                .tabViewStyle(.page(indexDisplayMode: .always))
                .indexViewStyle(.page(backgroundDisplayMode: .always))

                // Action button (Continue / Get Started)
                Button(action: {
                    if currentPage < pages.count - 1 {
                        // Go to the next page with animation
                        withAnimation {
                            currentPage += 1
                        }
                    } else {
                        // Finish the onboarding
                        endOnboarding()
                    }
                }) {
                    Text(currentPage < pages.count - 1 ? "Next" : "Get Started")
                        .font(.headline)
                        .foregroundColor(.white)
                        .frame(maxWidth: .infinity)
                        .padding()
                        .background(Color.blue)
                        .cornerRadius(15)
                        .padding(.horizontal, 30)
                        .padding(.bottom, 20)
                }
            }
        }
    }

    private func endOnboarding() {
        withAnimation(.easeInOut) {
            isOnboardingShowing = false
        }
    }
}
Technical explanation for the iOS Developer:
TabView: Originally designed for bottom tab bars, when we apply.tabViewStyle(.page)to it, SwiftUI internally transforms it into a paginated view (the modern equivalent ofUIPageViewController).@Binding: We use this so the onboarding view can tell the main app view: “Hey, I’m done, you can hide me now”.withAnimation: Swift programming allows us to animate state transitions by wrapping changes in this block. This makes the button text change and the page jump feel fluid.
7. Managing Global State with @AppStorage
The biggest challenge in understanding how to create an Onboarding screen in SwiftUI is not drawing it, but knowing when to show it. We don’t want users to see this screen every time they open the app; it should only appear the first time.
For this, SwiftUI offers the @AppStorage property wrapper, which is a direct and reactive interface to UserDefaults.
Go to your app’s entry point file (usually [AppName]App.swift or ContentView.swift). We are going to modify ContentView to act as the traffic controller.
import SwiftUI

struct ContentView: View {
    // @AppStorage saves this value persistently on the device
    // By default, it will be 'true' the first time the app is installed
    @AppStorage("hasSeenOnboarding") private var hasSeenOnboarding: Bool = false

    var body: some View {
        Group {
            if !hasSeenOnboarding {
                // We show the Onboarding
                OnboardingView(isOnboardingShowing: $hasSeenOnboarding)
                    // Smooth transition when disappearing
                    .transition(.opacity)
            } else {
                // The main view of your application
                HomeView()
            }
        }
        .animation(.default, value: hasSeenOnboarding)
    }
}

// An example main view
struct HomeView: View {
    var body: some View {
        NavigationView {
            Text("Welcome to the App's main screen!")
                .navigationTitle("Home")
        }
    }
}
With this code, the flow is perfect. If hasSeenOnboarding is false, the welcome screen takes control. When the user taps “Get Started” on the last step, the variable changes to true, the state is automatically saved to UserDefaults, and SwiftUI dynamically replaces the OnboardingView with the HomeView.
8. Multiplatform Adaptability: iOS, macOS, and watchOS
As a modern iOS Developer, you will likely be asked to take your code beyond the iPhone. The magic of SwiftUI in Xcode is that the same codebase can be compiled for different platforms, but we must keep in mind the UX quirks of each one.
Adapting for macOS
On macOS, the .tabViewStyle(.page) style does not exist in the same way it does on iOS, since the mouse interaction paradigm does not favor “swiping” in the same way a touch screen does.
If you compile the above code for Mac, the pagination may not look right. To fix this, you can use conditional compilation (#if os(iOS)) to use the TabView on iOS, and a simple state view (conditional ZStack or HStack) on macOS that changes with “Next” and “Previous” buttons.
Adapting for watchOS
On the Apple Watch, space is vital. The model code (OnboardingPage.swift) is perfectly reusable, but the view must be simplified. On watchOS, .tabViewStyle(.page) works wonderfully, allowing users to use the Digital Crown or swipe to change pages.
However, for the watch, you should:
- Reduce font sizes.
- Remove long description texts (stick only to the title and icon).
- Ensure the “Next” button is easily tappable (ideally taking up the full width at the bottom).
// Quick adjustment example for watchOS
#if os(watchOS)
Text(page.title)
    .font(.system(size: 16, weight: .bold)) // Smaller font
#else
Text(page.title)
    .font(.system(size: 28, weight: .bold)) // Standard font for iOS
#endif
9. Best Onboarding Practices for the iOS Developer
Now that you have the technical implementation sorted out, let’s talk about product quality. Writing code in Xcode is only part of the job; creating an incredible experience requires thinking like the end-user.
- Less is more: Do not make a 10-page onboarding. Keep it to 3 or 4 screens at most. If your app requires a massive instruction manual before it can be used, the problem might be in your main interface design.
- Offer a way out (Skip): Always include a “Skip” button in the top corner. Some users just want to get into the app and explore for themselves. Forcing them to read everything can cause frustration. You can add a simple button in the
Toolbarof yourOnboardingView. - Ask for permissions at the right time: Although onboarding is a good place to explain why you need a permission (like the camera), do not trigger the OS permission alert here. Wait until the user tries to use the camera in the app. This drastically increases the acceptance rate.
- Analytics: Log in your analytics tool (like Firebase or Mixpanel) every time a user turns a page or clicks skip. This will tell you exactly where new users abandon the app and allow you to iterate and improve texts and designs.
Conclusion
Knowing how to create an Onboarding screen in SwiftUI is one of the fundamental skills that every iOS Developer must master. It is the front door to your application and sets the tone for the quality and care you have put into the rest of your product.
Through Swift programming, we have seen how to go from an abstract idea to an elegant, reactive, and fully functional implementation using tools like TabView, @State, and @AppStorage inside Xcode.
The transition from UIKit to SwiftUI has meant that tasks that previously took hours of debugging can now be written quickly and legibly. Whether you are building for iOS, adapting interfaces for the Apple Watch, or creating desktop software for macOS, the declarative principles we learned today will serve as a solid foundation for any interface design challenge.