As an iOS Developer, you have surely faced this classic requirement: the design or product team wants the user to be able to share a “receipt”, an “unlocked achievement”, a “purchase ticket”, or a “stats summary” in image format across social media.
In the days of UIKit, capturing the view hierarchy required diving into UIGraphicsImageRenderer or dealing with the view’s layer. When we transitioned to SwiftUI, solving this became a headache. We had to wrap our views in a UIHostingController, force a layout cycle, and then render the underlying view. It was a clunky and unintuitive process for the declarative paradigm.
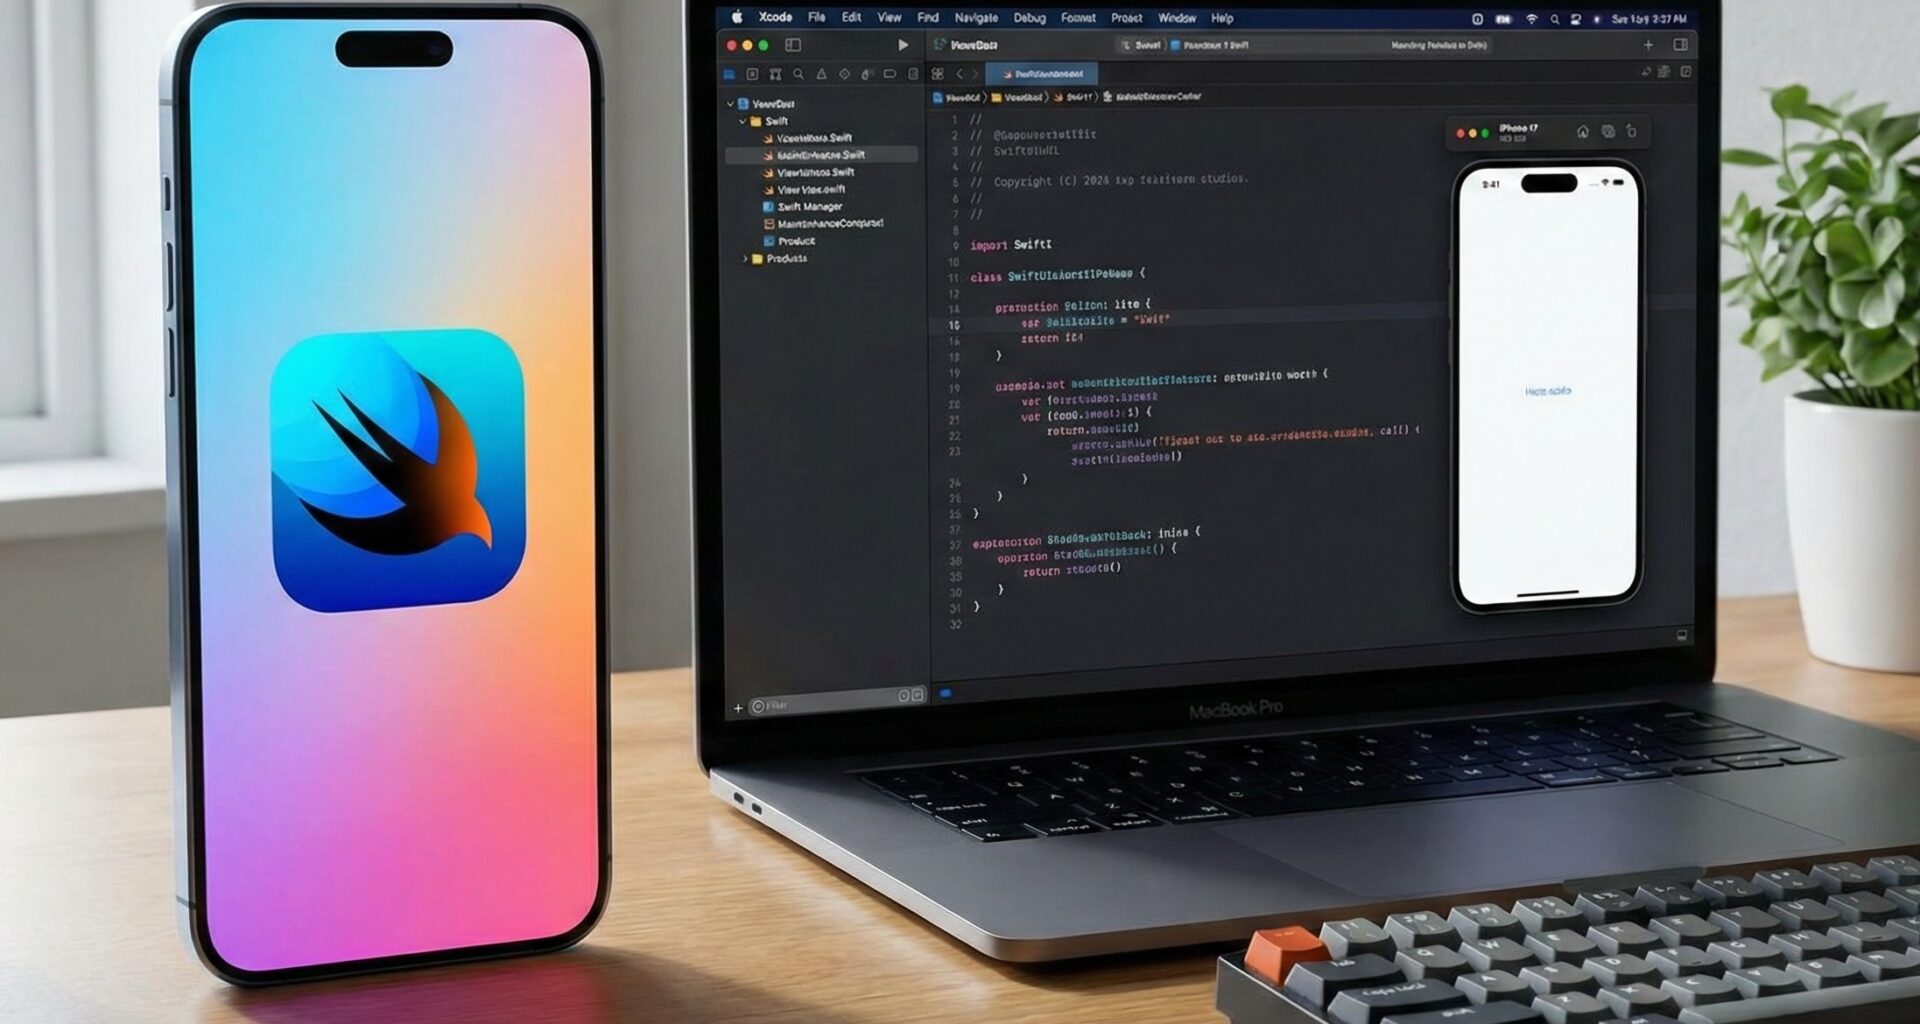
Fortunately, at WWDC 2022, Apple answered our prayers and revolutionized Swift programming by introducing the ImageRenderer class.
In this comprehensive tutorial, we are going to explore in depth how to convert a SwiftUI view to an image. We will learn how to use ImageRenderer not just for iOS, but also to create universal solutions that work on macOS and watchOS using Swift and Xcode.
1. What is ImageRenderer in SwiftUI?
ImageRenderer is a class introduced in iOS 16.0, macOS 13.0, tvOS 16.0, and watchOS 9.0. Its sole purpose is to take a SwiftUI view and convert it into rasterized pixel data (an image) or a vector document (PDF).
Important Limitations (The Reality of the Framework)
Before we get too excited and start writing lines of code in Xcode, it is crucial to be honest about what ImageRenderer cannot do. As an iOS Developer, you must know these limitations to avoid wasting hours debugging:
- It does not render system-hosted views: If your SwiftUI view contains a
VideoPlayer, aWebView(Webkit), aMapKitmap, or a native camera view, these areas will appear blank or black in the final image. - Requires iOS 16+ / macOS 13+: If your application has a lower deployment target, you will have to keep your old
UIHostingController-based code as a fallback. - Runs on the Main Thread: User interface rendering must always occur on the main thread.
ImageRendereris marked with@MainActor.
2. Setting the Stage: Our Example View
To demonstrate how to convert a SwiftUI view to an image, we first need a view worth capturing. Let’s create an “Unlocked Achievement” card typical of a fitness or gaming app.
Open Xcode, create a new cross-platform project (or just iOS, as you prefer), and add this view:
import SwiftUI

struct AchievementView: View {
    var title: String
    var score: Int
    var date: Date

    var body: some View {
        VStack(spacing: 16) {
            Image(systemName: "trophy.circle.fill")
                .resizable()
                .frame(width: 100, height: 100)
                .foregroundColor(.yellow)
                .shadow(color: .orange, radius: 10, x: 0, y: 5)

            Text(title)
                .font(.system(size: 28, weight: .bold, design: .rounded))
                .foregroundColor(.white)

            Text("Score: \(score)")
                .font(.title2)
                .fontWeight(.semibold)
                .foregroundColor(.white.opacity(0.9))

            Text(date.formatted(date: .abbreviated, time: .shortened))
                .font(.caption)
                .foregroundColor(.white.opacity(0.7))
        }
        .padding(30)
        .background(
            LinearGradient(
                gradient: Gradient(colors: [Color.purple, Color.blue]),
                startPoint: .topLeading,
                endPoint: .bottomTrailing
            )
        )
        .cornerRadius(20)
        .shadow(radius: 15)
        // We define a fixed size to ensure consistent rendering
        .frame(width: 300, height: 350)
    }
}
This view uses gradients, shadows, system fonts, and SF Symbols. It is the perfect candidate to test our renderer.
3. Basic Implementation in iOS: From View to UIImage
Now let’s get to the main point. In Swift programming, the workflow with ImageRenderer is quite linear.
For iOS, we want to extract a UIImage object. Here is how to build the mechanism:
import SwiftUI

struct iOSImageRenderView: View {
    @State private var renderedImage: UIImage?

    // Our target view stored in a variable to avoid code duplication
    var targetView: some View {
        AchievementView(title: "Expert Runner!", score: 15400, date: Date())
    }

    var body: some View {
        VStack(spacing: 40) {
            // We display the original view
            targetView

            Button(action: {
                renderImage()
            }) {
                Label("Save as Image", systemImage: "photo.on.rectangle.angled")
                    .font(.headline)
                    .padding()
                    .frame(maxWidth: .infinity)
                    .background(Color.black)
                    .foregroundColor(.white)
                    .cornerRadius(12)
                    .padding(.horizontal, 40)
            }

            // If the image has been rendered, we show a small preview
            if let image = renderedImage {
                VStack {
                    Text("Render Preview:")
                        .font(.caption)
                        .foregroundColor(.gray)
                    Image(uiImage: image)
                        .resizable()
                        .scaledToFit()
                        .frame(height: 150)
                        .border(Color.gray, width: 1)
                }
            }
        }
    }

    // Function marked with @MainActor because it interacts with the UI
    @MainActor
    private func renderImage() {
        // 1. Instantiate the ImageRenderer passing the view
        let renderer = ImageRenderer(content: targetView)

        // 2. IMPORTANT: Adjust the scale for Retina displays
        renderer.scale = UIScreen.main.scale

        // 3. Extract the image
        if let uiImage = renderer.uiImage {
            self.renderedImage = uiImage
            print("Image generated successfully! Size: \(uiImage.size)")
            // Here you could save the image to the gallery or share it
        } else {
            print("Error: Could not render the image.")
        }
    }
}
Why is renderer.scale = UIScreen.main.scale crucial?
If you omit this line, your image will render at a @1x scale. On modern devices (which are @2x or @3x), the resulting image will look incredibly blurry and pixelated. As a good iOS Developer, you must always ensure visual fidelity is maintained when exporting graphics.
4. The Cross-Platform Leap: macOS and watchOS
The beauty of SwiftUI is its cross-platform capability. However, in macOS UIImage does not exist; we use NSImage. In watchOS, although we have a subset of UIImage, it is sometimes preferable to work directly with CGImage depending on the target API.
Let’s refactor our rendering logic to be a universal service. This will elevate the quality of your Swift programming by writing cleaner and more reusable code in Xcode.
Creating a Universal Rendering Service
import SwiftUI

// Add conditional imports to support different platforms
#if canImport(UIKit)
import UIKit
#elseif canImport(AppKit)
import AppKit
#endif

@MainActor
class ViewRenderer {

    /// Converts a SwiftUI view to a generic image (CGImage) valid on all platforms
    static func renderToCGImage<V: View>(view: V) -> CGImage? {
        let renderer = ImageRenderer(content: view)

        // Cross-platform scale adjustment
        #if os(iOS) || os(tvOS)
        renderer.scale = UIScreen.main.scale
        #elseif os(macOS)
        renderer.scale = NSScreen.main?.backingScaleFactor ?? 1.0
        #elseif os(watchOS)
        renderer.scale = WKInterfaceDevice.current().screenScale
        #endif

        return renderer.cgImage
    }

    #if os(iOS) || os(tvOS) || os(watchOS)
    /// Returns a UIImage for iOS/watchOS environments
    static func renderToUIImage<V: View>(view: V) -> UIImage? {
        let renderer = ImageRenderer(content: view)
        renderer.scale = UIScreen.main.scale
        return renderer.uiImage
    }
    #endif

    #if os(macOS)
    /// Returns an NSImage for macOS environments
    static func renderToNSImage<V: View>(view: V) -> NSImage? {
        let renderer = ImageRenderer(content: view)
        renderer.scale = NSScreen.main?.backingScaleFactor ?? 1.0
        return renderer.nsImage
    }
    #endif
}
With this utility class, you can abstract away platform complexity. If you are developing an app in Xcode for macOS, you would simply call ViewRenderer.renderToNSImage(view: myView).
5. Advanced Handling: Dynamic and Off-screen Views
A very common question when trying to convert a SwiftUI view to an image is: “Does the view need to be visible on the screen to render it?”
The short answer is no. ImageRenderer is fantastic because it can render views off-screen. However, there is a vital detail: the Environment.
When a view is not part of the main view hierarchy, it does not inherit the application’s environment (such as dark/light mode, dynamic font sizes, accent colors, or language).
Injecting the Correct Environment
If you are going to render a hidden view or one generated on the fly, you must manually inject the critical design parameters:
@MainActor
func renderOffScreenView() -> UIImage? {
    // We create the view on the fly
    var viewToRender = AchievementView(title: "Hidden Hero", score: 9999, date: Date())

    // Instantiate the renderer
    let renderer = ImageRenderer(content: viewToRender)

    // Inject a specific environment (Example: force Dark Mode and large font size)
    renderer.environment = \.colorScheme, .dark
    renderer.environment = \.dynamicTypeSize, .accessibility1

    // Configure scale and render
    renderer.scale = UIScreen.main.scale
    return renderer.uiImage
}
This technique is invaluable in Swift programming when you need to generate PDF certificates or tickets in the background without interrupting the user’s current interface.
6. Saving the Image to the Device Gallery (Photos)
It’s useless to convert a SwiftUI view to an image if we can’t deliver it to the user. The logical final step in any iOS application is to save this image to the camera roll.
To do this, we must briefly step out of SwiftUI and interact with native frameworks, using a modern and safe approach in Swift.
First, don’t forget to add the NSPhotoLibraryAddUsageDescription key in your Info.plist file in Xcode, explaining why you need to save images.
import SwiftUI
import Photos

@MainActor
class ImageSaver: NSObject {

    // Callback to handle success or failure
    var onCompletion: ((Error?) -> Void)?

    func writeToPhotoAlbum(image: UIImage, completion: @escaping (Error?) -> Void) {
        self.onCompletion = completion
        // The native UIKit API to save to the gallery
        UIImageWriteToSavedPhotosAlbum(image, self, #selector(saveCompleted), nil)
    }

    @objc func saveCompleted(_ image: UIImage, didFinishSavingWithError error: Error?, contextInfo: UnsafeRawPointer) {
        onCompletion?(error)
    }
}
And here is how we would integrate it into our main view:
// Inside your SwiftUI View:

@State private var showSaveAlert = false
@State private var alertMessage = ""

Button("Save to Photos") {
    let renderer = ImageRenderer(content: targetView)
    renderer.scale = UIScreen.main.scale

    if let image = renderer.uiImage {
        let saver = ImageSaver()
        saver.writeToPhotoAlbum(image: image) { error in
            if let error = error {
                alertMessage = "Error saving: \(error.localizedDescription)"
            } else {
                alertMessage = "Image saved successfully!"
            }
            showSaveAlert = true
        }
    }
}
.alert(isPresented: $showSaveAlert) {
    Alert(title: Text("Status"), message: Text(alertMessage), dismissButton: .default(Text("OK")))
}
7. Performance Tips and Best Practices
As an iOS Developer, writing code that works is just the first step; writing efficient code is the goal. Here are the best practices when using ImageRenderer in Xcode:
- Memory Management: Generating large images (especially at
@3xscales) consumes a lot of RAM quickly. If you are going to generate multiple images in a loop, be sure to release references and consider wrapping the rendering process inside anautoreleasepoolblock to avoid memory spikes. - Explicit Sizes (
.frame):ImageRendererwill take the natural size of the view. If your view depends on a flexible parent container (like aGeometryReaderor an unboundedSpacer), the rendering could collapse to zero or infinite size. Apply a strict.frame(width:height:)or a.frame(idealWidth:idealHeight:)to the view you are going to render. - Asynchronous Images (
AsyncImage): This is a classic mistake.ImageRendereris synchronous. If your view contains anAsyncImageor images loaded from the network using libraries like SDWebImage or Kingfisher, the renderer will not wait for them to download. It will capture the “placeholder” state. To fix this, you must ensure the images are downloaded and cached, and pass them to your view as a staticImageobject before rendering.
Conclusion
Knowing how to convert a SwiftUI view to an image is an essential skill in the repertoire of any modern iOS Developer. Apple’s introduction of ImageRenderer has radically simplified a task that previously muddied our Swift programming architecture.
By understanding how to handle scales, inject the proper environment, and adapt the code for macOS and watchOS within Xcode, you are prepared to build professional-grade content export features. The SwiftUI paradigm continues to mature, and tools like this prove that the future of native development at Apple is increasingly bright (and declarative).
If you have any questions about this article, please contact me and I will be happy to help you 🙂. You can contact me on my X profile or on my Instagram profile.