Any iOS Developer who has started their journey in modern Swift programming has hit a wall that, for years, was surprisingly frustrating: trying to change the background color of a List in SwiftUI. What on paper should be as simple as adding a .background(Color.red) modifier, in practice resulted in a default system grayish background that refused to disappear.
This apparent limitation was due to how SwiftUI wrapped the underlying native components (UITableView or UICollectionView in iOS). Fortunately, as Swift and Xcode tools have matured, Apple has introduced native and elegant modifiers to solve this problem.
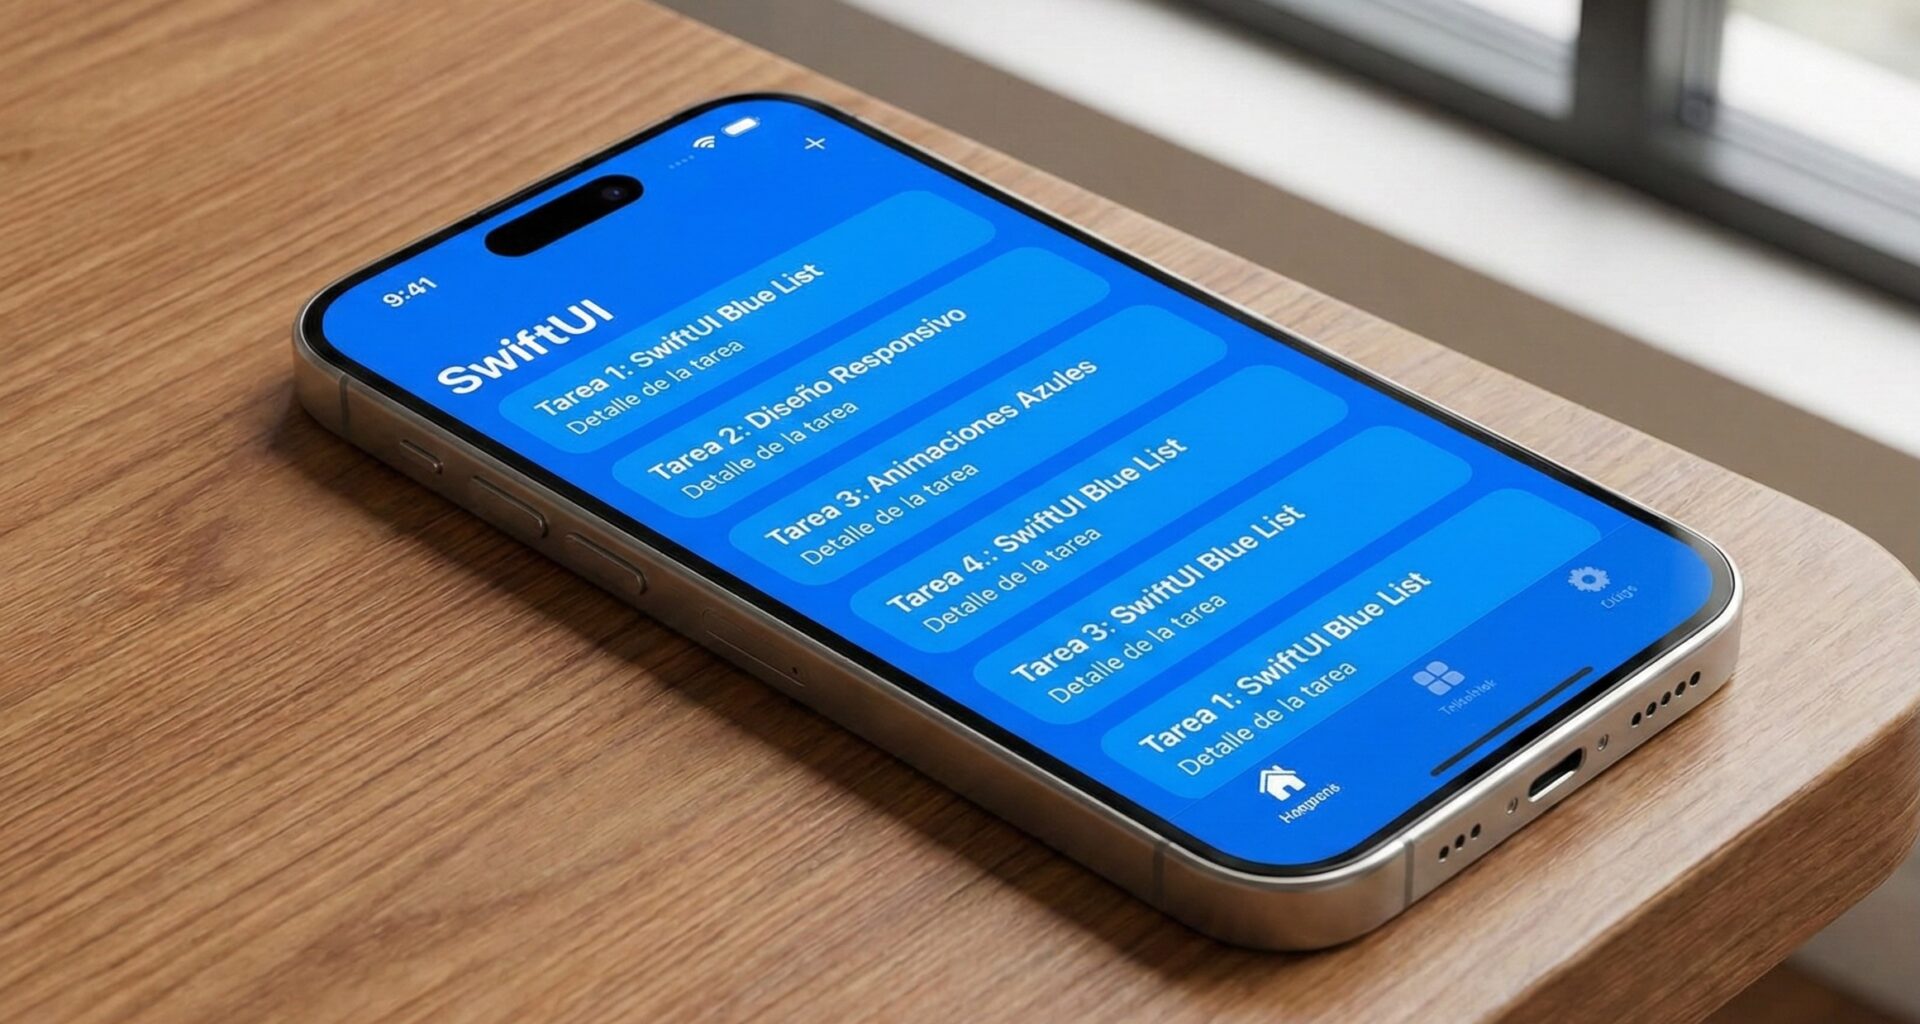
In this extensive tutorial, you will learn step-by-step and at an expert level how to fully customize your lists. We will cover everything from the most modern methods introduced in the latest versions of SwiftUI, to the “hacks” needed if you must support older (Legacy) versions in your iOS, macOS, and watchOS applications.
1. Understanding the Anatomy of a List in SwiftUI
Before applying solutions, a good iOS Developer must understand how the framework works under the hood. In SwiftUI, a List is not simply a stack of views (like a VStack inside a ScrollView would be). It is a highly optimized component that reuses cells and manages selections, drags, and deletions.
The background issue lies in the fact that the List has multiple layers:
- The Main View (List Background): The base background of the container.
- The Scroll Content Background: An intermediate layer that the operating system applies by default (usually light gray in light mode, or dark gray in dark mode).
- The Row Background: The individual background of each item in the list.
If you only apply .background(Color.blue) to the List, you are applying it to layer 1, but layer 2 (the scroll background) remains opaque and hides your color. To see your color, we must make that intermediate layer transparent.
2. The Modern Method (iOS 16+, macOS 13+, watchOS 9+)
If you are lucky enough to be developing an app in Xcode where your Deployment Target (minimum system version) is iOS 16 or higher, you are in the golden age of Swift programming. Apple introduced a specific modifier to solve our problem: .scrollContentBackground().
Hiding the system background
To change the background color of a List in SwiftUI using the modern API, we must first hide the background imposed by the system and then apply our own color.
import SwiftUI

struct ModernListView: View {
    // Sample data
    let items = ["Apple", "Banana", "Orange", "Strawberry"]

    var body: some View {
        NavigationStack {
            List(items, id: \.self) { item in
                Text(item)
            }
            // 1. Hide the default OS gray background
            .scrollContentBackground(.hidden)
            // 2. Apply our own background color to the List
            .background(Color.mint)
            .navigationTitle("Fruits")
        }
    }
}
Using Gradients and Materials
The beauty of this native SwiftUI method is that the .background() modifier not only accepts solid colors. You can use complex gradients or blur effects (Materials) to give your app a premium look.
import SwiftUI

struct GradientListView: View {
    var body: some View {
        List {
            Text("Profile Settings")
            Text("Notifications")
            Text("Privacy")
        }
        .scrollContentBackground(.hidden)
        // Applying a linear gradient from top to bottom
        .background(
            LinearGradient(
                gradient: Gradient(colors: [.purple, .blue]),
                startPoint: .topLeading,
                endPoint: .bottomTrailing
            )
        )
    }
}
3. The Legacy Method: iOS 14 and iOS 15
If you are an iOS Developer working on an enterprise application or a product that cannot leave behind users with older iPhones, the .scrollContentBackground modifier will give you a compilation error in Xcode, as it does not exist in iOS 15 or lower.
For these versions, we must resort to the UIKit Appearance API. Since SwiftUI uses UITableView (or UICollectionView depending on the exact version of iOS 14/15) underneath, we can change its global configuration.
The UITableView “Hack”
import SwiftUI

struct LegacyListView: View {

    // The view's initializer runs before it is drawn
    init() {
        // We make the background of all tables in the app transparent
        UITableView.appearance().backgroundColor = .clear
    }

    var body: some View {
        List {
            Text("Legacy Item 1")
            Text("Legacy Item 2")
            Text("Legacy Item 3")
        }
        // Now the .background will be visible because the table is transparent
        .background(Color.yellow)
    }
}
Important Swift programming warning: Using UITableView.appearance() has a global effect. It will change the background of all lists in your application. If you only want it to affect a specific screen, you can restore the appearance in the .onAppear and .onDisappear modifiers, although it’s a bit of an error-prone practice if navigation is fast.
4. Changing the Row Background Color (ListRowBackground)
Sometimes, you don’t want to change the general background of the screen, but that of the elements (rows) inside the list. In SwiftUI, this is controlled by the .listRowBackground() modifier.
It is crucial to place this modifier inside the List, applied directly to the cell’s content (for example, to the Text or the HStack that defines the row), not to the List itself.
Cell customization example
import SwiftUI

struct RowBackgroundView: View {
    let tasks = ["Buy milk", "Call client", "Study Swift", "Pay internet bill"]

    var body: some View {
        List {
            ForEach(tasks.indices, id: \.self) { index in
                HStack {
                    Image(systemName: "checkmark.circle")
                    Text(tasks[index])
                        .font(.headline)
                }
                .padding(.vertical, 8)
                // Change the row background based on whether the index is even or odd
                .listRowBackground(
                    index % 2 == 0 ? Color.gray.opacity(0.2) : Color.white
                )
            }
        }
        // Optional: Hide standard line separators in iOS 15+
        .listRowSeparator(.hidden)
    }
}
In this Swift programming example, we have created a row layout with alternating colors, a classic user interface technique that makes reading large datasets easier, especially popular on macOS.
5. The Impact of List Styles (ListStyle)
In SwiftUI, your list’s style largely dictates how backgrounds and margins are handled. The most common styles are:
.plain: A flat list with no side margins..grouped: Items are grouped into visual sections..insetGrouped: The most modern style in iOS, where sections float like cards with rounded corners.
The behavior when you change the background color of a List in SwiftUI can vary depending on the style.
import SwiftUI

struct StyledListView: View {
    var body: some View {
        List {
            Section(header: Text("Account")) {
                Text("Profile")
                Text("Security")
            }

            Section(header: Text("System")) {
                Text("Cache")
                Text("Log Out")
                    .foregroundColor(.red)
            }
        }
        .listStyle(.insetGrouped) // Changes the list style
        .scrollContentBackground(.hidden)
        .background(Color.cyan.opacity(0.3)) // Background visible outside the "cards"
    }
}
In the .insetGrouped style, hiding the scrollContentBackground makes the area around the grouped cells become transparent. The cells themselves keep the system color (white in light mode) unless you explicitly use .listRowBackground() on them.
6. Cross-Platform Considerations: macOS and watchOS
One of the biggest promises of SwiftUI is “Learn once, apply anywhere”. However, a true iOS Developer (who also compiles for other systems in Xcode) knows that each operating system has its own human interface guidelines.
Development on macOS
On macOS, lists are rendered using the underlying NSTableView API. Backgrounds on the Mac are usually translucent by default to create a “Vibrancy” effect that subtly reveals the user’s desktop wallpaper.
The modern method .scrollContentBackground(.hidden) works perfectly on macOS 13 (Ventura) and higher. However, if you try to use the iOS Legacy method (UITableView.appearance()), Xcode will throw a hard error because UIKit doesn’t exist on Mac (unless you use Mac Catalyst).
If you are developing for pure macOS, your code should look like this using conditional compilation directives if you share code:
import SwiftUI

struct MacCompatibleListView: View {
    var body: some View {
        List {
            Text("Document 1")
            Text("Document 2")
        }
        #if os(iOS)
        .listStyle(.insetGrouped)
        #elseif os(macOS)
        .listStyle(.sidebar) // Native style for Mac sidebar
        #endif

        // This line is safe in both iOS 16+ and macOS 13+
        .scrollContentBackground(.hidden)
        .background(Color.indigo.opacity(0.1))
    }
}
Development on watchOS
The Apple Watch is a device with a very small OLED screen and limited battery. Apple’s design guidelines are strict about this: the general background of an app in watchOS should always be black (Color.black). A black background on an OLED screen literally turns those pixels off, saving battery and making the screen edges blend into the watch’s bezels.
Therefore, trying to change the background color of a List in SwiftUI generally (making the whole background red or blue) in watchOS is a bad practice in Swift programming.
What you should do in watchOS is use .listRowBackground to style individual buttons or cells:
import SwiftUI

struct WatchListView: View {
    var body: some View {
        List {
            NavigationLink("Workout") {
                Text("Starting...")
            }
            .listRowBackground(
                RoundedRectangle(cornerRadius: 15)
                    .fill(Color.green)
            )

            NavigationLink("Music") {
                Text("Playing...")
            }
            .listRowBackground(
                RoundedRectangle(cornerRadius: 15)
                    .fill(Color.orange)
            )
        }
        // We don't change the general list background to keep the native dark black.
    }
}
7. Advanced Techniques: Using ZStack for Dynamic Backgrounds
Sometimes, the .background() modifier isn’t enough. Suppose you want your List background to be an animated view, a looping video, or an image with a Parallax effect.
To achieve absolute control over the visual hierarchy in Xcode, we can wrap our transparent List inside a ZStack.
import SwiftUI

struct DynamicBackgroundListView: View {
    var body: some View {
        ZStack {
            // 1. Deepest layer: The image or complex view
            Image("mountain_landscape") // Make sure you have this image in your Assets
                .resizable()
                .aspectRatio(contentMode: .fill)
                .edgesIgnoringSafeArea(.all) // Cover the whole screen
                .blur(radius: 3) // Slight blur to make text readable

            // 2. Top layer: The transparent list
            List {
                ForEach(1...20, id: \.self) { item in
                    Text("Point of interest \(item)")
                        .foregroundColor(.white) // White text for contrast
                        .font(.title3)
                        .padding(.vertical, 5)
                        // Translucent row background for glass effect (Glassmorphism)
                        .listRowBackground(Color.black.opacity(0.4))
                }
            }
            .scrollContentBackground(.hidden) // Vital to see the background image
            .listStyle(.plain)
        }
    }
}
This Swift programming approach demonstrates the true declarative power of SwiftUI. In just a few lines of code, we have built a complex interface (Glassmorphism) that would have required hundreds of lines of code, delegates, sublayers (CALayers), and math calculations in old UIKit.
8. Best Practices: Dark Mode and Accessibility
As a professional iOS Developer, you should never set a static color (like Color.white or Color.black) without considering the system environments.
Light Mode / Dark Mode Support
If you force your List background to Color.white, when the iOS user switches their iPhone to Dark Mode, your list will still be blindingly white, ruining the user experience (UX).
Solution 1: Use semantic SwiftUI colors
Instead of pure colors, use system colors that adapt automatically:
Color.primary(Black in light mode, White in dark mode)Color(uiColor: .systemBackground)Color(uiColor: .secondarySystemBackground)
Solution 2: Use Color Sets in Xcode
- Go to your
Assets.xcassetsfolder in Xcode. - Right-click and select New Color Set.
- Name it “ListBackgroundCustom”.
- The panel will show you two color squares: one for Any Appearance (Light Mode) and one for Dark Appearance (Dark Mode). Assign a soft gray to one and a very dark blue to the other.
- Use it in SwiftUI like this:
List {
    Text("Automatic Dark Mode")
}
.scrollContentBackground(.hidden)
.background(Color("ListBackgroundCustom")) // Load your custom asset
Accessibility (A11y)
Make sure that when you change the background color of a List in SwiftUI, you don’t ruin your text contrast. If you have a dark background, ensure that the .foregroundColor of the texts inside the list is bright enough. Apple recommends a contrast ratio of at least 4.5:1 for normal text. Tools like the built-in Accessibility Inspector in Xcode will help you verify this.
Conclusion
Knowing how to change the background color of a List in SwiftUI is mandatory knowledge that separates beginners from professionals. Through this tutorial, we have walked the evolutionary path of SwiftUI.
We have seen that, while the past required interacting with the heavy UIKit API using UITableView.appearance(), the present and future of Swift programming lie in the elegance of .scrollContentBackground(.hidden).
Whether you are designing the next killer app for the iPhone, a powerful tool for macOS, or a discreet companion for the Apple Watch, absolute control over the user interface is now literally at your fingertips thanks to Xcode and SwiftUI. Keep practicing, keep experimenting with gradients and ZStacks, and take your app design to the next level.
If you have any questions about this article, please contact me and I will be happy to help you 🙂. You can contact me on my X profile or on my Instagram profile.