If you are an iOS Developer or on your way to becoming one, you know that displaying collections of data is one of the most common and fundamental tasks in app creation. In the UIKit days, we relied on UITableView and its delegates to achieve this, which often resulted in hundreds of lines of boilerplate code. Today, thanks to modern Swift programming, we have a much more elegant and declarative tool.
In this article, we are going to explore in depth how to add sections to a List with SwiftUI. We won’t just stick to the basics; we will build a complete tutorial covering the implementation of these lists not only for the iPhone but adapting them to the entire Apple ecosystem using Swift, Xcode, and SwiftUI for iOS, macOS, and watchOS.
1. Understanding the Anatomy of a List in SwiftUI
Before we start typing, it’s vital to understand exactly what a List is in SwiftUI. A List is a container that presents rows of data arranged in a single column. It is the direct equivalent of UITableView in iOS, NSTableView in macOS, and WKInterfaceTable in watchOS.
The magic of SwiftUI lies in its cross-platform capabilities. You write your list code once, and the framework takes care of rendering the appropriate native component depending on the device where it is running.
To better organize information when we have a lot of data, we need to group it. This is where Section comes in. A section allows us to divide our list into logical blocks, adding headers and footers to give context to the user.
2. Project Setup in Xcode
To get started, we need to set up our development environment.
- Open Xcode and select “Create a new Xcode project”.
- In the template chooser, select the Multiplatform tab and choose App. This will allow us to share our SwiftUI code across iOS, macOS, and watchOS.
- Name your project, for example,
MultiplatformListApp. - Ensure the interface is set to SwiftUI and the language is Swift.
- Click Next and save the project.
When the project opens, you will see your ContentView.swift file. This is where most of our Swift programming magic will happen.
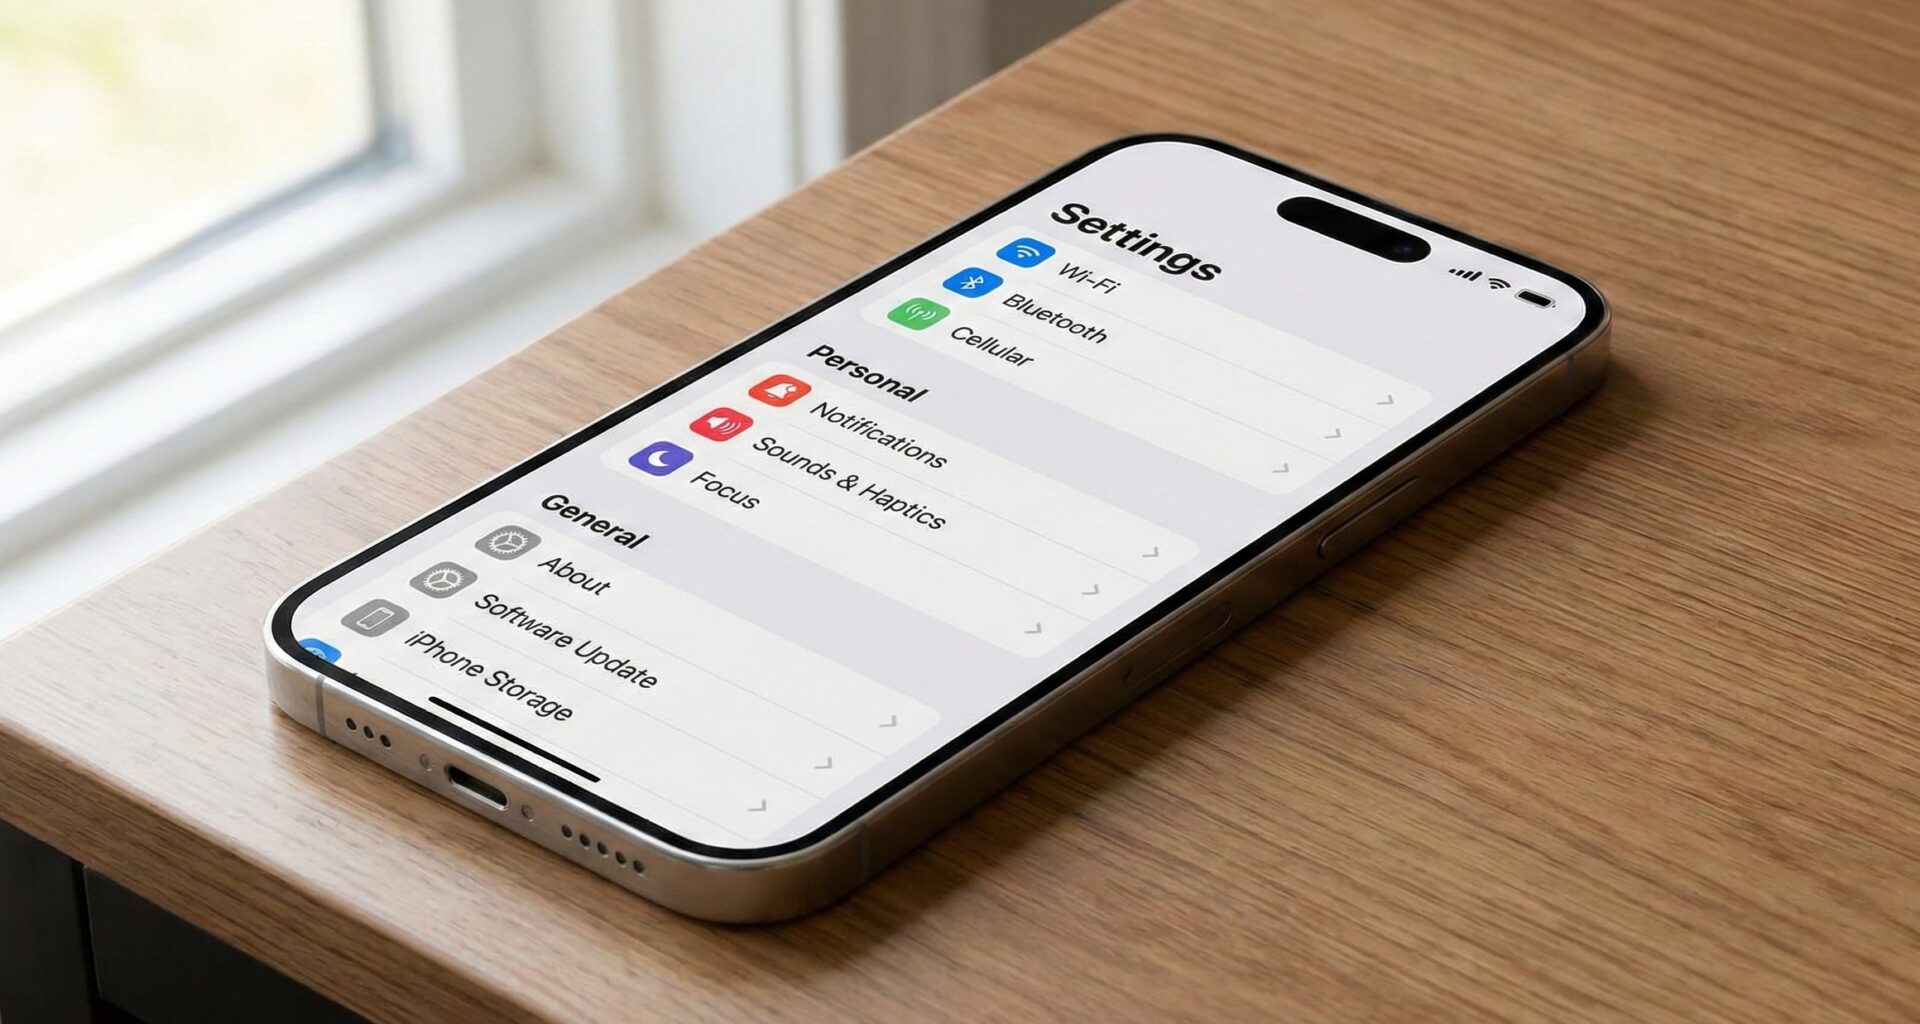
3. The Static Approach: The Basics of Adding Sections
The easiest way to add sections to a List with SwiftUI is to do it statically. This is useful when you know in advance the exact items you are going to display (for example, an app’s settings menu).
Let’s create a static list with two sections: “General” and “Advanced”.
import SwiftUI

struct ContentView: View {
    var body: some View {
        NavigationStack {
            List {
                // First Section
                Section(header: Text("General"), footer: Text("Basic application options.")) {
                    Text("Profile")
                    Text("Notifications")
                    Text("Appearance")
                }

                // Second Section
                Section(header: Text("Advanced")) {
                    Text("Privacy & Security")
                    Text("Storage")
                    Text("About")
                }
            }
            .navigationTitle("Settings")
        }
    }
}
Analyzing the Static Code
List: Creates the main container that enables vertical scrolling.Section: Wraps a group of views. It takes optional parameters for aheaderand afooter.NavigationStack: Allows us to add a title to the top view (.navigationTitle), which is a standard practice for any iOS Developer when designing navigation interfaces.
If you preview this in the Xcode Canvas, you will see a perfectly formatted list with separators and headers in small caps, the default style in iOS.
4. The Dynamic Approach: Working with Data Models
In the real world of app development, we rarely hardcode data statically. Usually, we fetch it from an API, a local database (like CoreData or SwiftData), or a JSON file. Therefore, we need our sections to be generated dynamically.
To master view-oriented Swift programming, we first must create robust data models that conform to the Identifiable protocol.
Creating the Data Models
Let’s create a scenario where we display a catalog of programming courses, divided by categories (e.g., Mobile Development, Web Development).
Create a new file in Xcode called CourseModel.swift and add the following code:
import Foundation

// Model for the individual item
struct Course: Identifiable {
    let id = UUID()
    let name: String
    let duration: String
}

// Model for the Section
struct CourseCategory: Identifiable {
    let id = UUID()
    let categoryName: String
    let courses: [Course]
}
It is crucial that both models adopt Identifiable and have an id property. This allows SwiftUI to efficiently track changes in the user interface, knowing which item to animate, insert, or delete, vastly optimizing performance.
Generating Sample Data
Let’s add an extension to easily generate test data:
extension CourseCategory {
    static let sampleData: [CourseCategory] = [
        CourseCategory(categoryName: "Mobile Development", courses: [
            Course(name: "Introduction to Swift", duration: "4 hours"),
            Course(name: "Mastering SwiftUI", duration: "10 hours"),
            Course(name: "iOS Architectures", duration: "6 hours")
        ]),
        CourseCategory(categoryName: "Web Development", courses: [
            Course(name: "HTML & CSS Fundamentals", duration: "5 hours"),
            Course(name: "Modern JavaScript", duration: "8 hours")
        ]),
        CourseCategory(categoryName: "Backend", courses: [
            Course(name: "Vapor with Swift", duration: "7 hours"),
            Course(name: "SQL Databases", duration: "5 hours")
        ])
    ]
}
Implementing the Dynamic List
Now, let’s go back to our ContentView.swift and use this data to add sections to a List with SwiftUI using ForEach loops.
import SwiftUI

struct ContentView: View {
    // Import our sample data
    let categories = CourseCategory.sampleData

    var body: some View {
        NavigationStack {
            List {
                // Iterate over categories to create sections
                ForEach(categories) { category in
                    Section(header: Text(category.categoryName)
                                        .font(.headline)
                                        .foregroundColor(.accentColor)) {

                        // Iterate over courses within the category
                        ForEach(category.courses) { course in
                            CourseRow(course: course)
                        }
                    }
                }
            }
            .navigationTitle("Course Catalog")
        }
    }
}

// Extract the cell to a separate view for cleaner code
struct CourseRow: View {
    let course: Course

    var body: some View {
        HStack {
            VStack(alignment: .leading, spacing: 4) {
                Text(course.name)
                    .font(.body)
                    .bold()
                Text(course.duration)
                    .font(.caption)
                    .foregroundColor(.secondary)
            }
            Spacer()
            Image(systemName: "chevron.right")
                .foregroundColor(.gray)
                .imageScale(.small)
        }
        .padding(.vertical, 4)
    }
}
Why Does This Approach Make You a Better iOS Developer?
Extracting CourseRow into its own struct is one of the best practices in Swift programming. It keeps the body of your main view clean, readable, and modular. If you need to change the cell’s design in the future, you only have to modify CourseRow without touching the List logic.
5. Adapting the List for macOS and watchOS
As promised, this tutorial is cross-platform. Although the previous SwiftUI code will work on iOS, macOS, and watchOS without changes, a good developer knows that the User Experience (UX) varies drastically between a smartwatch, a phone, and a desktop computer.
Customizing the List Style (.listStyle)
SwiftUI provides the .listStyle() modifier to adapt the look of our list.
On iOS and iPadOS
For modern iOS applications (Settings style), the InsetGroupedListStyle is the gold standard for lists with sections.
List {
    // ... sections ...
}
.listStyle(InsetGroupedListStyle()) // Recommended for iOS 14+
This creates rounded borders around each section, making them look like floating “cards” over the background.
On macOS
On the Mac, lists often behave as sidebars for navigation or as full tables. We can use conditional compilation directives or simply rely on specific styles.
#if os(macOS)
List {
    // ... sections ...
}
.listStyle(SidebarListStyle()) // Ideal for navigation on Mac
#else
List {
    // ... sections ...
}
.listStyle(InsetGroupedListStyle())
#endif
On watchOS
The Apple Watch has extremely limited screen space. Heavy sections with huge headers can ruin the experience. On watchOS, the default CarouselListStyle or the simple PlainListStyle are usually sufficient.
6. Advanced Header Customization
Often, simple text for a header is not enough. You might want to add icons, buttons, or a completely custom design to your section headers. SwiftUI allows you to pass any view to a Section‘s header parameter.
Let’s improve our previous code to include an icon in the section header:
Section(header:
    HStack {
        Image(systemName: "folder.fill")
            .foregroundColor(.blue)
        Text(category.categoryName)
            .font(.title3)
            .bold()
            .foregroundColor(.primary)
    }
    .padding(.bottom, 5)
) {
    // ... rows ...
}
// Important for iOS: so custom headers are not converted to uppercase
.textCase(nil)
Pro Swift Programming Tip: In iOS, grouped list headers default to ALL CAPS. If you pass a custom design and want to preserve the original lowercase letters, you must apply the .textCase(nil) modifier to the main container view or the Section.
7. Interactivity: Expanding and Collapsing Sections (iOS 14+ / macOS 11+)
One of the most requested features when adding sections to a List with SwiftUI is the ability to collapse or expand sections. Starting with iOS 14 and macOS 11, Apple introduced DisclosureGroup and built-in hierarchical lists.
We can modify our section to allow the user to hide it if they are not interested:
// We need state to control which categories are expanded
// (For a simple example, we will use DisclosureGroup which manages its own temporary state)

List {
    ForEach(categories) { category in
        Section {
            DisclosureGroup(
                content: {
                    ForEach(category.courses) { course in
                        CourseRow(course: course)
                    }
                },
                label: {
                    Text(category.categoryName)
                        .font(.headline)
                        .foregroundColor(.blue)
                }
            )
        }
    }
}
.listStyle(.insetGrouped)
Note: While DisclosureGroup is powerful, it sometimes breaks the aesthetics of the traditional iOS Section, so you should evaluate if it fits your app’s UI/UX design.
8. Optimizing Performance in Large Lists
As an iOS Developer, you must care about memory and performance, especially when you have lists that could contain thousands of records.
The good news is that List in SwiftUI is lazy by default. This means that Xcode and the operating system do not instantiate row views in memory that are not currently visible on the screen, very much like how UITableView recycled its cells.
However, there are traps you should avoid in Swift programming:
- Avoid heavy calculations inside your Row’s
body: If yourCourseRowneeds to download an image or perform a complex mathematical calculation, make sure to do it asynchronously or process it beforehand in the ViewModel (MVVM pattern). - Use unique and stable
ids: Ensure yourUUIDor the identifier you use forIdentifiabledoes not change every time the view is redrawn. If you constantly change IDs, SwiftUI will destroy and recreate the entire list, ruining your app’s performance.
Conclusion
Mastering how to add sections to a List with SwiftUI is a prerequisite for any iOS Developer. We have gone from having to implement delegates, data sources, and manually counting sections and rows with Swift and UIKit, to simply describing how we want our interface to look declaratively using Xcode and SwiftUI.
Throughout this tutorial, we have covered:
- The basic static structure of sections.
- Dynamic generation using data models conforming to
Identifiable. - Adapting the design across iOS, macOS, and watchOS.
- Customizing headers.
- Performance tips and best practices in Swift programming.
If you have any questions about this article, please contact me and I will be happy to help you  . You can contact me on my X profile or on my Instagram profile.