As an iOS Developer, at some point in your career, you will face the need to interact with your users’ address books. Whether you are building a social network to find friends, a messaging app, or a productivity tool, access to the contact list is a fundamental feature.
In the world of Swift programming, Apple provides us with a native, powerful, and secure framework for this task: the Contacts framework. Although it was designed in the era of Objective-C and UIKit, its integration with modern declarative interfaces is entirely viable.
In this extensive tutorial, we will dive into the theory and practice of how to implement Contacts in SwiftUI. You will learn how to request permissions while respecting user privacy, how to read data, how to create new contacts, and how to structure all this code in Swift using Xcode for apps on iOS, macOS, and watchOS.
1. What is the Contacts framework?
The Contacts framework (which replaced the old and deprecated AddressBook) is Apple’s official API to centrally access and modify the user’s contact database.
This framework is built on a robust object-oriented architecture and designed to be thread-safe. In Swift programming, you will primarily interact with three fundamental classes:
- CNContactStore: This is the central engine. Think of it as the connection to the address book database. It is used to request access permissions, fetch contacts, and save changes.
- CNContact: Represents an individual contact. It is an immutable (read-only) class. It contains properties such as first name, last name, phone numbers, email addresses, and even the profile picture.
- CNMutableContact: This is the mutable version of
CNContact. You will use this class when you need to create a new contact from scratch or when updating an existing contact’s information.
2. Privacy First: Configuring Xcode
Before writing a single line of Swift code, we must address privacy. Apple is extremely strict regarding access to personal data. If your app tries to read the address book without explicitly declaring why it needs to, the operating system will crash the app immediately.
To prevent this, you must configure the Info.plist file in Xcode:
- Select your project in the Xcode file navigator.
- Go to the Info tab.
- Add a new row and look for the key
Privacy - Contacts Usage Description(its internal code name isNSContactsUsageDescription). - In the Value field, write a clear and honest message explaining why you need access. For example: “Our app needs access to your contacts to help you find friends who are already using the platform.”
This is the message the user will see in the system alert dialog when your app requests permission for the first time.
3. Requesting Permissions in Modern Swift Programming
With the Info.plist configured, the next step is to ask the user for permission. In the SwiftUI environment, it is best to handle this in a View Model utilizing Swift‘s asynchronous capabilities (async/await).
import Foundation
import Contacts

@MainActor
class ContactsViewModel: ObservableObject {
    @Published var contacts: [CNContact] = []
    @Published var permissionGranted: Bool = false

    // Central instance of the contacts store
    private let contactStore = CNContactStore()

    func requestAccess() async {
        do {
            // Request read (or write) access
            let granted = try await contactStore.requestAccess(for: .contacts)
            self.permissionGranted = granted

            if granted {
                await fetchContacts()
            } else {
                print("The user denied access to contacts.")
            }
        } catch {
            print("Error requesting access: \(error.localizedDescription)")
            self.permissionGranted = false
        }
    }
}
In this snippet, we use CNContactStore().requestAccess(for: .contacts). By marking it with @MainActor, we guarantee that any updates to our @Published properties are immediately reflected in the SwiftUI interface without causing threading issues.
4. Reading Data: The CNContactFetchRequest
Once the user grants permission, we can proceed to read the address book. However, there is a golden rule for any iOS Developer working with Contacts: Never ask for more data than you need.
CNContact objects can be huge (with high-resolution images, multiple addresses, etc.). Fetching all contacts with all their fields will bloat memory and make your app slow.
To solve this, Apple designed the CNContactFetchRequest, where you specify exactly which “keys” you want to extract.
Let’s add the fetchContacts() function to our ContactsViewModel:
    func fetchContacts() async {
        // 1. Define which properties we want to retrieve
        let keysToFetch: [CNKeyDescriptor] = [
            CNContactGivenNameKey as CNKeyDescriptor,
            CNContactFamilyNameKey as CNKeyDescriptor,
            CNContactPhoneNumbersKey as CNKeyDescriptor
        ]

        // 2. Create the request
        let request = CNContactFetchRequest(keysToFetch: keysToFetch)

        // 3. Optional: Sort the results by given name
        request.sortOrder = .givenName

        var fetchedContacts: [CNContact] = []

        // 4. Execute the request safely on a background thread
        Task.detached {
            do {
                try self.contactStore.enumerateContacts(with: request) { (contact, stopPointer) in
                    fetchedContacts.append(contact)
                }

                // Return to the main thread to update the UI
                await MainActor.run {
                    self.contacts = fetchedContacts
                }

            } catch {
                print("Error fetching contacts: \(error.localizedDescription)")
            }
        }
    }
By using enumerateContacts(with:), the framework returns the contacts to us one by one. We group these results into an array and then update our @Published property.
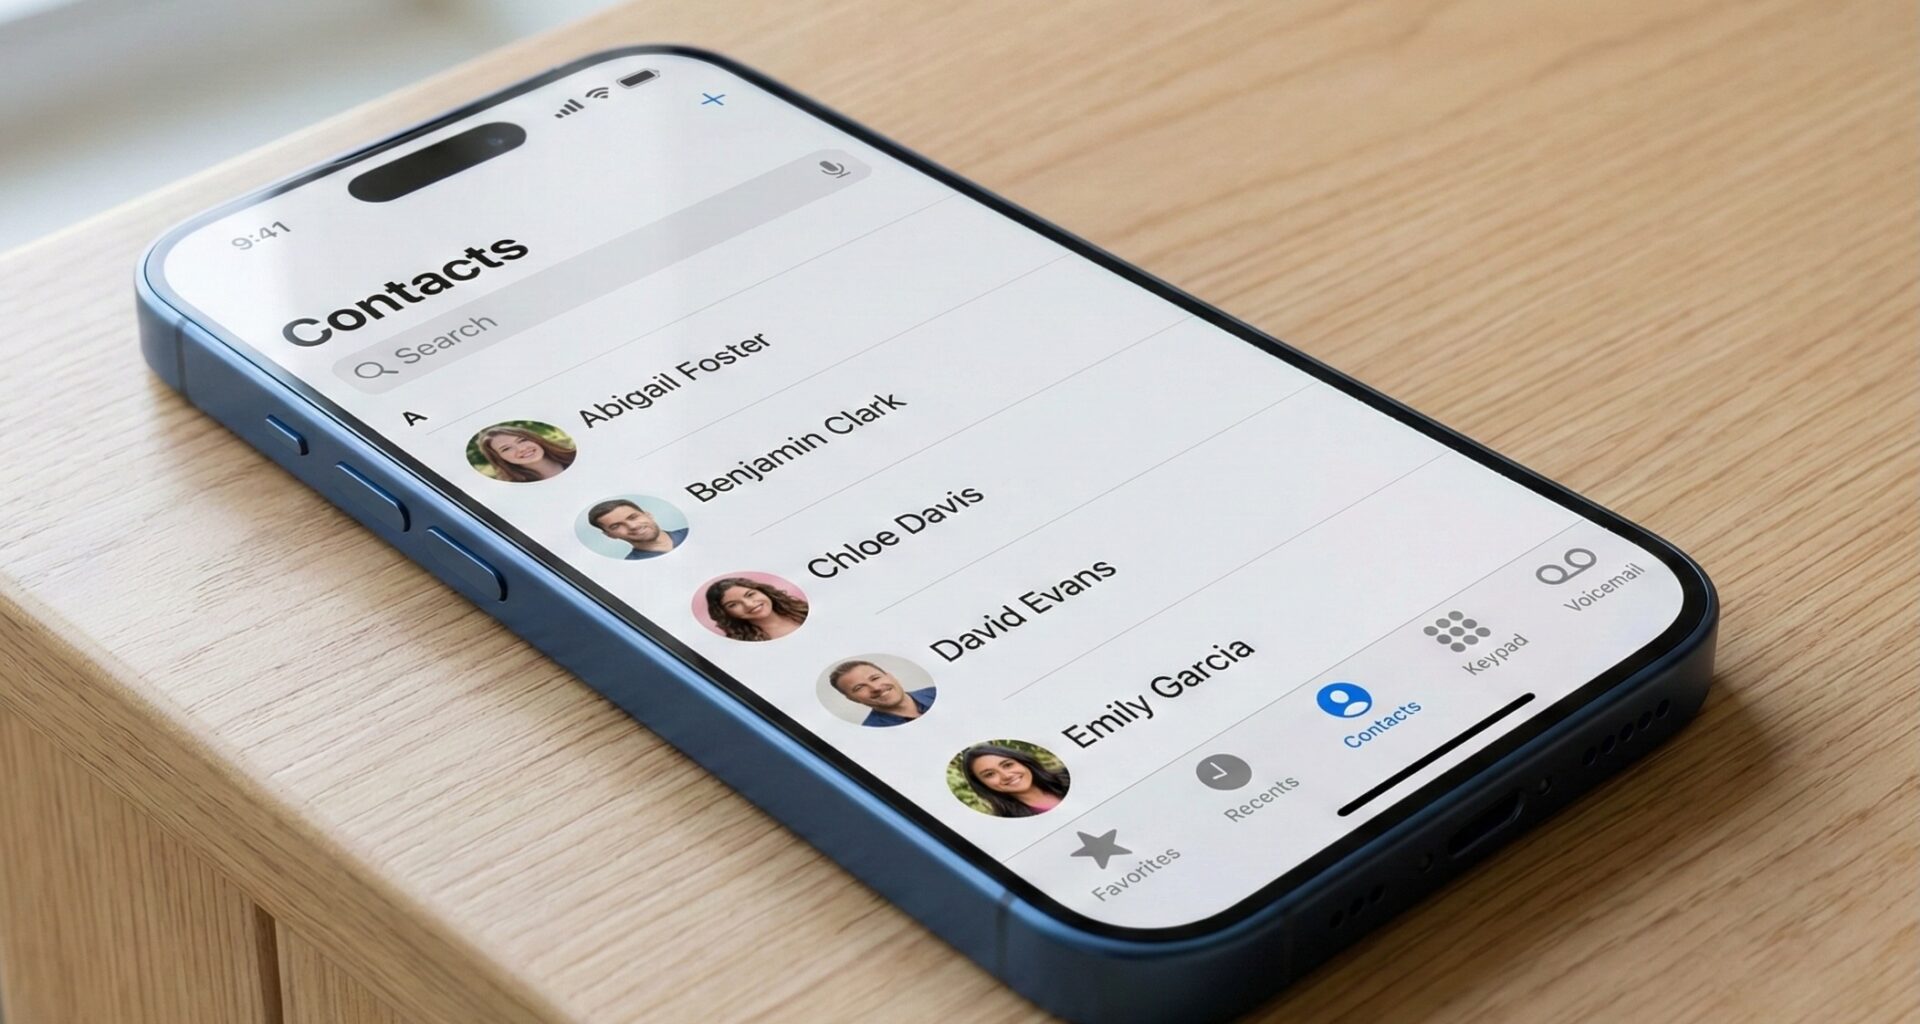
5. User Interface: Contacts in SwiftUI
Now that we have our ViewModel with the business logic and the Swift programming structured, let’s create the visual interface in SwiftUI.
We will build a simple list that first asks for permissions via a button and, if granted, displays the names and phone numbers.
import SwiftUI
import Contacts

struct ContactsListView: View {
    @StateObject private var viewModel = ContactsViewModel()

    var body: some View {
        NavigationView {
            Group {
                if viewModel.permissionGranted {
                    List(viewModel.contacts, id: \.identifier) { contact in
                        VStack(alignment: .leading) {
                            // Format the full name
                            Text("\(contact.givenName) \(contact.familyName)")
                                .font(.headline)

                            // Get the first phone number (if it exists)
                            if let firstPhone = contact.phoneNumbers.first {
                                Text(firstPhone.value.stringValue)
                                    .font(.subheadline)
                                    .foregroundColor(.gray)
                            } else {
                                Text("No phone number")
                                    .font(.subheadline)
                                    .foregroundColor(.red)
                            }
                        }
                    }
                } else {
                    VStack(spacing: 20) {
                        Image(systemName: "person.crop.circle.badge.questionmark")
                            .font(.system(size: 60))
                            .foregroundColor(.blue)

                        Text("We need access to your contacts")
                            .font(.title2)
                            .multilineTextAlignment(.center)

                        Button("Grant Permission") {
                            Task {
                                await viewModel.requestAccess()
                            }
                        }
                        .buttonStyle(.borderedProminent)
                    }
                    .padding()
                }
            }
            .navigationTitle("My Contacts")
        }
    }
}
This structure demonstrates the power of SwiftUI. The view reacts automatically to state changes in permissionGranted and contacts. Furthermore, we use the native identifier property of CNContact as a unique identifier for the List component.
6. Creating and Saving New Contacts
An advanced iOS Developer doesn’t just read data but interacts bidirectionally. What if your app generates a profile and you want to add it directly to the iPhone’s native address book?
For this, we use CNMutableContact and an object called CNSaveRequest. Let’s add a function to our ViewModel to create a test contact.
    func createNewContact(firstName: String, lastName: String, phoneNumber: String) {
        // 1. Create a mutable instance
        let newContact = CNMutableContact()

        // 2. Assign the basic values
        newContact.givenName = firstName
        newContact.familyName = lastName

        // 3. Format the phone number
        // CNPhoneNumber requires a specific format, wrapped in a CNLabeledValue
        let phoneValue = CNPhoneNumber(stringValue: phoneNumber)
        let labeledPhone = CNLabeledValue(label: CNLabelPhoneNumberMobile, value: phoneValue)

        newContact.phoneNumbers = [labeledPhone]

        // 4. Create the save request
        let saveRequest = CNSaveRequest()
        saveRequest.add(newContact, toContainerWithIdentifier: nil)

        // 5. Execute the request through the store
        do {
            try contactStore.execute(saveRequest)
            print("Contact saved successfully.")

            // Re-fetch the list so the UI updates with the new contact
            Task {
                await fetchContacts()
            }

        } catch {
            print("Error saving contact: \(error.localizedDescription)")
        }
    }
In Swift, complex data like phone numbers, emails, or physical addresses are not assigned as simple Strings. They are wrapped in a CNLabeledValue, which allows labeling them as “Mobile”, “Home”, “Work”, etc.
7. Cross-Platform Considerations (iOS, macOS, watchOS)
One of the marvels of integrating Contacts in SwiftUI using Xcode is that much of the logic we just wrote is cross-platform. However, there are subtleties:
- iOS / iPadOS: The implementation is straightforward. Make sure you have the privacy description in the
Info.plistand it will work flawlessly. - macOS: If you are developing for Mac and your app uses “App Sandbox” (which is mandatory for the Mac App Store), you must go to the “Signing & Capabilities” tab in Xcode. There, under “App Sandbox,” you must explicitly check the “Contacts” box. If you skip this step, the framework will return silent fetch errors, even if you have the
Info.plistconfigured. - watchOS: The Apple Watch series has limited access. Although
CNContactStoreis available, you heavily rely on the watch being synced with the iPhone. Heavy write operations or massive fetches can drain the watch’s battery. Use this API on watchOS only for specific, lightweight queries.
8. Performance and Best Practices
To wrap up this guide, here are the most valuable tips for mastering the Contacts framework:
- No native pagination: Unlike SQL databases,
CNContactStoredoes not support native pagination (e.g., “give me the first 20 contacts, then the next 20”). TheenumerateContactsmethod brings everything in bulk. If you have a user with 5,000 contacts, this can be slow. Always execute the fetch in a concurrent block (as we did withTask.detached) to avoid freezing the SwiftUI UI. - Exception Handling: If you try to access the
contact.emailAddressesproperty in your SwiftUI view but forgot to includeCNContactEmailAddressesKeyin yourkeysToFetcharray, your app will immediately crash. Always verify the keys before consuming the properties usingcontact.isKeyAvailable(). - Using Predicates: If you are only looking for a specific contact (for example, searching for someone by name), do not fetch the entire address book. Use predicates:
CNContact.predicateForContacts(matchingName: "John"). Pass this predicate to yourCNContactFetchRequestso the operating system does the filtering at a low level ultra-fast.
Conclusion
Integrating the Contacts framework in SwiftUI perfectly demonstrates how Swift programming can bridge the gap between Apple’s solid, older architectures and the modern, reactive, cross-platform interface design that Xcode offers today.
If you have any questions about this article, please contact me and I will be happy to help you  . You can contact me on my X profile or on my Instagram profile.