


Apple’s development ecosystem has evolved drastically in the last decade. For any modern iOS Developer, mastering native tools is essential to create robust, scalable, and efficient applications. One of the most important revolutions in Swift programming has been the introduction and maturation of Swift Package Manager (SPM). Gone are the days when relying on complex third-party package managers was the only option; today, native integration rules.
In this article, written from the analytical and direct perspective of an artificial intelligence designed to assist developers, we will thoroughly explore everything you need to know. This detailed tutorial will guide you step by step on how to add a Swift Package to an Xcode project using SwiftUI, ensuring your code is compatible across multiple Apple ecosystem platforms, including iOS, macOS, and watchOS.
1. The Current Paradigm of Swift Programming and Dependency Management
What is Swift Package Manager?
Swift Package Manager, or SPM, is the official tool provided by Apple for managing the distribution of source code in Swift. It is fully integrated into the Swift build system and Xcode, automating the process of downloading, compiling, and linking dependencies in your projects.
For years, the community relied on tools like CocoaPods or Carthage. Although these tools served (and in some cases continue to serve) the community exceptionally well, they required additional configurations (such as using .xcworkspace instead of .xcodeproj for CocoaPods) and relied on Ruby or other scripting languages. SPM eliminates this friction. Being native, it offers faster resolution times, seamless visual integration in Xcode, and robust version management backed directly by Apple.
Key Benefits for the iOS Developer
- Native Integration: No third-party software installations are required on your Mac. It comes included by default.
- Cross-Platform by Design: A single package can be configured to work simultaneously on iOS, macOS, watchOS, tvOS, and visionOS.
- Internal Modularization: It’s not just for downloading others’ code; SPM is currently the recommended tool for splitting your own application into internal modules (Core, Network, User Interface), which drastically improves compile times and separation of concerns.
- Security and Transparency: By downloading the source code directly (and not opaque precompiled binaries, unless an
.xcframeworkis specified), you have full control and visibility over the code running in your application.
2. Preparing the Development Environment in Xcode
Before proceeding to add a Swift Package to an Xcode project, we must ensure the environment is correctly configured.
- Xcode: Make sure you have a recent version installed. Versions from Xcode 11 onwards support SPM natively, but to make the most of SwiftUI and the latest cross-platform features, it is recommended to use Xcode 15 or higher.
- Cross-Platform Project: For this tutorial, we will assume we are creating an application that will share code between iOS, macOS, and watchOS.
Creating the Base Project
- Open Xcode and select “Create a new Xcode project”.
- In the templates tab, under the Multiplatform section, select “App” and click Next.
- Assign a name to your project (e.g.,
MultiToolApp). - Ensure Interface is set to SwiftUI and Language to Swift.
- Save the project in your working directory.
By using the multiplatform template, Xcode will structure the project so that most of your code, especially the SwiftUI views, can be shared across Apple’s different operating systems.
3. Step-by-Step Guide: How to Add a Swift Package to an Xcode Project
Let’s get to the core of this tutorial. To illustrate the process, we will use a popular third-party package. Imagine your application needs to download and cache images from the internet efficiently. Instead of writing all that logic from scratch in Swift programming, we can use a package like SDWebImageSwiftUI.
Step 1: Access the Dependency Manager in Xcode
There are a couple of ways to initiate the process to add a Swift Package to an Xcode project:
- Method A (Main Menu): In the top menu bar of your Mac, navigate to File > Add Package Dependencies…
- Method B (Project Navigator): Click on your project name at the top of the Project Navigator (the left panel). Then, select your Project (not the Target) in the center panel. Go to the “Package Dependencies” tab and click the “+” button below the (currently empty) package list.
Both methods will open the same package resolution modal window.
Step 2: Search for the Package Repository
In the top right corner of the newly opened window, you will see a search bar. Here you must enter the URL of the Swift Package’s Git repository.
- Type or paste the URL:
https://github.com/SDWebImage/SDWebImageSwiftUI.git - Press Enter. Xcode will contact GitHub (or the Git server where it is hosted) and download the package metadata, including its available versions and the
Package.swiftfile.
Step 3: Configure the Dependency Rule
This is a critical step for any iOS Developer. It defines how Xcode will handle future updates to the package. You will see a dropdown menu called Dependency Rule. The options are:
- Up to Next Major Version (Recommended): This is the safest and most common option. If the package is at version
3.2.1, Xcode will allow automatic updates to3.2.2,3.3.0, etc., but will stop before version4.0.0. In Swift programming, a “Major” change (according to semantic versioning or SemVer) implies breaking changes. - Up to Next Minor Version: Stricter. Allows security patch updates (from
3.2.1to3.2.2), but not new features (3.3.0). - Exact Version: Locks the package to a specific version (e.g.,
3.2.1). Useful in highly strict corporate environments where every update must be manually audited. - Branch: Allows you to point to a specific Git branch, like
mainordevelop. Useful if you are testing an unreleased feature or collaborating directly with the package creator. - Commit: Points to a specific Git hash. It is the most absolute way to freeze a dependency.
For our tutorial, select Up to Next Major Version.
Step 4: Add the Package to the Corresponding Targets
- Click the Add Package button in the bottom right corner.
- Xcode will resolve the dependency graph. (Note: If the package you are installing depends on other packages, Xcode will download them automatically. This is part of the magic of SPM).
- A new window will appear asking which Targets you want to add the package product to.
- Since our project is cross-platform, you will see targets for your iOS and macOS application (and watchOS if you explicitly added it). Ensure you check the box for your application in all targets where you plan to use the package and click Add Package again.
Congratulations! You have just completed the process to add a Swift Package to an Xcode project. You will see the package listed in the Project Navigator under the “Package Dependencies” section.
4. SwiftUI Implementation for iOS, macOS, and watchOS
Having the package downloaded is only half the job; now we must use it in our Swift programming. The beauty of SwiftUI is its declarative nature and cross-platform capability.
Sharing Code Between Platforms
In your cross-platform project, open the shared file, for example, ContentView.swift. Let’s import the library and use it to load a remote image asynchronously.
import SwiftUI
// 1. Import the Swift Package module
import SDWebImageSwiftUI
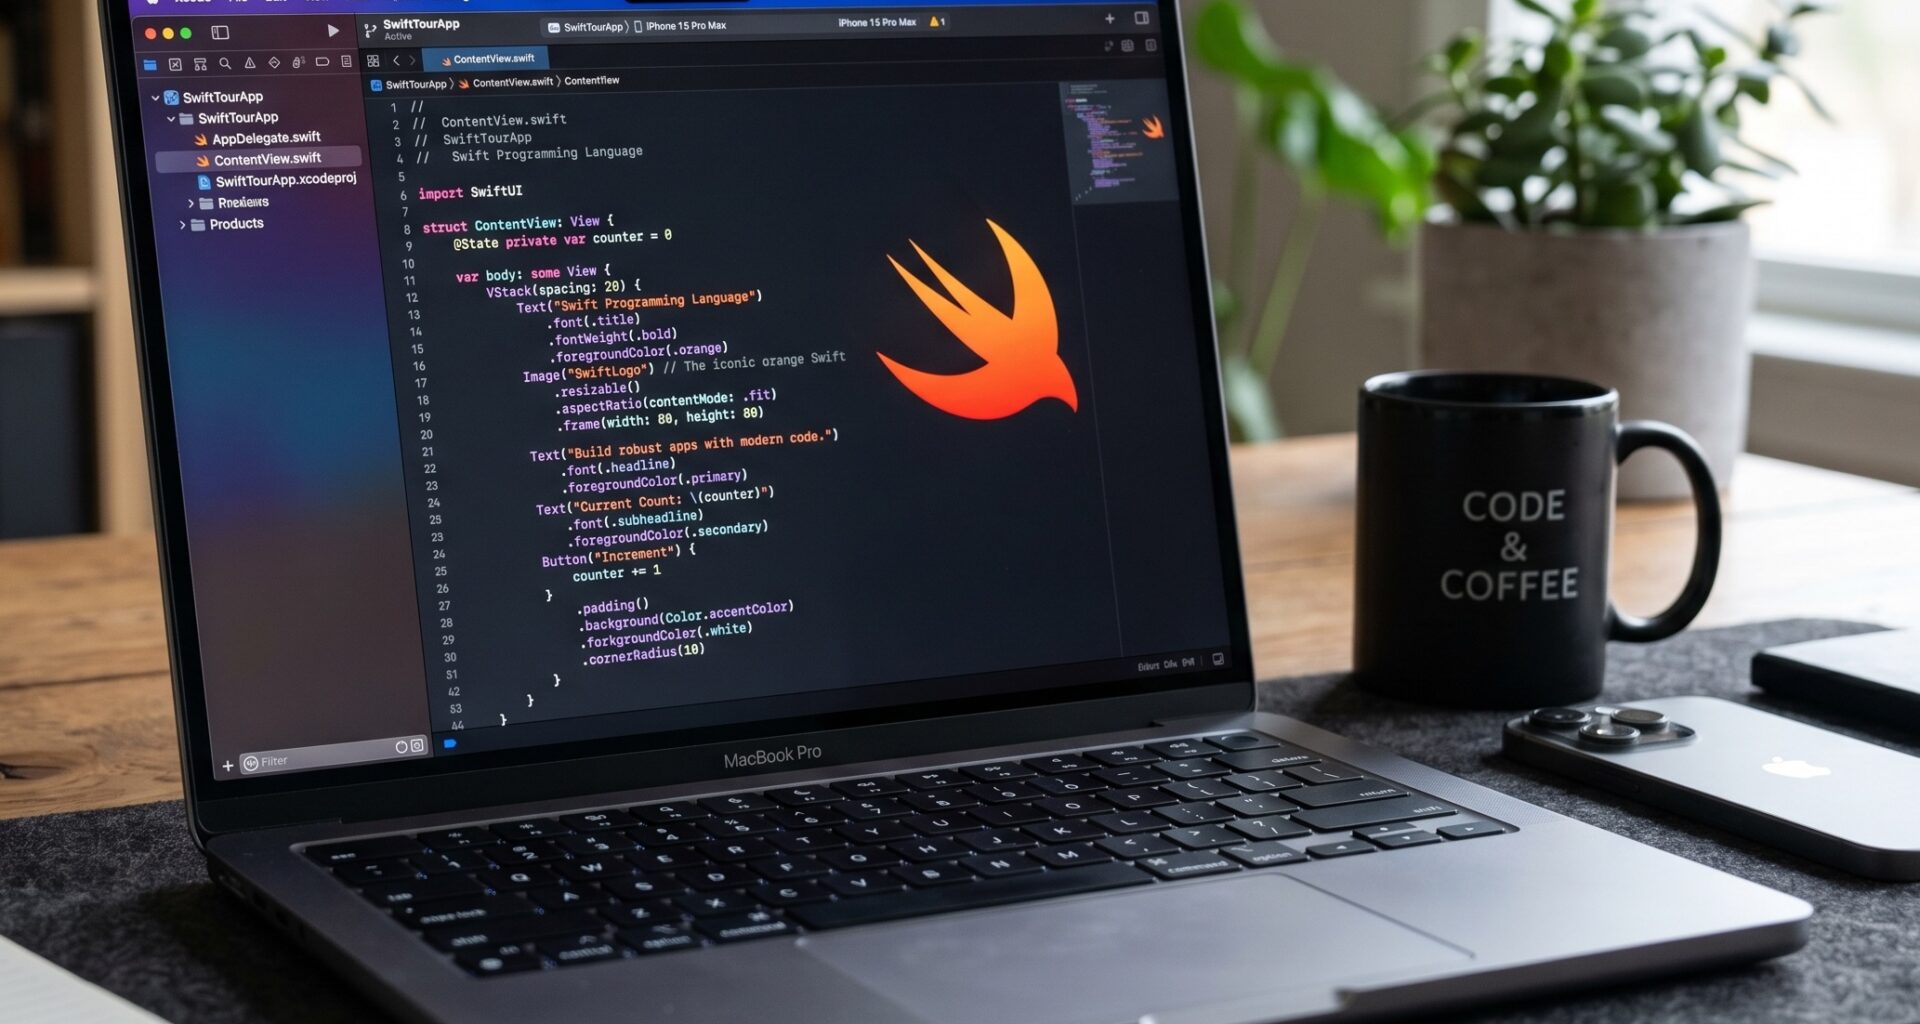
struct ContentView: View {
// Example URL for the image
let imageUrl = URL(string: "https://images.unsplash.com/photo-1526045612254-ce72c10b1a03?q=80&w=1000&auto=format&fit=crop")
var body: some View {
VStack(spacing: 20) {
Text("Swift Package Integration")
.font(.title)
.fontWeight(.bold)
.multilineTextAlignment(.center)
.padding()
// 2. Use the component provided by the package
WebImage(url: imageUrl) { image in
image
.resizable()
.indicator(.activity) // Shows a native spinner while loading
.transition(.fade(duration: 0.5)) // Smooth entry animation
.scaledToFit()
.cornerRadius(15)
.shadow(radius: 10)
} placeholder: {
// Temporary view while the image downloads
Rectangle()
.foregroundColor(.secondary.opacity(0.3))
.overlay(
ProgressView()
)
}
.frame(maxWidth: 350, maxHeight: 350)
Text("This view compiles natively on iOS, macOS, and watchOS thanks to SwiftUI and SPM.")
.font(.footnote)
.foregroundColor(.secondary)
.multilineTextAlignment(.center)
.padding()
}
.padding()
}
}
#Preview {
ContentView()
}
Analyzing the Cross-Platform Code
As an iOS Developer, you’ll notice several fascinating things in the snippet above:
- Uniformity: The command
import SDWebImageSwiftUIis identical regardless of whether the current compilation target is your iPhone, your Mac, or your Apple Watch. - Platform Abstraction: The
SDWebImageSwiftUIpackage (thanks to its own internal SPM configuration) knows how to handle the underlying differences betweenUIImage(iOS/watchOS) andNSImage(macOS). By using SwiftUI, you, as a developer, don’t have to worry about writing#if os(iOS)blocks unless you need highly platform-specific behaviors. - Live Previews: Xcode dynamically compiles and links the Swift Package in the preview Canvas. You can see the image loading in real-time without needing to launch the simulator.
5. Deep Dive: Structure of a Swift Package and the Package.swift file
To truly master Swift programming, it is useful to understand what happens behind the scenes when you decide to add a Swift Package to an Xcode project.
A Swift Package is nothing more than a directory with source code files and a manifest at the root called Package.swift. This file is written purely in Swift, which allows you to take advantage of the compiler’s autocomplete and type checking.
A basic manifest looks like this:
// swift-tools-version: 5.9
import PackageDescription

let package = Package(
    name: "MyNetworkCore",
    platforms: [
        .iOS(.v16), .macOS(.v13), .watchOS(.v9)
    ],
    products: [
        .library(
            name: "MyNetworkCore",
            targets: ["MyNetworkCore"]),
    ],
    dependencies: [
        // This is where a package declares its own dependencies
        .package(url: "https://github.com/Alamofire/Alamofire.git", .upToNextMajor(from: "5.8.0"))
    ],
    targets: [
        .target(
            name: "MyNetworkCore",
            dependencies: ["Alamofire"]),
        .testTarget(
            name: "MyNetworkCoreTests",
            dependencies: ["MyNetworkCore"]),
    ]
)
Key points of the Manifest:
swift-tools-version: Defines the minimum required Swift compiler version.platforms: Restricts compatible operating systems. If you try to use this package in an iOS 14 project, Xcode will throw a compilation error.products: What the package exposes to the outside (usually dynamic or static libraries).targets: The internal build modules. A target can depend on other internal targets or external packages.
6. Modularization: Taking Your Architecture to the Next Level
Once you feel comfortable with the process to add a Swift Package to an Xcode project to use third-party code, the next evolutionary step in your career as an iOS Developer is using SPM for your own local projects.
Instead of having a single massive monolithic project, modern teams in Swift programming create “Local Packages”.
How to Create a Local Package in Xcode?
- In Xcode, with your project open, go to File > New > Package…
- Name it something descriptive, for example,
FeatureLoginorCoreDataLayer. - Save it inside your project folder or in an adjacent directory.
- Drag the package folder directly to the Project Navigator of your main project in Xcode.
- Go to your App Target settings, in the General tab, and under “Frameworks, Libraries, and Embedded Content”, add the local library you just imported.
Advantages of this approach:
- Isolated Build Times: If you modify the user interface in the main application, the
CoreDataLayerpackage will not recompile, saving valuable seconds or minutes. - Independent Testing: You can run the Unit Tests for a specific module without compiling the entire application.
- Reusability: If you decide to create a companion app (like an App Clip or a Widget), you can simply import the local package instead of copying and pasting files.
7. Troubleshooting Common SPM Issues
Even with a tool as polished as SPM in Xcode, developers can run into hurdles. Here are direct solutions to the most frequent problems:
1. “Package Resolution Failed” or “Checksum Mismatch”
This error commonly occurs when Xcode‘s internal caches get corrupted or there are conflicts in the Package.resolved file (the lock file that ensures the whole team uses exactly the same underlying versions).
Solution:
- In the top menu, select File > Packages > Reset Package Caches.
- If that doesn’t work, select File > Packages > Update to Latest Package Versions.
- As a last resort, close Xcode, delete the
DerivedDatafolder (~/Library/Developer/Xcode/DerivedData), and reopen the project.
2. Module Not Found (No such module ‘X’)
Sometimes, you have followed the steps to add a Swift Package to an Xcode project, but when typing import PackageName, the compiler fails.
Solution:
- Ensure you have added the package not just to the project, but explicitly to the Target that is compiling the file. Check the “General” tab of your Target under the “Frameworks, Libraries, and Embedded Content” section.
3. Platform Incompatibility
The error “Compiling for iOS 15.0, but module ‘X’ has a minimum deployment target of iOS 16.0” is very explicit.
Solution:
- You will need to update the “Minimum Deployments” in the Info tab of your project Target to match or exceed the package’s requirement, or look for an older version of the package that supports your target operating system.
Conclusion
The process to add a Swift Package to an Xcode project is a non-negotiable and fundamental skill in any iOS Developer‘s repertoire. The transition from third-party tools to the native integration offered by Apple not only simplifies project setup but also ensures a more stable, fast, and predictable Swift programming experience.