


In the competitive world of mobile development, a static user interface is no longer enough. Users expect applications that feel alive, responsive, and capable of guiding them fluidly through the experience. For an iOS developer, mastering the art of motion is crucial. And when we talk about interfaces, text is king. It isn’t just a medium to convey information; it is a design element that can (and should) come to life.
The arrival of SwiftUI radically changed the animation landscape in the Apple ecosystem. Gone are the days of struggling with complex constraints or endless blocks of UIView.animate in UIKit. SwiftUI, with its declarative paradigm, makes animating text not only possible but surprisingly intuitive once you understand the rules of the game.
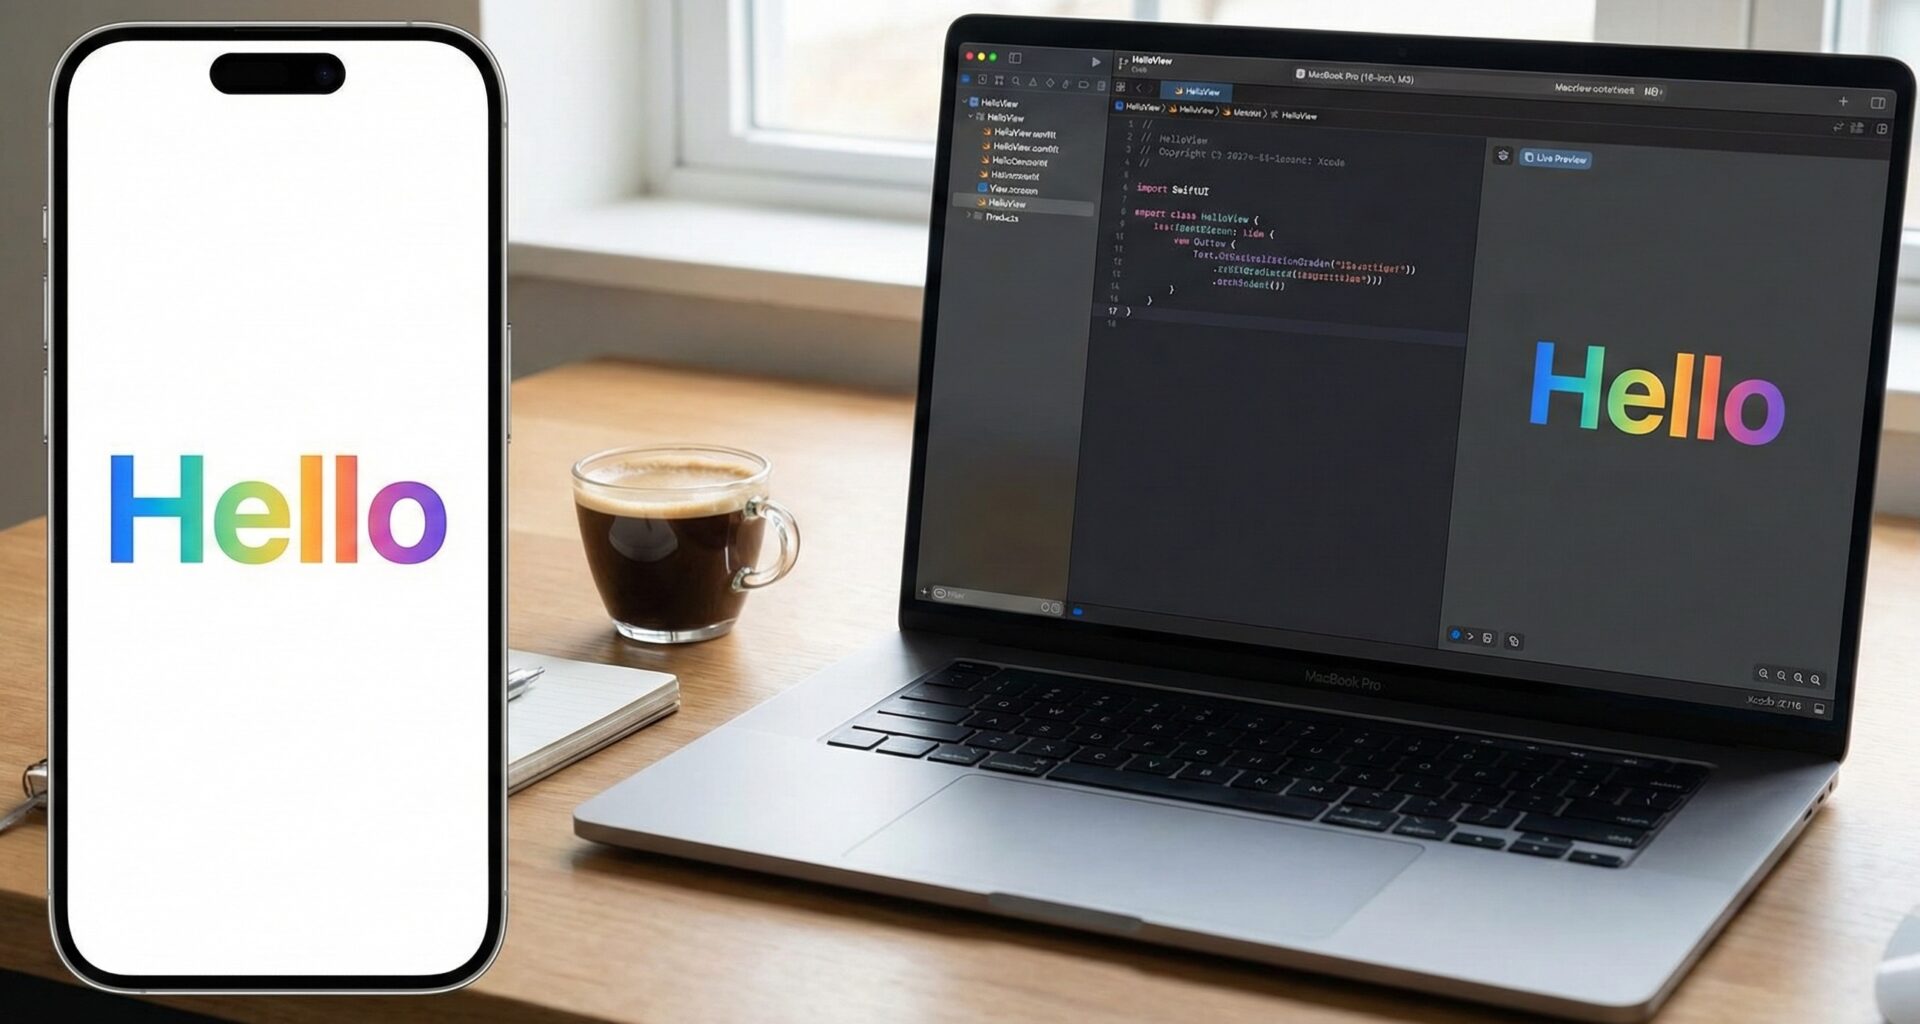
This tutorial is designed for the developer who is already comfortable with Swift programming and the basics of SwiftUI but wants to take their UIs to the next level. We will explore everything from basic animations to advanced techniques that require a deep dive into how SwiftUI renders and updates views. Best of all, thanks to SwiftUI’s cross-platform nature, almost everything you learn here can be applied directly to apps for iOS, macOS, and watchOS using the same Xcode.
Get ready to bring your words to life and transform your user experience.
The Fundamentals: State as the Animation Engine
In SwiftUI, animation isn’t something you “do” to a view; it is the visual representation of a state change over time. This is the cornerstone of modern Swift programming for UIs.
To animate text, we must first understand which text properties are natively “animatable” by SwiftUI and which require a bit more ingenuity.
Implicit Animations: The Easy Way
The simplest way to animate is by using the .animation() modifier. This modifier tells SwiftUI: “If the value I am observing changes, don’t jump to the new state; interpolate smoothly towards it.”
Let’s start with simple properties that SwiftUI knows how to interpolate perfectly: opacity, color, and scale (transform).
Open Xcode and create a new SwiftUI project. Try the following code:
import SwiftUI

struct BasicTextAnimationView: View {
    // The state that drives the animation
    @State private var isActive: Bool = false

    var body: some View {
        VStack(spacing: 20) {
            Text("Hello, SwiftUI!")
                .font(.largeTitle)
                .fontWeight(.bold)
                // Property 1: Animatable Color
                .foregroundColor(isActive ? .blue : .gray)
                // Property 2: Animatable Scale (Transform)
                .scaleEffect(isActive ? 1.5 : 1.0)
                // Property 3: Animatable Opacity
                .opacity(isActive ? 1.0 : 0.5)
                // The magic modifier that smooths the changes above
                .animation(.easeInOut(duration: 0.8), value: isActive)

            Button("Animate") {
                // We simply toggle the state
                isActive.toggle()
            }
            .buttonStyle(.borderedProminent)
        }
    }
}

#Preview {
    BasicTextAnimationView()
}
Analysis for the iOS Developer:
@State private var isActive: This boolean variable is the trigger.- Ternary Modifiers: We use
isActive ? valueA : valueBto define the two visual states of the text. .scaleEffectvs. Changing Font Size: This is a critical distinction..scaleEffectapplies a vector transformation to the view after it is rendered. It is very efficient and smooth. If you tried changing.font(.system(size: isActive ? 30 : 20)), you would see the text “jump” in size rather than growing smoothly (we will see how to solve this later)..animation(..., value: isActive): This is the modern standard in SwiftUI. We bind the animation specifically to the change of theisActivevariable.
This code works perfectly on an iPhone, a Mac window, or the small screen of an Apple Watch.
The Text Challenge: What is NOT Animatable by Default
As an experienced iOS developer, you will soon hit a wall. SwiftUI is excellent at animating numbers (CGFloat, Double, Color), but it does not inherently know how to animate text strings (String) or complex font properties.
If you try this:
@State private var text = "Hello"
// ... then you change it to ...
text = "World"
The text will simply change abruptly. SwiftUI doesn’t know how to transform the ‘H’ into ‘W’ pixel by pixel natively.
Similarly, if you try to animate the font weight (fontWeight) from .regular to .bold directly inside an animation block, you will often see a harsh jump, as not all font modifiers are interpolatable by default.
To overcome this, we need advanced techniques.
Advanced Technique 1: The Typewriter Effect
This is a classic and highly requested effect that simulates text appearing character by character. It isn’t an “animation” in the sense of interpolating values, but rather a smart manipulation of the string state over time using the asynchronous capabilities of Swift programming.
Let’s create a reusable view for this.
import SwiftUI

struct TypewriterText: View {
    let fullText: String
    let speed: TimeInterval
    @State private var displayedText: String = ""

    init(_ text: String, speed: TimeInterval = 0.05) {
        self.fullText = text
        self.speed = speed
    }

    var body: some View {
        Text(displayedText)
            .font(.title2)
            .fontWeight(.medium)
            .onAppear {
                startTyping()
            }
    }

    private func startTyping() {
        // Reset in case the view is reused
        displayedText = ""

        // We use Swift Concurrency for clean timing management
        Task {
            for char in fullText {
                // Small pause between characters
                try? await Task.sleep(nanoseconds: UInt64(speed * 1_000_000_000))

                // Update state on the main thread
                await MainActor.run {
                    displayedText.append(char)
                }
            }
        }
    }
}

// Usage Example
struct TypewriterDemoView: View {
    @State private var key = UUID() // Trick to reset the view

    var body: some View {
        VStack {
            TypewriterText("Welcome to the future of SwiftUI. Animating text was never this easy.", speed: 0.08)
                .multilineTextAlignment(.center)
                .padding()
                .id(key) // Forces redraw if ID changes

            Button("Restart") {
                key = UUID()
            }
            .padding(.top)
        }
    }
}

#Preview {
    TypewriterDemoView()
}
Why this works for an iOS Developer:
- Swift Concurrency (
Task,await sleep): This is the modern way to handle delays instead of the oldTimerorDispatchQueue.main.asyncAfter. It keeps the code clean and readable. @State displayedText: The view only knows it must display this variable. The business logic adds letters to this variable little by little, and SwiftUI’s reactive system takes care of updating the UI with each addition.
Advanced Technique 2: Animating the “Unanimatable” with AnimatableModifier
Let’s go back to the font size problem. Why does .font(.system(size: 20)) jump to size: 40 without a transition?
SwiftUI needs to know how to calculate the intermediate steps (e.g., size 20.1, 20.5, 25.0, 39.9…). For properties that SwiftUI doesn’t support natively, we must implement the Animatable protocol.
The Animatable protocol requires an animatableData property. SwiftUI will ask this property to change smoothly from an initial value to a final value, and we will use that changing value to configure our view.
Let’s create a custom modifier to animate font size smoothly. This is intermediate-advanced Swift programming applied to UI.
import SwiftUI

// 1. Define a Struct that conforms to AnimatableModifier
struct AnimatableFontSizeModifier: AnimatableModifier {
    var size: CGFloat
    var weight: Font.Weight

    // 2. The key: animatableData.
    // We tell SwiftUI: "When you want to animate, use this 'size' value".
    // SwiftUI will interpolate 'size' (e.g., from 20.0 to 40.0) many times per second.
    var animatableData: CGFloat {
        get { size }
        set { size = newValue }
    }

    func body(content: Content) -> some View {
        // 3. We use the interpolated 'size' value to create the font in every frame
        content
            .font(.system(size: size, weight: weight))
    }
}

// Extension to make usage easier
extension View {
    func animatableFont(size: CGFloat, weight: Font.Weight = .regular) -> some View {
        self.modifier(AnimatableFontSizeModifier(size: size, weight: weight))
    }
}

// Usage Example
struct SmoothFontResizeView: View {
    @State private var isLarge: Bool = false

    var body: some View {
        VStack {
            Text("Smooth Size")
                // We use our custom modifier instead of .font()
                .animatableFont(size: isLarge ? 50 : 20, weight: .bold)
                .foregroundColor(.purple)
                // Explicit animation is necessary here
                .animation(.spring(response: 0.6, dampingFraction: 0.7), value: isLarge)

            Button("Change Size") {
                isLarge.toggle()
            }
            .padding(.top, 30)
        }
    }
}

#Preview {
    SmoothFontResizeView()
}
Deep Analysis:
This pattern is fundamental for any iOS developer who wants to master SwiftUI. By implementing animatableData, you open the door to animating anything that can be represented numerically (even custom colors, drawing paths, etc.).
When you toggle isLarge, SwiftUI says: “I need to go from size 20 to 50. I will use a ‘spring’ type animation. I’m going to call AnimatableFontSizeModifier 60 times per second, passing values like 21.5, 28.3, 35.1, 48.9… and you will redraw the text with that exact size.” The result is a perfectly smooth font interpolation that cannot be achieved with .scaleEffect.
Advanced Technique 3: Character-by-Character Animation (The Wave Effect)
To achieve truly dynamic effects, where each letter seems to move independently (like a wave, or letters flying in one by one), we need to break the text chain.
SwiftUI treats a Text object as a monolithic unit. To animate text by letter, we must split the String into an array of characters and use ForEach to create an individual Text view for each letter, placing them in an HStack.
Once separated, we can apply animations with a delay based on the index of each letter.
import SwiftUI

struct WavyText: View {
    let text: String
    @State private var isWaving: Bool = false

    // Split text into characters and their indices
    var characters: [(offset: Int, element: Character)] {
        Array(text.enumerated())
    }

    var body: some View {
        HStack(spacing: 0) { // Spacing 0 so it looks like a joined word
            ForEach(characters, id: \.offset) { index, char in
                Text(String(char))
                    .font(.largeTitle)
                    .fontWeight(.heavy)
                    .foregroundColor(.teal)
                    // Apply a vertical offset based on state
                    .offset(y: isWaving ? -20 : 0)
                    // Here is the magic: a delay based on the index
                    .animation(
                        .easeInOut(duration: 0.5)
                        .repeatForever(autoreverses: true)
                        .delay(Double(index) * 0.05), // Staggered delay
                        value: isWaving
                    )
            }
        }
        .onAppear {
            // Start animation on appear
            isWaving = true
        }
    }
}

struct WavyTextDemo: View {
    var body: some View {
        WavyText(text: "SwiftUI Rocks!")
    }
}

#Preview {
    WavyTextDemo()
}
Considerations for the iOS Developer:
- Performance: Splitting very long texts into hundreds of individual
Textviews can impact performance if not careful. For short titles or impact phrases, it is perfect. HStack(spacing: 0): This is crucial so that the letters don’t look separated. Keep in mind this might slightly affect the font’s kerning (natural spacing between letters), but for visual effects, it is usually acceptable.delay(Double(index) * factor): This formula is the key to creating sequential or “wave” movements.
Multiplatform Considerations (iOS, macOS, watchOS)
One of the biggest promises of learning SwiftUI as an iOS developer is portability.
The three examples above work correctly on macOS and watchOS with minimal or no changes.
- On watchOS, space is limited. “Typewriter” or “WavyText” animations are excellent for large complications or notification screens where text is the protagonist.
- On macOS, you have more space and mouse interaction. You could use the
.onHovermodifier to trigger these text animations when the user hovers the cursor over a title, adding an incredible level of polish to your desktop apps.
The key is that the logic of Swift programming and the animation modifiers (.animation, .offset, AnimatableModifier) are platform-agnostic.
Conclusion
Animating text in SwiftUI has gone from being an almost impossible task in early versions to a creative playground for the modern iOS developer.
We have journeyed from basic implicit animations (color, scale) to advanced techniques requiring an understanding of the SwiftUI render cycle (AnimatableModifier) and string manipulation (character-by-character effects).
Animation shouldn’t be an afterthought; it is a fundamental part of how you communicate changes and guide the user through your application. With the tools that Xcode and SwiftUI put at your disposal, the only limit is your creativity. Don’t be afraid to experiment, combine these techniques, and dive deep into the Animatable documentation.
If you have any questions about this article, please contact me and I will be happy to help you 🙂. You can contact me on my X profile or on my Instagram profile.