In the fast-paced world of mobile development, User Experience (UX) is everything. For an iOS Developer, few interactions are as critical and universally recognized as “Pull to Refresh.” Since its popularization in the early days of iOS, this gesture has become the de facto standard for reloading data in lists and collections.
With the arrival and maturation of SwiftUI, the way we implement this functionality has changed radically compared to UIKit. Forget complex delegates and manual loading state management. In modern Swift programming, the .refreshable() modifier is the ultimate tool Apple provides us to manage asynchronous content updates natively.
In this comprehensive tutorial, designed for developers using Xcode, we will explore how to master Pull to Refresh in SwiftUI. We won’t just look at the basic implementation, but we’ll dive deep into MVVM architecture, concurrency with async/await, and how to adapt this functionality for professional applications on iOS, macOS, and watchOS.
From UIRefreshControl to SwiftUI Declarativity
Historically, in UIKit, a developer had to instantiate a UIRefreshControl, assign it to a UITableView, configure a target-action, and remember to manually call endRefreshing() when the task was finished. It was an imperative process prone to state errors.
SwiftUI changes this paradigm. Instead of manipulating the view directly, we declare the intent for a view to be refreshable. The operating system handles the “how” (showing the spinner or appropriate animation), while you focus on the “what” (the asynchronous business logic).
The .refreshable() Modifier: Technical Fundamentals
Introduced in iOS 15, the .refreshable() modifier leverages the power of Swift’s structured concurrency. Its signature expects an asynchronous closure (async). This is fundamental because SwiftUI automatically manages the loading indicator’s lifecycle based on the duration of your asynchronous function.
Let’s first look at the data structure we will use for our example: a news app for developers.
import SwiftUI

// Simple Data Model
struct NewsItem: Identifiable, Decodable {
    let id: UUID
    let title: String
    let category: String
}

// Mock Data
let initialNews = [
    NewsItem(id: UUID(), title: "Swift 6: Concurrency News", category: "Language"),
    NewsItem(id: UUID(), title: "Xcode 16 and Generative AI", category: "IDE"),
    NewsItem(id: UUID(), title: "Modular Architecture in iOS", category: "Architecture")
]
Basic Implementation in a List
The most common container for implementing Pull to Refresh in SwiftUI is the List. Below, we will create a basic view that displays this data and allows the user to update it.
In this example, we will use Task.sleep to simulate a network call and demonstrate how the interface automatically responds to the wait time.
struct NewsFeedView: View {
    // Local state for the view
    @State private var news: [NewsItem] = initialNews

    var body: some View {
        NavigationStack {
            List(news) { item in
                VStack(alignment: .leading) {
                    Text(item.title)
                        .font(.headline)
                    Text(item.category)
                        .font(.caption)
                        .foregroundColor(.secondary)
                }
            }
            .navigationTitle("Swift News")
            // PULL TO REFRESH IMPLEMENTATION
            .refreshable {
                await fetchNewData()
            }
        }
    }

    // Async function simulating a network request
    func fetchNewData() async {
        // 1. Simulate network latency (2 seconds)
        // Note: In a real environment, this would be a URLSession call
        try? await Task.sleep(nanoseconds: 2 * 1_000_000_000)

        // 2. Create a new item
        let newItem = NewsItem(
            id: UUID(),
            title: "New Article: Mastering SwiftUI",
            category: "Tutorial"
        )

        // 3. Update state
        // SwiftUI ensures this happens on the MainActor automatically
        // when returning from suspension inside a View.
        withAnimation {
            news.insert(newItem, at: 0)
        }
    }
}
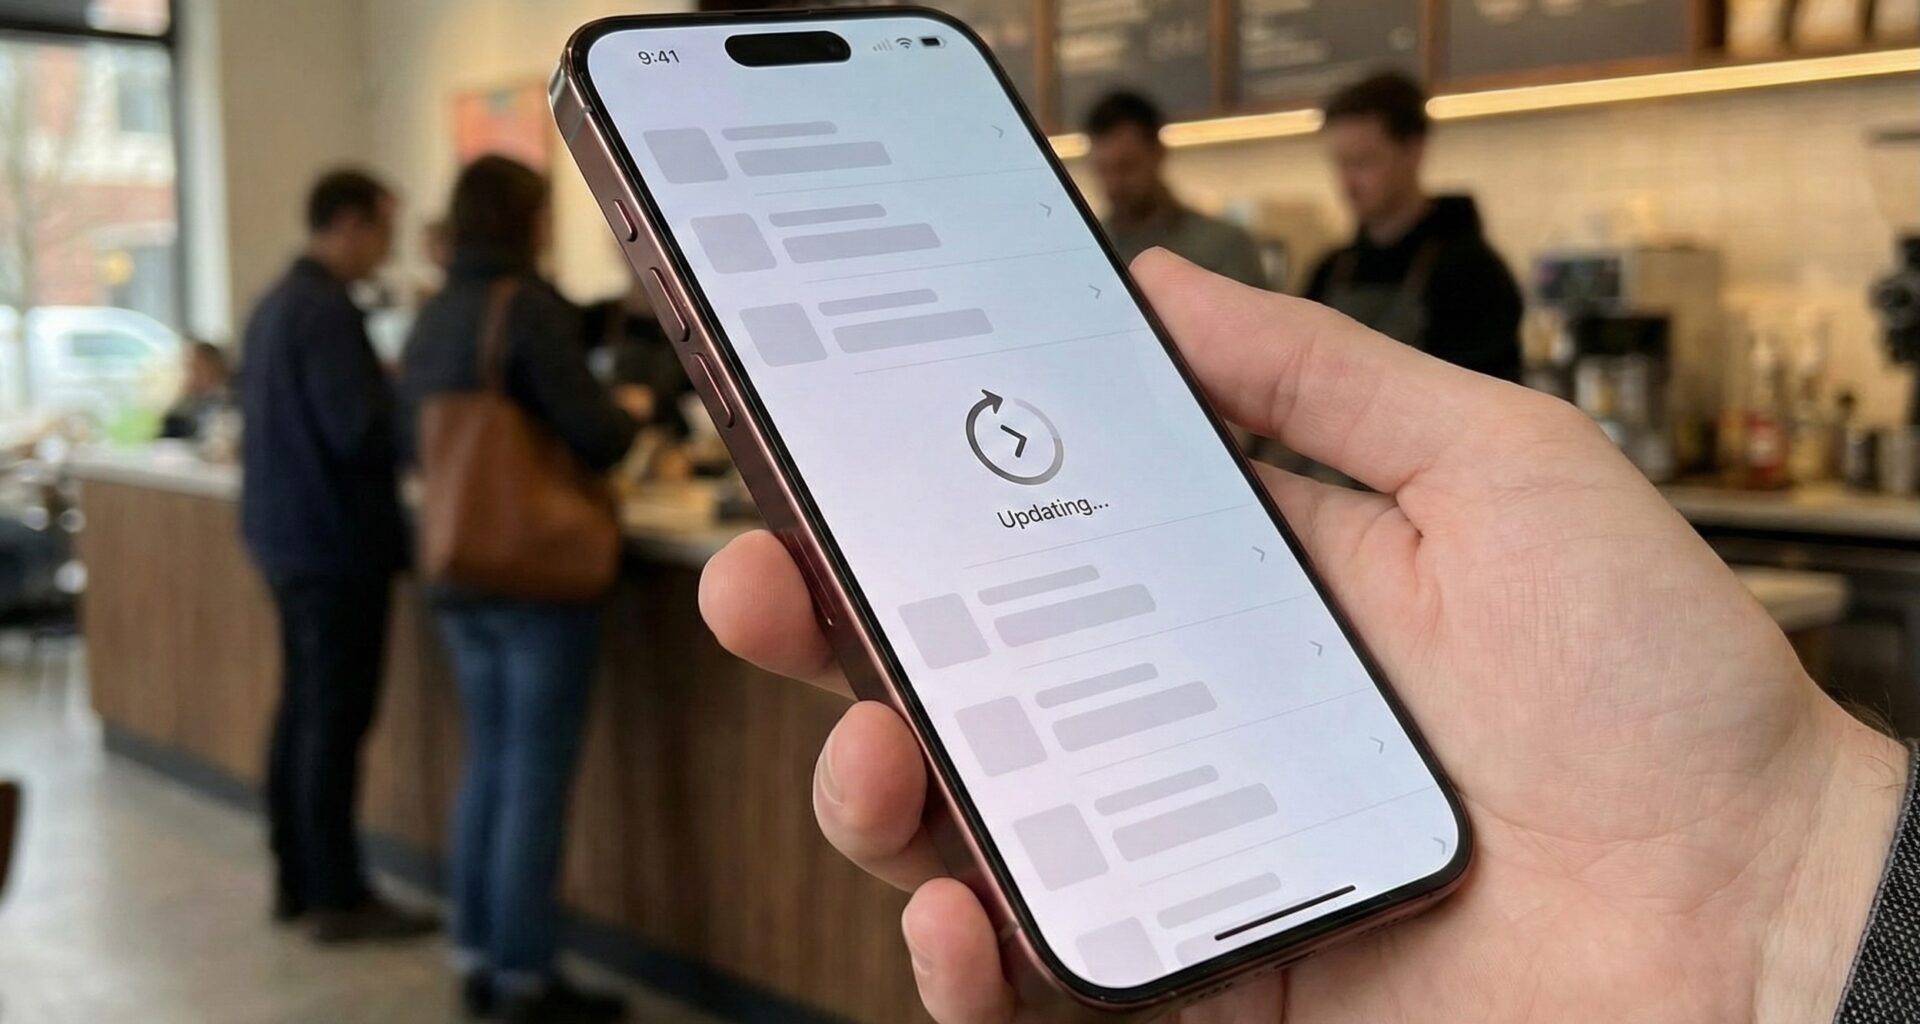
When running this code in the Xcode simulator, you will see that dragging the list down reveals the native spinner. It keeps spinning for exactly the 2 seconds that Task.sleep lasts and disappears automatically when the function returns.
MVVM Architecture and Advanced Concurrency
Any senior iOS Developer will tell you that business logic should not reside inside the View. To keep our code clean, testable, and scalable, we must move the update logic to a ViewModel.
This is where modern Swift programming shines. We will use the @MainActor attribute to ensure UI updates are safe, and ObservableObject for data binding.
import SwiftUI

@MainActor
class NewsViewModel: ObservableObject {
    @Published var news: [NewsItem] = []

    init() {
        self.news = initialNews
    }

    // The function that .refreshable() will call
    func refreshNews() async {
        do {
            // Simulate loading
            try await Task.sleep(for: .seconds(1.5))

            // "Business" logic to fetch data
            let randomUpdate = NewsItem(
                id: UUID(),
                title: "Update received: \(Date().formatted(date: .omitted, time: .standard))",
                category: "Live Feed"
            )

            // Since it's @MainActor, we can modify @Published safely
            self.news.insert(randomUpdate, at: 0)

        } catch {
            print("Error updating: \(error)")
        }
    }
}
Now, our view becomes much more declarative and clean, fully delegating responsibility to the ViewModel:
struct CleanNewsFeedView: View {
    @StateObject private var viewModel = NewsViewModel()

    var body: some View {
        NavigationStack {
            List(viewModel.news) { item in
                VStack(alignment: .leading) {
                    Text(item.title)
                        .font(.headline)
                    Text(item.category)
                        .font(.subheadline)
                }
            }
            .navigationTitle("Swift News")
            .refreshable {
                // The view waits for the ViewModel to finish its work
                await viewModel.refreshNews()
            }
        }
    }
}
Support for ScrollView and Lazy Stacks (iOS 16+)
One of the biggest recent advancements for an iOS Developer using SwiftUI was the extension of .refreshable() support to ScrollView in iOS 16. Previously, we were limited to List, which restricted custom layout possibilities.
Now you can have complex layouts with LazyVStack or LazyVGrid inside a ScrollView and maintain the native drag-to-refresh functionality.
struct CustomLayoutView: View {
    @StateObject private var viewModel = NewsViewModel()

    var body: some View {
        ScrollView {
            // Use LazyVStack for performance with lots of data
            LazyVStack(spacing: 16) {
                ForEach(viewModel.news) { item in
                    // A custom card view
                    HStack {
                        Circle()
                            .fill(Color.blue)
                            .frame(width: 40, height: 40)
                        VStack(alignment: .leading) {
                            Text(item.title).bold()
                            Text(item.category).font(.caption)
                        }
                        Spacer()
                    }
                    .padding()
                    .background(Color(.systemGray6))
                    .cornerRadius(10)
                }
            }
            .padding()
        }
        // The modifier works the same way on ScrollView
        .refreshable {
            await viewModel.refreshNews()
        }
    }
}
Multi-platform Adaptability: iOS, macOS, and watchOS
One of SwiftUI‘s promises is “learn once, apply everywhere.” However, the behavior of .refreshable() intelligently adapts to the platform where the code runs:
- iOS and iPadOS: Displays the classic circular spinner (UIActivityIndicator) when dragging content down.
- macOS: Since “pulling” with a mouse isn’t natural, SwiftUI doesn’t show the spinner by default when dragging. Instead, it automatically enables the standard
Cmd + Rkeyboard shortcut and adds a “Refresh” option to the “View” menu in the Mac menu bar. This is crucial for desktop accessibility. - watchOS: On the Apple Watch, space is vital. The modifier adds a toolbar-style button at the top of the list or allows a specific scroll interaction tailored for watches.
Error Handling and User Feedback
In a production environment, requests fail. If your async function throws an error or fails silently, the spinner will simply disappear, leaving the user confused. As a good iOS Developer, you must manage these errors.
Below, we present a robust pattern for handling errors within the refresh flow:
@MainActor
class RobustViewModel: ObservableObject {
    @Published var items: [String] = []
    @Published var errorMessage: String?
    @Published var showError: Bool = false

    func reloadData() async {
        do {
            // Attempt network call
            try await performNetworkCall()
        } catch {
            // Capture the error
            self.errorMessage = "Could not connect to server. Please try again."
            self.showError = true
            // Important: The function ends here, so the UI spinner disappears,
            // and immediately after, we show the alert.
        }
    }

    private func performNetworkCall() async throws {
        // Simulate random failure
        try await Task.sleep(for: .seconds(1))
        if Bool.random() { throw URLError(.notConnectedToInternet) }
    }
}

// Implementation in the View
struct ErrorHandlingView: View {
    @StateObject var vm = RobustViewModel()

    var body: some View {
        List(vm.items, id: \.self) { item in
            Text(item)
        }
        .refreshable {
            await vm.reloadData()
        }
        .alert("Error", isPresented: $vm.showError) {
            Button("OK", role: .cancel) { }
        } message: {
            Text(vm.errorMessage ?? "Unknown error")
        }
    }
}
Customization: Can We Change the Spinner Color?
A frequent question when working with Pull to Refresh in SwiftUI is visual customization. Unlike UIKit, SwiftUI does not offer (as of Xcode 15/16) a direct modifier like .refreshableStyle(color: .red).
To achieve this, we must resort to UIKit interoperability, modifying the global appearance of UIRefreshControl. Although not the “purest” SwiftUI solution, it is effective and widely used.
init() {
    // This will affect all lists in the application
    UIRefreshControl.appearance().tintColor = UIColor.systemIndigo
    UIRefreshControl.appearance().attributedTitle = NSAttributedString(string: "Updating content...")
}
Conclusion
Implementing Pull to Refresh in SwiftUI is a testament to how Apple is simplifying development in Xcode. What used to require multiple lines of configuration and delegates is now solved with a single modifier and a robust asynchronous function.
Mastering the .refreshable() modifier is essential for any iOS Developer looking to build modern, reactive apps that feel native in the Apple ecosystem. Always remember to separate your logic into a ViewModel and handle errors to provide the best possible experience for your users.
If you have any questions about this article, please contact me and I will be happy to help you 🙂. You can contact me on my X profile or on my Instagram profile.