


In the universe of Swift programming, aesthetics and UI fluidity are not mere decorations; they are fundamental requirements for a quality user experience (UX). For an iOS Developer, the transition between a list and a detail view has historically been a considerable technical challenge. In the days of UIKit, achieving a smooth transition where an element expands and transforms into another (popularly known as “Hero Animation”) required complex mathematics, CGRect calculations, view snapshots, and a lot of boilerplate code in Xcode.
With the consolidation of SwiftUI, Apple gifted us one of the most powerful and visually striking tools in the framework: matchedGeometryEffect().
In this in-depth technical tutorial, we will break down what it is, how it works under the hood, and how you can use matchedGeometryEffect() in SwiftUI to develop world-class applications for iOS, macOS, and watchOS.
What is matchedGeometryEffect() in SwiftUI?
Before writing a single line of Swift code, it is crucial to understand the model behind this function. matchedGeometryEffect() is not an animation in the traditional sense (like a manually interpolated opacity or scale change). It is a geometry synchronization mechanism.
Its main function is to tell the SwiftUI rendering engine:
“I have two distinct views in different parts of the view hierarchy. I want View A to visually transform into View B, sharing its position and size during the transition.”
Imagine the iOS App Store. When you tap a “Today” card, it expands from its position in the list to fill the entire screen. It’s not that the card grows magically; the list view disappears and the detail view appears, but matchedGeometryEffect interpolates the pixels to make it look like a continuous, uninterrupted movement.
Why is it Essential for the Modern iOS Developer?
- Visual Continuity: Maintains the user’s spatial context, reducing cognitive load.
- Code Reduction: Eliminates hundreds of lines of manual frame calculations.
- Native and Optimized: Runs at 120Hz on ProMotion devices, managed directly by Metal.
Key Concepts: The Namespace
To use matchedGeometryEffect(), you need a common identifier that links the two views you want to synchronize. Since these views might reside in different files or different branches of the view tree, SwiftUI uses a safety container called @Namespace.
@Namespace private var animationNamespace
This Namespace acts as the isolated “universe” where your geometry identifiers live, preventing collisions with other animations in the app.
Step-by-Step Tutorial: Your First Geometry Animation
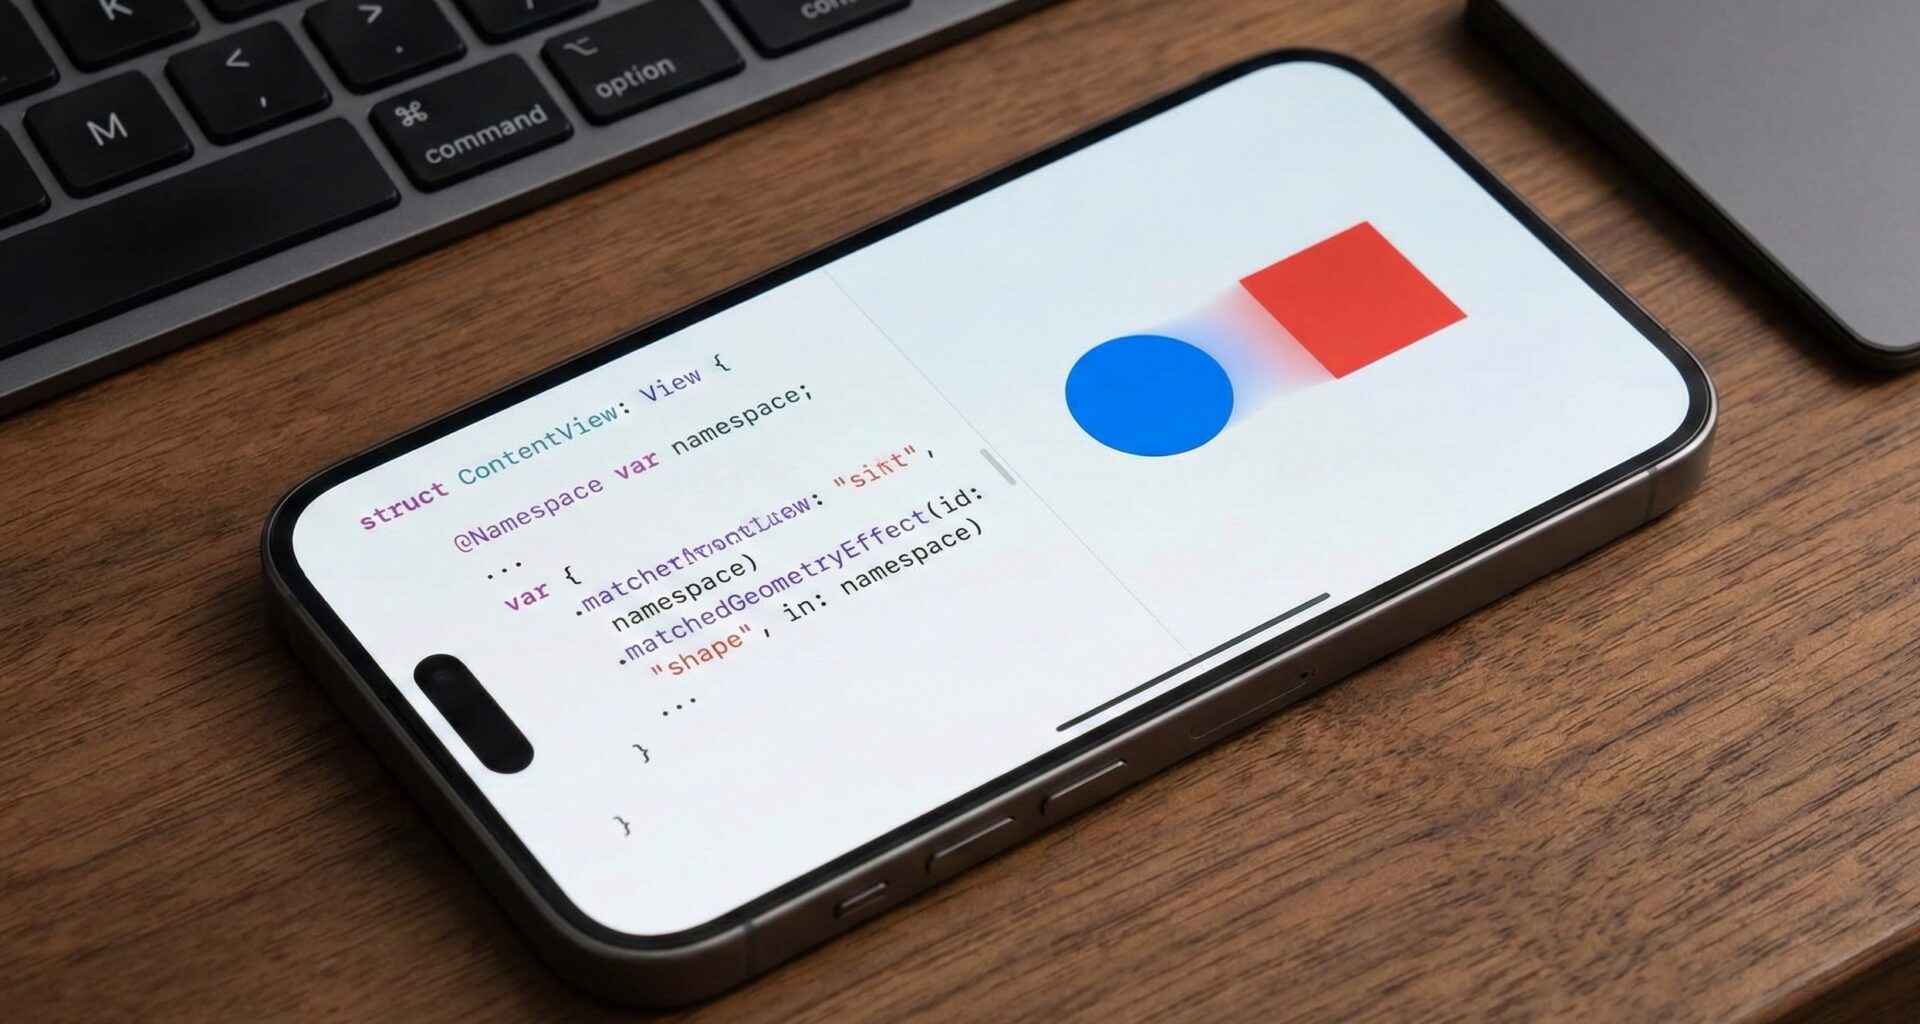
We are going to create the most basic example possible in Xcode to understand the physics of the effect. We will make a red circle at the top transform into a blue rectangle at the bottom when a button is pressed.
Step 1: Setting up State and View
We need a state variable (@State) to know when to change the view and trigger the animation.
struct BasicConcept: View {
    @State private var isFlipped = false
    @Namespace private var nspace // The magic glue

    var body: some View {
        VStack {
            if !isFlipped {
                Circle()
                    .fill(Color.red)
                    .frame(width: 50, height: 50)
                    // Geometry marker: We identify this view
                    .matchedGeometryEffect(id: "geoID", in: nspace)
            } else {
                Spacer()
                Rectangle()
                    .fill(Color.blue)
                    .frame(width: 200, height: 100)
                    // Same ID, same Namespace: SwiftUI will interpolate them
                    .matchedGeometryEffect(id: "geoID", in: nspace)
            }
        }
        .onTapGesture {
            // IMPORTANT! The state change must be animated
            withAnimation(.spring()) {
                isFlipped.toggle()
            }
        }
    }
}
Code Analysis
- The ID: Both shapes use
id: "geoID". This tells SwiftUI that they are, conceptually, the same visual object. - The Namespace: Both use
in: nspaceto locate themselves in the same context. - withAnimation: This is mandatory. Without an explicit animation block, the state change will be instantaneous, and the geometry effect will not be calculated.
Real World Use Case: List to Detail (The Hero Transition)
Now, let’s apply this to a real Swift programming scenario. We are going to create a list of music cards that, when tapped, expand into a full-screen player.
1. The Data Model
First, we define a simple structure for our data.
struct Track: Identifiable {
    let id = UUID()
    let title: String
    let color: Color
}
2. The Main View (Orchestrator)
Here we will manage the swap between the list view (Grid) and the detail view using a ZStack.
struct MusicPlayerView: View {
    @Namespace private var playerSpace
    @State private var selectedTrack: Track? = nil

    let tracks = [
        Track(title: "Chill Mix", color: .purple),
        Track(title: "Gym Flow", color: .orange),
        Track(title: "Focus", color: .blue)
    ]

    var body: some View {
        ZStack {
            // Layer 1: The List (Grid)
            if selectedTrack == nil {
                LazyVGrid(columns: [GridItem(.adaptive(minimum: 150))]) {
                    ForEach(tracks) { track in
                        TrackCard(track: track, namespace: playerSpace)
                            .onTapGesture {
                                withAnimation(.spring(response: 0.6, dampingFraction: 0.8)) {
                                    selectedTrack = track
                                }
                            }
                    }
                }
            }

            // Layer 2: The Detail (Full screen player)
            if let track = selectedTrack {
                TrackDetail(track: track, namespace: playerSpace)
                    .onTapGesture {
                        withAnimation(.spring(response: 0.6, dampingFraction: 0.8)) {
                            selectedTrack = nil
                        }
                    }
                    .zIndex(1) // Ensure detail is always on top
            }
        }
    }
}
3. Implementing the Components
Here is where the magic happens. Notice how we apply the modifier to the individual elements we want to travel (the background color and the title text).
The Small Card (Source):
struct TrackCard: View {
    let track: Track
    let namespace: Namespace.ID

    var body: some View {
        VStack {
            Spacer()
            Text(track.title)
                .font(.headline)
                .foregroundColor(.white)
                // Pair the text so it travels
                .matchedGeometryEffect(id: "\(track.id)-text", in: namespace)
        }
        .frame(height: 150)
        .background(
            track.color
                // Pair the background
                .matchedGeometryEffect(id: "\(track.id)-bg", in: namespace)
        )
        .cornerRadius(20)
        .padding()
    }
}
The Detailed View (Destination):
struct TrackDetail: View {
    let track: Track
    let namespace: Namespace.ID

    var body: some View {
        VStack {
            RoundedRectangle(cornerRadius: 25)
                .fill(track.color)
                .frame(height: 300)
                // THE SAME ID as the small card (background)
                .matchedGeometryEffect(id: "\(track.id)-bg", in: namespace)
                .overlay(
                    Text(track.title)
                        .font(.largeTitle) // Font size will change smoothly
                        .foregroundColor(.white)
                        // THE SAME ID for the text
                        .matchedGeometryEffect(id: "\(track.id)-text", in: namespace)
                )

            Text("Now Playing...")
                .padding()
                // Normal transition for items that do NOT exist in the list
                .transition(.opacity.combined(with: .move(edge: .bottom)))

            Spacer()
        }
        .edgesIgnoringSafeArea(.all)
    }
}
Deep Dive: Properties and Advanced Parameters
The matchedGeometryEffect modifier has additional parameters that an expert iOS Developer must know to fine-tune animations.
Properties: Frame vs Position
By default, SwiftUI tries to match both size and position (.frame). However, sometimes you only want an element to travel to the other’s position, but maintain its own intrinsic size, or vice versa.
.matchedGeometryEffect(id: "id", in: ns, properties: .position)
isSource: Controlling the Geometric Truth
During the animation, SwiftUI needs to know which view is the “source” (the absolute truth) of the geometry. By default, the system infers this. But if you experience glitches, it is good practice to be explicit.
- The view that disappears usually acts as the initial
isSource: true. - The view that appears is the destination.
Best Practices and Common Mistakes (Troubleshooting)
Developing applications in SwiftUI requires knowing the framework’s quirks. Here are the mistakes that cause the most headaches with this modifier in Xcode.
1. Modifier Order is Sacred
This is the number one mistake. If you apply the modifier before defining the size or padding, the captured geometry will be incorrect.
// ❌ Incorrect
Text("Hello")
    .matchedGeometryEffect(...)
    .padding() // Padding won't be taken into account in the animation

// ✅ Correct
Text("Hello")
    .padding() // Padding is part of the view
    .matchedGeometryEffect(...) // Now we capture the actual total size
2. Z-Index and Clipping
When a view “travels” from a list to a higher layer, it is often rendered behind other list items during flight. To fix this, use .zIndex(1) on the view that is active or selected to force it to be above everything during the animation.
TrackCard(...)
    .zIndex(selectedTrack == track ? 1 : 0)
matchedGeometryEffect in macOS and watchOS
The beauty of Swift and SwiftUI lies in their cross-platform portability:
- watchOS: On the Apple Watch, space is limited. “Hero” animations are extremely useful for giving context without disorienting the user. However, avoid animating complex shadows or blurs simultaneously with
matchedGeometryEffecton older Watch models to maintain 60 FPS. - macOS: On Mac, windows are resizable.
matchedGeometryEffectworks perfectly, but remember to adapt the interaction. Mac users expect responses to “hover” (mouse over) before clicking.
Conclusion
The matchedGeometryEffect() modifier in SwiftUI is undoubtedly an indispensable tool in any iOS Developer’s arsenal. It allows you to create fluid, modern, and spatial interfaces that previously required weeks of manual work in UIKit, reducing them to a few lines of declarative code in Xcode.
By mastering this concept, you not only improve your application’s aesthetics; you improve usability by helping the user’s visually track information while navigating your app.
If you have any questions about this article, please contact me and I will be happy to help you  . You can contact me on my X profile or on my Instagram profile.