





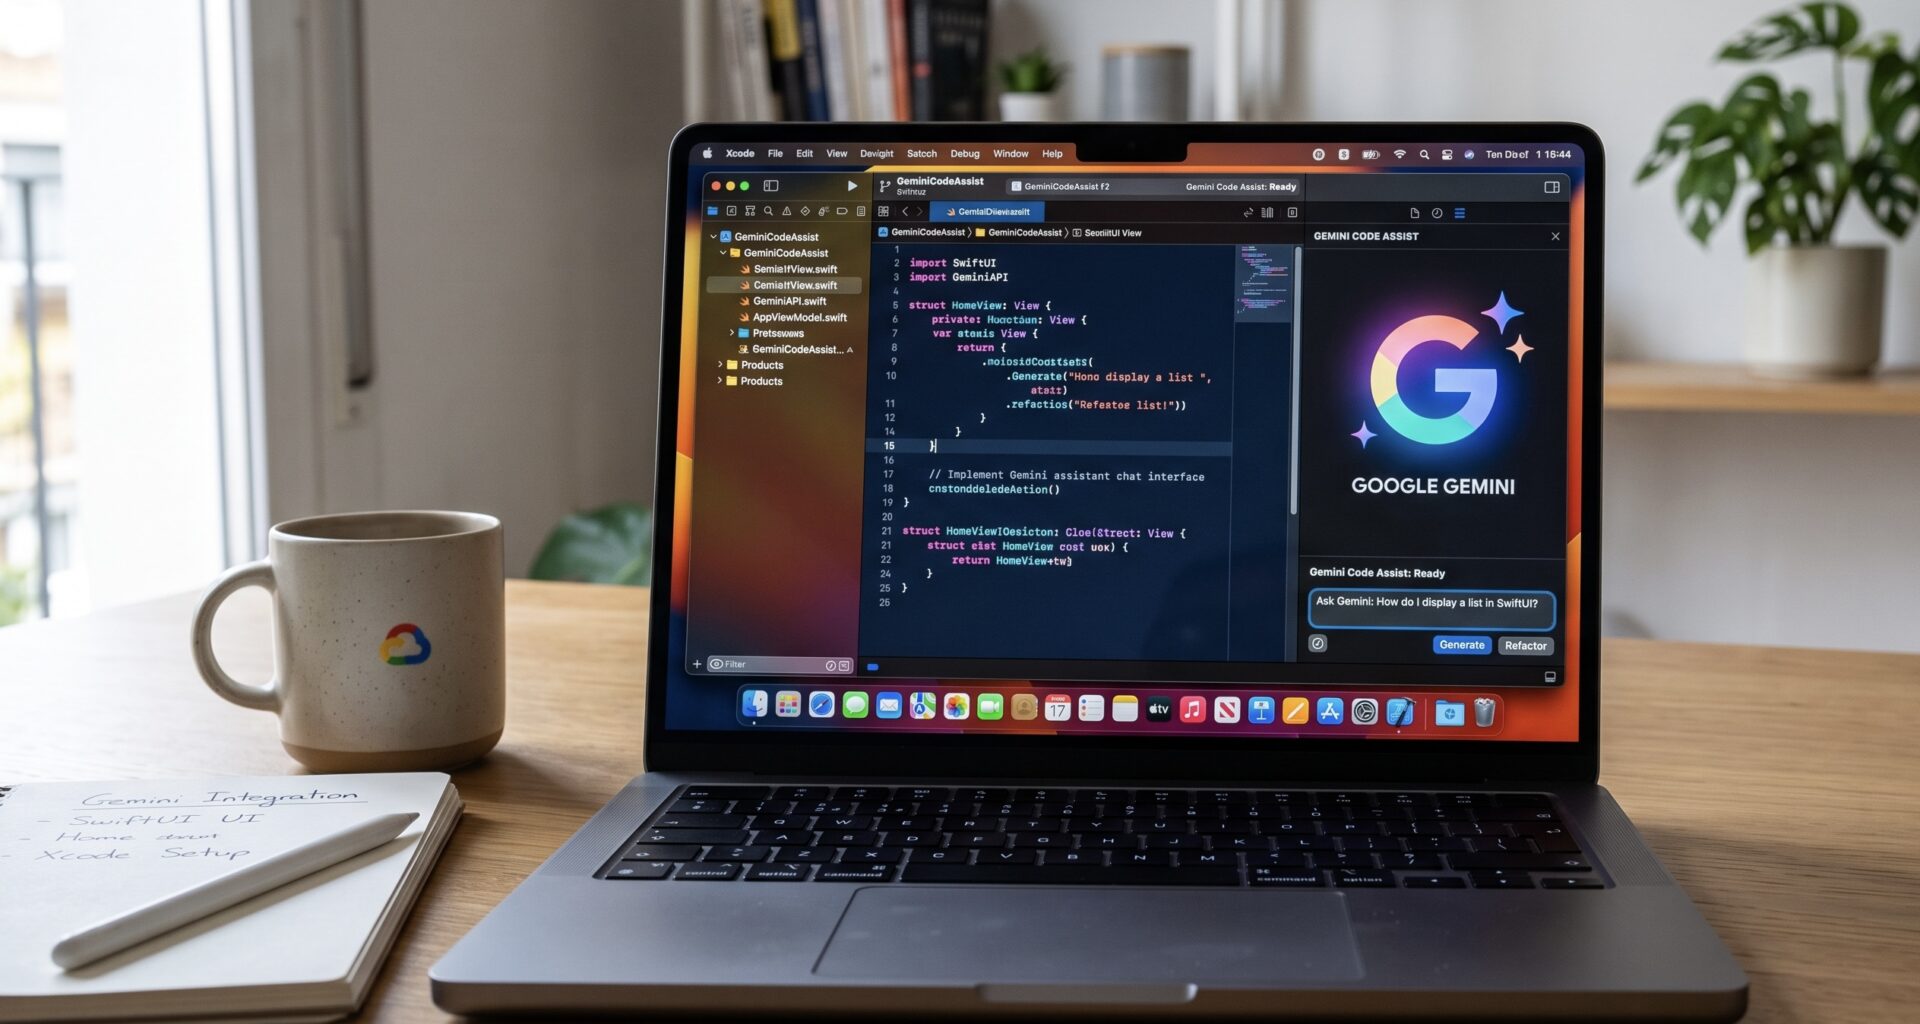

The development of applications for the Apple ecosystem has evolved drastically. Being an iOS Developer today not only requires a deep mastery of frameworks but also the ability to integrate artificial intelligence tools that multiply the speed and quality of your work. With Apple’s recent updates, which open its environment to third-party models via the Model Context Protocol (MCP), integrating advanced assistants is now a native reality.
If you are wondering how to use Gemini Code Assist in your daily projects, you have come to the right place. In this tutorial, we will explore in depth how to configure and squeeze the most out of this tool in your development environment, elevating your level in Swift programming and the design of modern interfaces.
What is Gemini Code Assist and its impact on the Apple ecosystem?
Gemini Code Assist is Google’s artificial intelligence solution designed specifically for the software development life cycle. Powered by the latest Gemini models, this assistant is not simply a chat attached to your window; it is a contextual agent that understands the structure of your project, your dependencies, and your coding style.
Historically, Apple developers relied on external tools or unofficial extensions to integrate AI into their workflow. However, starting with recent versions of Xcode (specifically from Xcode 16 and later), Apple has integrated native support for third-party AI providers. This means that Gemini can interact directly with your source code, read your directory tree, and apply multi-file changes autonomously—a concept known as “agentic” workflows.
For the iOS Developer, this translates to:
- Less context switching: You don’t need to leave Xcode to search for documentation or ask a browser-based chat to structure a function for you.
- Full project understanding: Gemini can analyze how a change in your networking layer affects your views in SwiftUI.
- Native error resolution: The ability to read Swift compiler diagnostics and propose solutions directly within the editor.
Environment Preparation and Setup
Before we can dictate commands to the AI, we need to establish the communication bridge between the Xcode MCP server and the Gemini engine.
1. Prerequisites
Make sure you have a version of Xcode installed that is compatible with third-party AI providers (ideally the latest version available on the Mac App Store). Additionally, you will need to have Node.js installed on your Mac, as we will use the npm package manager to install the Gemini command-line interface.
2. Gemini CLI Installation
Open your terminal and run the global installation command for @google/gemini-cli. This command-line tool acts as the engine that will communicate with Apple’s IDE. Verify that the installation was successful by checking the installed version; you will need a recent version that supports the MCP bridge.
3. Obtaining your API Key
For the assistant to work, you need to authenticate. Head over to Google AI Studio (if you are an individual developer looking for the free or pro tier) or the Google Cloud console (if you use the Enterprise version). Generate your API key and save it securely in your Mac’s environment variables, typically by exporting it in your shell configuration file (such as .zshrc).
4. Activation in IDE Preferences
Open your Apple development environment. Navigate to the Preferences (or Settings) window and look for the “Intelligence” section. There you will find a dedicated section for the Model Context Protocol. You must enable the option that allows the use of external tools.
5. Linking with your Project
The final step is to tell Gemini that it can use the IDE bridge for the specific project you are working on. Navigate from your terminal to the root folder of your app project and run the Gemini command to add the MCP server. This will create a local configuration file that authorizes two-way communication between the AI and your source files.
Optimizing Swift Programming
Once configured, Swift programming becomes a much smoother process. Gemini Code Assist is not there to write the entire application for you, but to act as a tireless pair programmer.
Predictive Autocomplete
As you type, you will notice inline suggestions (ghost text) that anticipate your logic. If you are writing a network handler to decode a JSON, the assistant will analyze the structure of your data models and suggest the complete code block for decoding. Simply press the tab key to accept the suggestion. This system learns from the patterns in your repository; if you usually structure your extensions in a particular way, the suggestions will adapt to that convention.
Code Transformation Commands
Instead of writing repetitive logic, you can use slash commands directly in the editor or in the side chat panel:
- Function generation: Use the
/generatecommand followed by a natural language instruction. For example, you can ask it to generate an asynchronous function that downloads an image from a URL and stores it in the device’s cache using modern concurrency APIs. - Explaining legacy code: If you inherit a project with complex architecture, select an obscure block of logic and use the
/explaincommand. The assistant will break down the purpose of the variables and the execution flow. - Refactoring and modernization: Select an old class that uses callbacks or completion handlers and ask Gemini to refactor it to use
async/await. The assistant will apply the changes while keeping the function signature compatible with the rest of the project.
Intelligent Debugging
When the compiler throws a cryptic error, you no longer need to copy and paste the message into a search engine. You can click on the error indicator in the editor and select the option to fix the issue with Gemini. The AI will read the error context, analyze the problematic lines, and present a diff view with the exact correction, ready to be accepted and integrated.
Mastering SwiftUI with AI Assistance
Developing declarative interfaces is where knowing how to use Gemini Code Assist truly shines. SwiftUI requires thinking about states, data flows, and view composition—areas where a structured language model offers immense value.
Designing Views from Descriptions
You can start a new file and ask the assistant in the chat panel to build the base structure of a screen. For example, describe that you need a “Dashboard” containing a header with a greeting, followed by a lazy vertical grid displaying user profile cards. Gemini will generate the necessary hierarchy of modifiers, containers, and text views, applying standard system spacing and typography.
State Management and Data Flow
Connecting the user interface with business logic is often prone to errors. You can instruct Gemini to implement the Observation framework. Ask it to create an observable ViewModel and inject the necessary dependencies into the main view. The assistant will suggest the appropriate state wrappers and prepare the bindings for interactive controls like text fields or toggles, ensuring the interface reacts correctly to data changes.
Rapid Iteration with the Canvas
The ideal workflow for an iOS Developer involves having the preview Canvas open alongside the assistant panel. If you notice that an animation isn’t behaving as expected or that an alignment modifier is shifting content, describe the visual issue to Gemini. The AI will suggest the exact modifier (such as adjustments to the geometry hierarchy or changes to container axes) to achieve the desired layout.
Agentic Workflows
The true revolution of the latest versions lies in agent mode. Unlike standard chat, which responds to isolated questions, agent mode can execute complex, multi-step tasks that affect the entire project.
- Code Audits: You can ask the agent to review the entire repository for potential memory leaks, retain cycles, or violations of Swift style guidelines. The agent will navigate the files and propose a detailed report with corrective actions.
- Unit Test Generation: Instruct the agent to cover a critical module of your application with tests. Gemini will create the corresponding test files in the appropriate target, set up the necessary mocks, and write assertions that validate both success and failure cases.
- App Localization: You can ask it to prepare your application for multiple languages. The agent will identify hardcoded text strings in your SwiftUI views, extract them to string catalogs, and generate the necessary localization macros throughout the codebase.
Best Practices for the Modern Developer
To get the most out of this integration without compromising the quality of your application, consider the following recommendations:
- Provide Explicit Context: When making a query in the chat, use the
@symbol to mention specific files, classes, or protocols that the AI should take into account. The more precise you are in defining the context, the more accurate and useful the generated response will be. - Always Validate Responses: Language models, no matter how advanced, can “hallucinate” or suggest APIs that are deprecated in the latest OS version. As an iOS Developer, the final responsibility for the architecture and security of the code rests with you. Review every logical suggestion before accepting it into your main branch.
- Leverage History: If a conversation with the assistant takes a wrong turn, use the history feature to roll back to a previous state of your code. This allows you to experiment with different architectural approaches without fear of breaking your app’s functional base.
- Data Privacy: If you work on confidential projects, be sure to review the telemetry settings of your service tier. Enterprise-level accounts guarantee that your proprietary code will not be used to train public models, a critical factor when developing commercial applications.


