

In Apple’s current ecosystem, an application’s relevance is no longer measured solely by the time the user spends inside it, but by the ability to offer valuable information at just the right time. For any iOS Developer, mastering Swift programming and the WidgetKit framework has become an indispensable skill. Since the arrival of iOS 14, and with the powerful updates in iOS 17 and 18, widgets have gone from simple shortcuts to being interactive and dynamic tools.
In this comprehensive tutorial, we will explore what WidgetKit is, how to understand the architecture of a widget, and the technical steps to create widgets with WidgetKit and SwiftUI using Xcode, ensuring your application stands out on iOS, macOS, and watchOS.
What is WidgetKit and why is it vital for modern development?
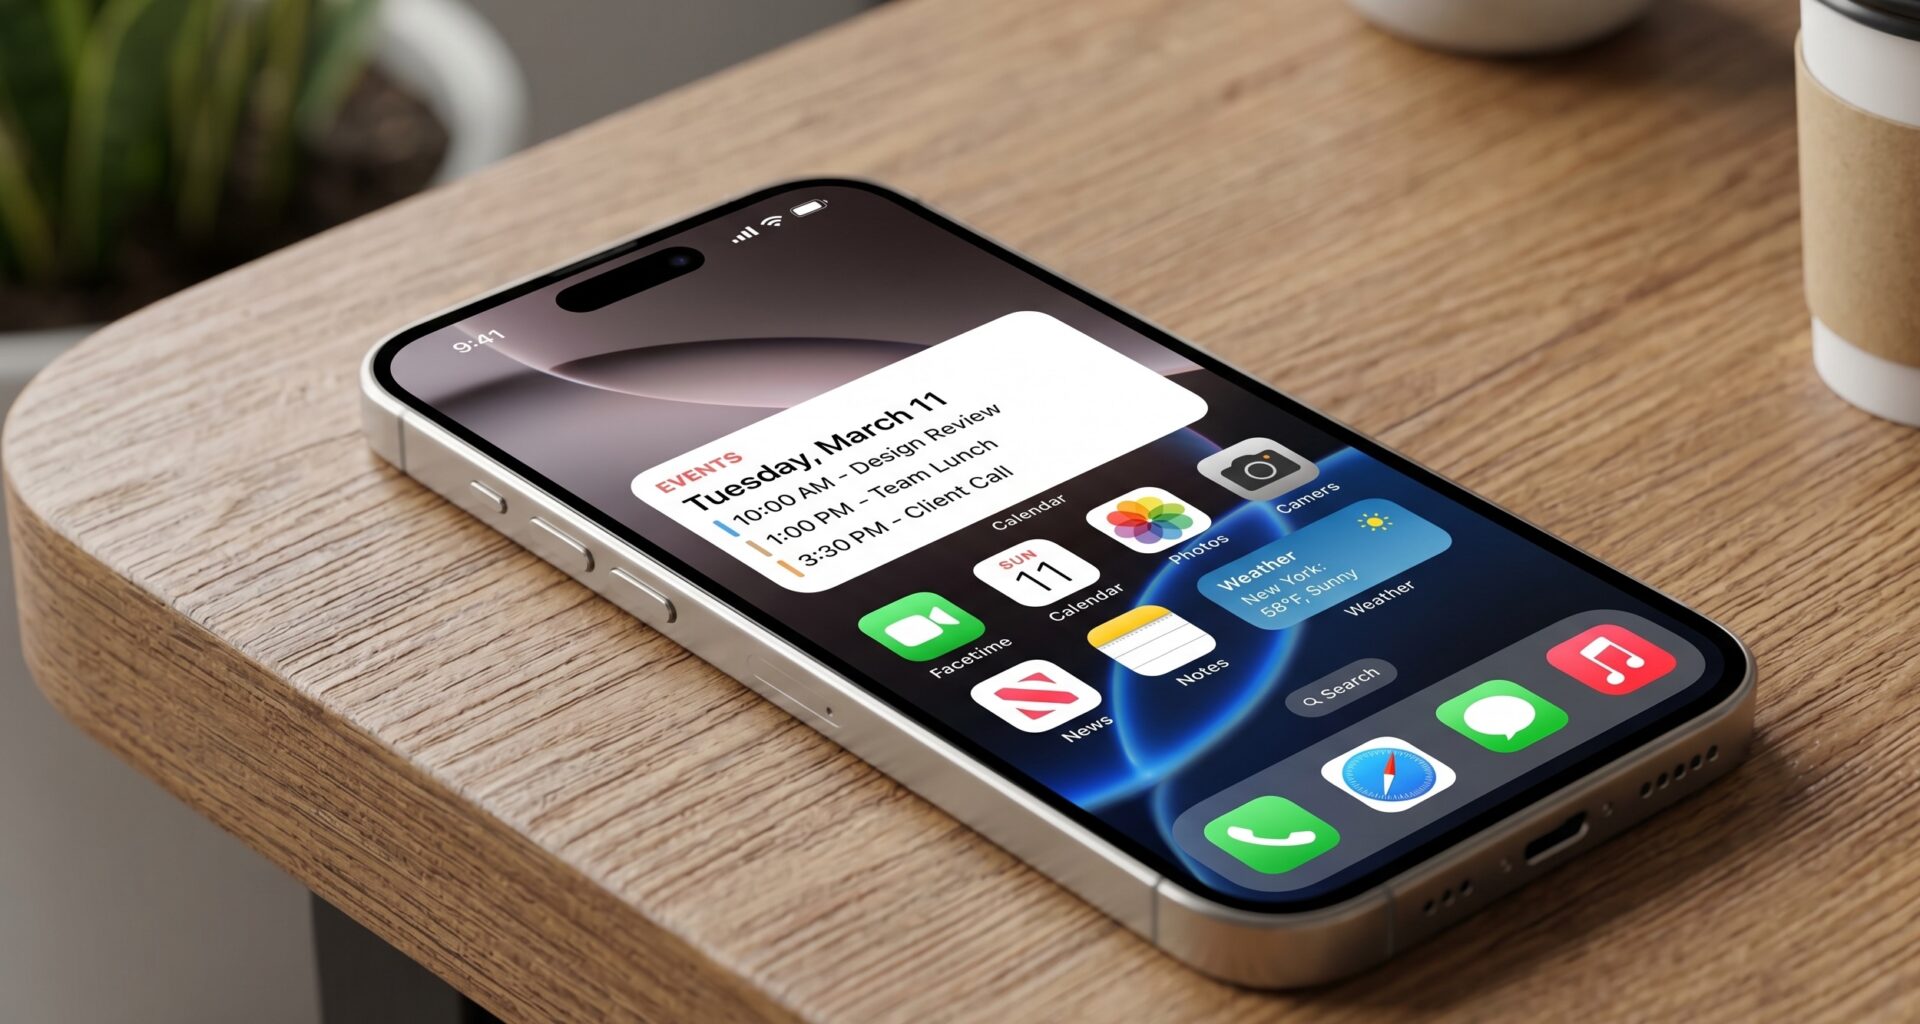
WidgetKit is the framework designed by Apple that allows developers to project content from their main application directly onto the Home Screen, the Lock Screen, and the Notification Center. The key here is that the widget is not a “mini-application” that runs constantly; it is a visual representation based on a Timeline.
As an iOS Developer, you must understand that a widget’s goal is to be:
- Glanceable: The user must get the information in a second.
- Relevant: Show data that changes based on context or the time of day.
- Interactive: Thanks to the latest versions of SwiftUI, we can now perform actions without opening the app.
Widget Architecture: The 4 Pillars
Before jumping into Xcode, we must define the Swift programming components that bring the widget to life:
- TimelineEntry: The data model that includes the date when the system should render the widget.
- TimelineProvider: The engine that decides what data to show and when to update it.
- EntryView: The SwiftUI view that defines the visual layout.
- WidgetConfiguration: Where we define the name, description, and supported sizes.
Step 1: Project Setup in Xcode
To start creating widgets with WidgetKit and SwiftUI, open your project in Xcode and follow these steps:
- Go to
File > New > Target. - Select Widget Extension.
- Assign a name (for example,
UserStatsWidget). - Make sure the “Include Configuration Intent” checkbox is checked if you want the user to be able to edit the widget’s parameters.
Step 2: Defining the Data Model (TimelineEntry)
The first step in our widget’s Swift programming is defining what information we are going to display. Let’s suppose we are creating a widget for a fitness app.
import WidgetKit
import SwiftUI

struct FitnessEntry: TimelineEntry {
    let date: Date
    let steps: Int
    let goal: Int
    let calories: Int
}
Step 3: The TimelineProvider
The provider is the heart of the widget. It is responsible for supplying the system with the necessary entries. It has three main methods: placeholder, getSnapshot, and getTimeline.
struct FitnessProvider: TimelineProvider {
    func placeholder(in context: Context) -> FitnessEntry {
        FitnessEntry(date: Date(), steps: 5000, goal: 10000, calories: 300)
    }

    func getSnapshot(in context: Context, completion: @escaping (FitnessEntry) -> ()) {
        let entry = FitnessEntry(date: Date(), steps: 7500, goal: 10000, calories: 450)
        completion(entry)
    }

    func getTimeline(in context: Context, completion: @escaping (Timeline<FitnessEntry>) -> ()) {
        var entries: [FitnessEntry] = []
        let currentDate = Date()

        // Generate updates every hour
        for hourOffset in 0 ..< 5 {
            let entryDate = Calendar.current.date(byAdding: .hour, value: hourOffset, to: currentDate)!
            let entry = FitnessEntry(date: entryDate, steps: 8000 + (hourOffset * 100), goal: 10000, calories: 500 + (hourOffset * 20))
            entries.append(entry)
        }

        let timeline = Timeline(entries: entries, policy: .atEnd)
        completion(timeline)
    }
}
Step 4: Designing the Interface with SwiftUI
This is where SwiftUI shines. Remember that not all SwiftUI views are available (for example, there are no complex ScrollViews), but we have powerful tools for adaptive layouts.
struct FitnessWidgetEntryView : View {
    var entry: FitnessProvider.Entry

    var body: some View {
        VStack(alignment: .leading) {
            Text("Activity")
                .font(.caption)
                .bold()
                .foregroundColor(.orange)

            HStack {
                Image(systemName: "flame.fill")
                Text("\(entry.calories) kcal")
            }
            .font(.headline)

            ProgressView(value: Double(entry.steps), total: Double(entry.goal))
                .tint(.orange)

            Text("\(entry.steps) / \(entry.goal) steps")
                .font(.footnote)
                .foregroundColor(.secondary)
        }
        .containerBackground(.clear, for: .widget)
    }
}
Interactivity with App Intents
Since iOS 17, being an iOS Developer means knowing how to handle interactivity. We can add buttons that execute background code without opening the app by using AppIntent.
import AppIntents

struct RefreshStepsIntent: AppIntent {
    static var title: LocalizedStringResource = "Update Steps"

    func perform() async throws -> some IntentResult {
        // Here goes the logic to fetch new data from the accelerometer or server
        print("Data updated from the widget")
        return .result()
    }
}
Widgets for macOS and watchOS
One of the biggest advantages of using Swift and Xcode is cross-platform capability. Your WidgetKit code is highly portable:
- macOS: Widgets appear on the desktop or in the notification center. You must ensure the design looks good in both light and dark modes.
- watchOS: Here they are called “Complications” on watch faces or widgets in the “Smart Stack”. Use
.accessoryCircularor.accessoryRectangularas supported widget families.
Performance Best Practices
When creating widgets with WidgetKit and SwiftUI, performance and battery consumption are critical. Follow these expert tips:
- Use of App Groups: To share data between your main app and the widget, you must enable “App Groups” in your target’s capabilities in Xcode.
- Smart Caching: Do not download heavy images inside
getTimeline. Do it in the app and save them in a shared directory. - Reload Policies: Use
.atEndto let the system decide when is the best time to request a new timeline.
Conclusion
Mastering WidgetKit elevates your profile as an iOS Developer to a higher level. The combination of SwiftUI for the interface and the robustness of Swift for logic allows you to create experiences that keep the user connected to your product even when they are not actively using it.