


The Apple ecosystem is undergoing a full transformation. For a modern iOS Developer, mastering Swift syntax is no longer enough; integrating Generative Artificial Intelligence has become the new gold standard.
Google has released Gemini, its most capable and flexible model to date. Although many interact with it via the web, the true power for a developer lies in its API and the ability to automate tasks.
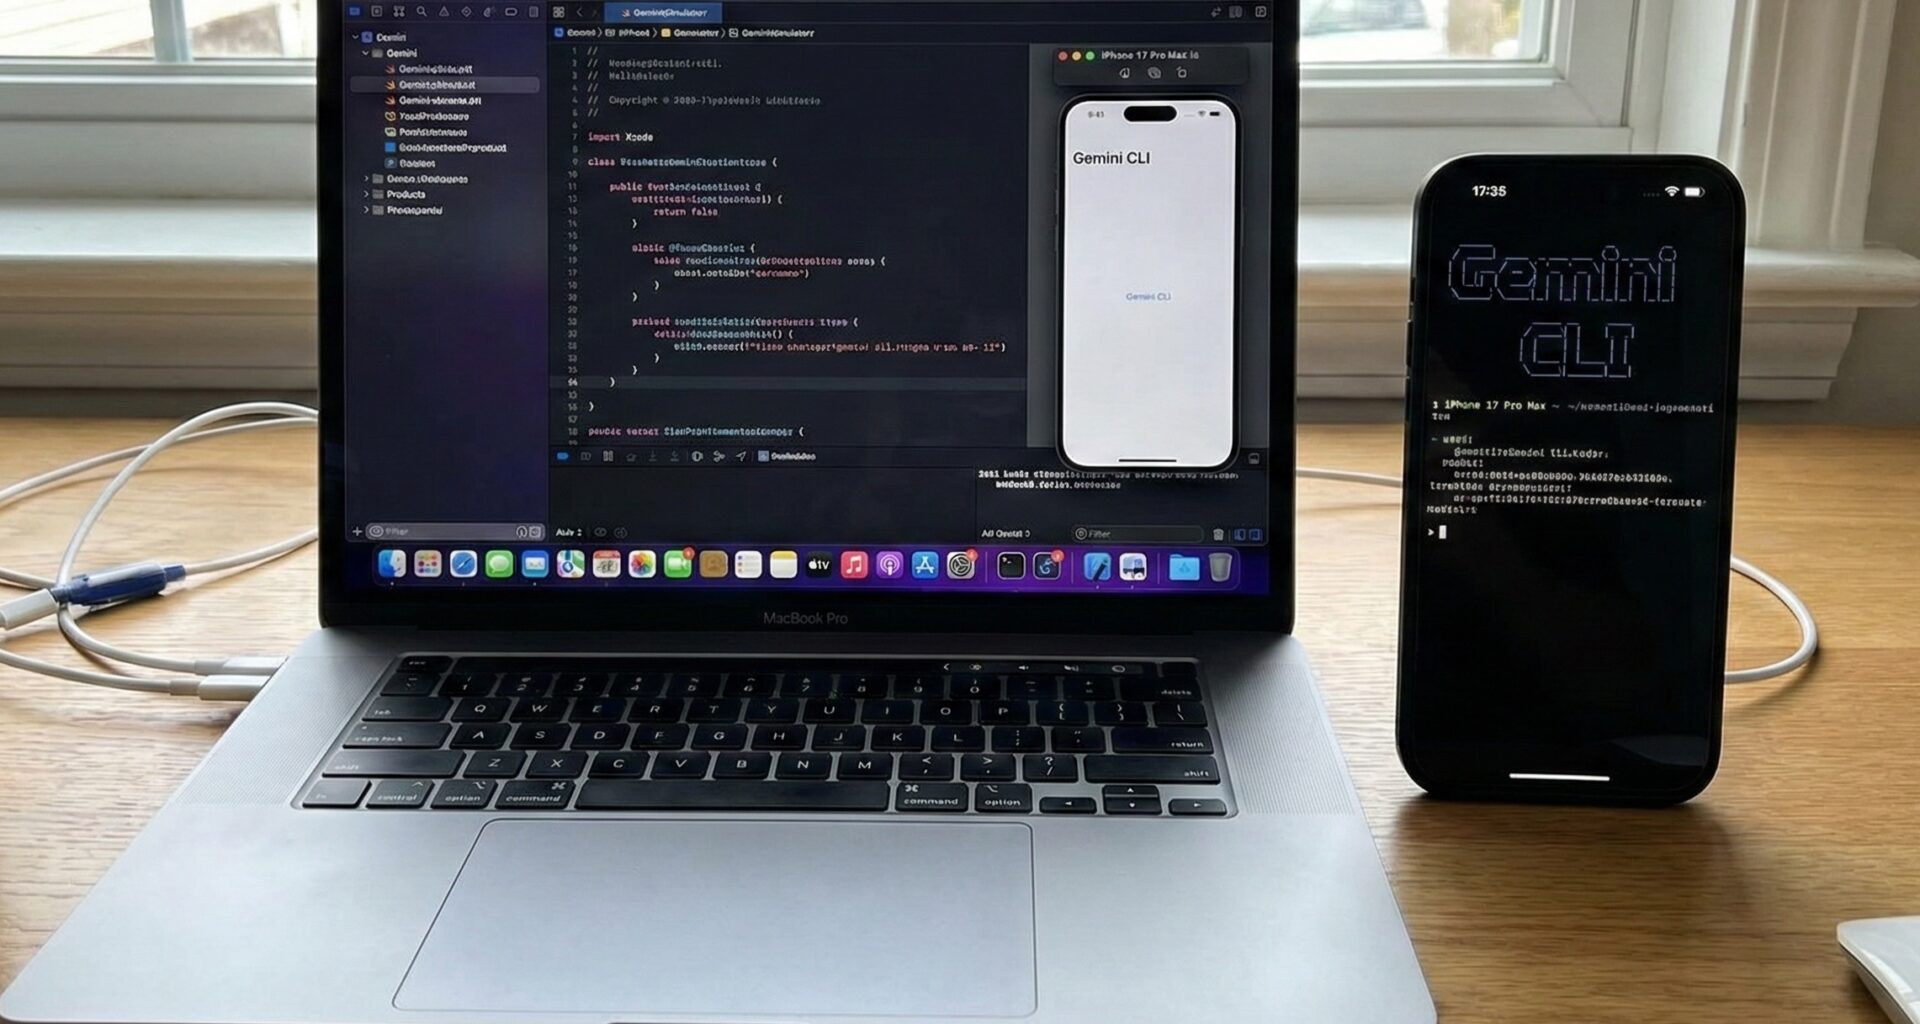
In this tutorial, we won’t just learn how to integrate Gemini into an app; we are going a step further. We will learn how to create our own Gemini CLI (Command Line Interface) using pure Swift programming in Xcode, and then we will port that logic to create multiplatform applications in SwiftUI for iOS, macOS, and watchOS.
Get ready to transform your workflow in Xcode.
Part 1: Understanding Gemini Architecture in the Apple Ecosystem
Before writing a single line of code, it is vital to understand what we are building. We are not going to use a closed tool; we will use the official Google Generative AI SDK for Swift.
The workflow we will implement has two branches:
- Command Line Tool (CLI): A macOS executable written in Swift that will allow us to query Gemini directly from our terminal. Ideal for scripts, automation, or rapid code generation.
- Multiplatform SwiftUI Application: A graphical interface that consumes the same logic to work on iPhone, Mac, and Apple Watch.
Prerequisites
- Xcode 15+: Necessary to support the latest Swift concurrency features.
- Swift 5.9+: For the use of macros and advanced
async/await. - Google AI API Key: You must generate it at Google AI Studio.
Part 2: Building Your Own “Gemini CLI” with Swift
As an iOS Developer, we often forget that Swift is an excellent general-purpose language for scripts and system tools. We are going to create a tool called gemini-swift.
Step 1: Project Configuration in Xcode
- Open Xcode.
- Select Create New Project.
- Go to the macOS tab and select Command Line Tool.
- Name the project
GeminiCLI. - Ensure the language is Swift.
Step 2: Importing the SDK
To interact with the model, we will use the Swift Package Manager (SPM).
- Go to the project configuration (the blue icon at the root).
- Select the “Package Dependencies” tab.
- Add the package:
https://github.com/google/google-generative-ai-sdk-swift. - Add it to your
GeminiCLItarget.
Step 3: ArgumentParser (Optional but Recommended)
For our CLI to be professional, we need to process arguments (like -m "message"). Apple offers an excellent library for this. Add this package via SPM as well: https://github.com/apple/swift-argument-parser.
Step 4: The CLI Source Code
Open the main.swift file. We are going to replace the code with a robust structure that accepts a prompt and returns the AI response.
import Foundation
import ArgumentParser
import GoogleGenerativeAI

@main
struct GeminiTool: AsyncParsableCommand {

    // Tool Configuration
    static var configuration = CommandConfiguration(
        commandName: "gemini",
        abstract: "A CLI tool to interact with Google Gemini in Swift."
    )

    // Input Argument: The prompt
    @Argument(help: "The text you want to send to the AI.")
    var prompt: String

    // Optional flag to be creative
    @Flag(name: .shortAndLong, help: "Activates creative mode.")
    var creative: Bool = false

    func run() async throws {
        // 1. Security Configuration (NEVER hardcode API Keys in real production)
        // Ideally, read it from an environment variable
        guard let apiKey = ProcessInfo.processInfo.environment["GEMINI_API_KEY"] else {
            print("Error: Please configure the GEMINI_API_KEY environment variable.")
            return
        }

        // 2. Model Initialization
        let model = GenerativeModel(name: "gemini-pro", apiKey: apiKey)

        print("🤖 Querying Gemini...")

        do {
            // 3. Content Generation
            let response = try await model.generateContent(prompt)

            if let text = response.text {
                print("\n--- RESPONSE ---\n")
                print(text)
                print("\n-----------------\n")
            } else {
                print("Gemini returned no text.")
            }
        } catch {
            print("Error: \(error.localizedDescription)")
        }
    }
}
Step 5: Running Your Gemini CLI
To test this, you need to edit the scheme in Xcode to pass arguments, or compile it and run it in the terminal.
- Compile with
Cmd + B. - Locate the binary in the
DerivedDatafolder. - In your terminal:
export GEMINI_API_KEY="your_api_key_here"
./GeminiCLI "Write a poem about Swift programming"
Congratulations! You have just created your own AI command line interface using Swift programming. This demonstrates that Swift is not just for visual apps.
Part 3: From Terminal to UI: Integration in SwiftUI
Now that we master the base logic, let’s take this to a real application. A modern iOS Developer must know how to structure this code to be reusable across iOS, macOS, and watchOS.
Architecture: MVVM and Clean Architecture
We will not paste the code into the View. We will create a service layer.
1. The AI Service (GeminiService.swift)
This file will be the heart of our logic, agnostic of the interface (UI).
import Foundation
import GoogleGenerativeAI

enum GeminiError: Error {
    case noAPIKey
    case networkError(String)
}

actor GeminiService {
    private var model: GenerativeModel?

    init() {
        // In a real app, use a secure .plist file or Keychain
        if let path = Bundle.main.path(forResource: "GenerativeAI-Info", ofType: "plist"),
           let plist = NSDictionary(contentsOfFile: path),
           let key = plist["API_KEY"] as? String {
            self.model = GenerativeModel(name: "gemini-pro", apiKey: key)
        }
    }

    func sendMessage(_ text: String) async throws -> String {
        guard let model = model else { throw GeminiError.noAPIKey }

        do {
            let response = try await model.generateContent(text)
            return response.text ?? "No response"
        } catch {
            throw GeminiError.networkError(error.localizedDescription)
        }
    }

    // Function for Streaming (Typewriter Effect)
    func sendMessageStream(_ text: String) -> AsyncThrowingStream<String, Error> {
        return AsyncThrowingStream { continuation in
            guard let model = model else {
                continuation.finish(throwing: GeminiError.noAPIKey)
                return
            }

            Task {
                do {
                    for try await chunk in model.generateContentStream(text) {
                        if let text = chunk.text {
                            continuation.yield(text)
                        }
                    }
                    continuation.finish()
                } catch {
                    continuation.finish(throwing: error)
                }
            }
        }
    }
}
2. The ViewModel (ChatViewModel.swift)
The ViewModel connects our service with SwiftUI. We will use the @Observable framework (available since iOS 17) for cleaner syntax, or ObservableObject for backward compatibility.
import SwiftUI

@MainActor
class ChatViewModel: ObservableObject {
    @Published var responseText: String = ""
    @Published var isLoading: Bool = false
    @Published var userInput: String = ""

    private let service = GeminiService()

    func sendQuery() {
        guard !userInput.isEmpty else { return }

        isLoading = true
        responseText = "" // Clear previous response
        let query = userInput
        userInput = "" // Clear input

        Task {
            do {
                // We use streaming for better UX
                let stream = await service.sendMessageStream(query)
                for try await chunk in stream {
                    responseText += chunk
                }
            } catch {
                responseText = "Error: \(error.localizedDescription)"
            }
            isLoading = false
        }
    }
}
Part 4: Multiplatform User Interface in SwiftUI
The advantage of SwiftUI and Xcode is that we can design a view that works on iPhone, Mac, and Apple Watch with minimal changes.
Main View (ContentView.swift)
import SwiftUI

struct ContentView: View {
    @StateObject private var viewModel = ChatViewModel()
    @FocusState private var isInputFocused: Bool

    var body: some View {
        NavigationStack {
            VStack(spacing: 20) {
                // Results Area
                ScrollView {
                    VStack(alignment: .leading) {
                        if viewModel.responseText.isEmpty && !viewModel.isLoading {
                            ContentUnavailableView(
                                "Ask Gemini",
                                systemImage: "sparkles",
                                description: Text("Type something to start the magic.")
                            )
                            .opacity(0.7)
                        } else {
                            Text(viewModel.responseText)
                                .font(.body)
                                .padding()
                                .textSelection(.enabled) // Important for macOS
                        }
                    }
                    .frame(maxWidth: .infinity, alignment: .leading)
                }
                .background(Color.gray.opacity(0.1))
                .cornerRadius(12)

                // Input Area
                HStack {
                    TextField("Write your prompt...", text: $viewModel.userInput)
                        .textFieldStyle(.roundedBorder)
                        .focused($isInputFocused)
                        .disabled(viewModel.isLoading)
                        .onSubmit {
                            viewModel.sendQuery()
                        }

                    if viewModel.isLoading {
                        ProgressView()
                            .scaleEffect(0.8)
                    } else {
                        Button(action: {
                            viewModel.sendQuery()
                        }) {
                            Image(systemName: "arrow.up.circle.fill")
                                .font(.title2)
                        }
                        .disabled(viewModel.userInput.isEmpty)
                    }
                }
                .padding()
            }
            .padding()
            .navigationTitle("Gemini Swift")
            #if os(macOS)
            .frame(minWidth: 400, minHeight: 500)
            #endif
        }
    }
}
Adapting for watchOS
For the Apple Watch, space is critical. In Xcode, inside your Watch App target, you can reuse the ChatViewModel but simplify the view.
// WatchContentView.swift
import SwiftUI

struct WatchContentView: View {
    @StateObject private var viewModel = ChatViewModel()

    var body: some View {
        VStack {
            ScrollView {
                Text(viewModel.responseText)
            }

            // Using TextField in watchOS activates dictation or QWERTY keyboard automatically
            TextField("Ask...", text: $viewModel.userInput)
                .onSubmit {
                    viewModel.sendQuery()
                }
        }
    }
}
Part 5: Advanced – Multimodality and Images
A true expert in Gemini CLI in Xcode knows that Gemini is not just text. It is multimodal. We can send images to it.
For this, we need to update our service to use gemini-pro-vision (or newer versions like gemini-1.5-flash).
// Update in GeminiService.swift

func analyzeImage(_ image: UIImage, prompt: String) async throws -> String {
    // Configure vision model
    let visionModel = GenerativeModel(name: "gemini-1.5-flash", apiKey: "API_KEY")

    // Convert UIImage to compatible format
    // Note: On macOS it would be NSImage
    let response = try await visionModel.generateContent(prompt, image)
    return response.text ?? ""
}
In the UI, we would simply add a PhotosPicker (available in SwiftUI) to select the image and pass it to this function.
Conclusion: The Future of Swift Development
We have come a long way. We started in the terminal, creating a command line tool (Gemini CLI) using pure Swift programming, demonstrating the versatility of the language. Then, we took that core logic and wrapped it in a modern MVVM architecture with SwiftUI and Xcode, deploying to iOS, macOS, and watchOS.
For an iOS Developer, integrating AI is not the future, it is the present. Tools like Gemini allow us to create applications that understand, see, and generate content, elevating the user experience to levels impossible to achieve with traditional programming.
If you have any questions about this article, please contact me and I will be happy to help you  . You can contact me on my X profile or on my Instagram profile.