


Introduction
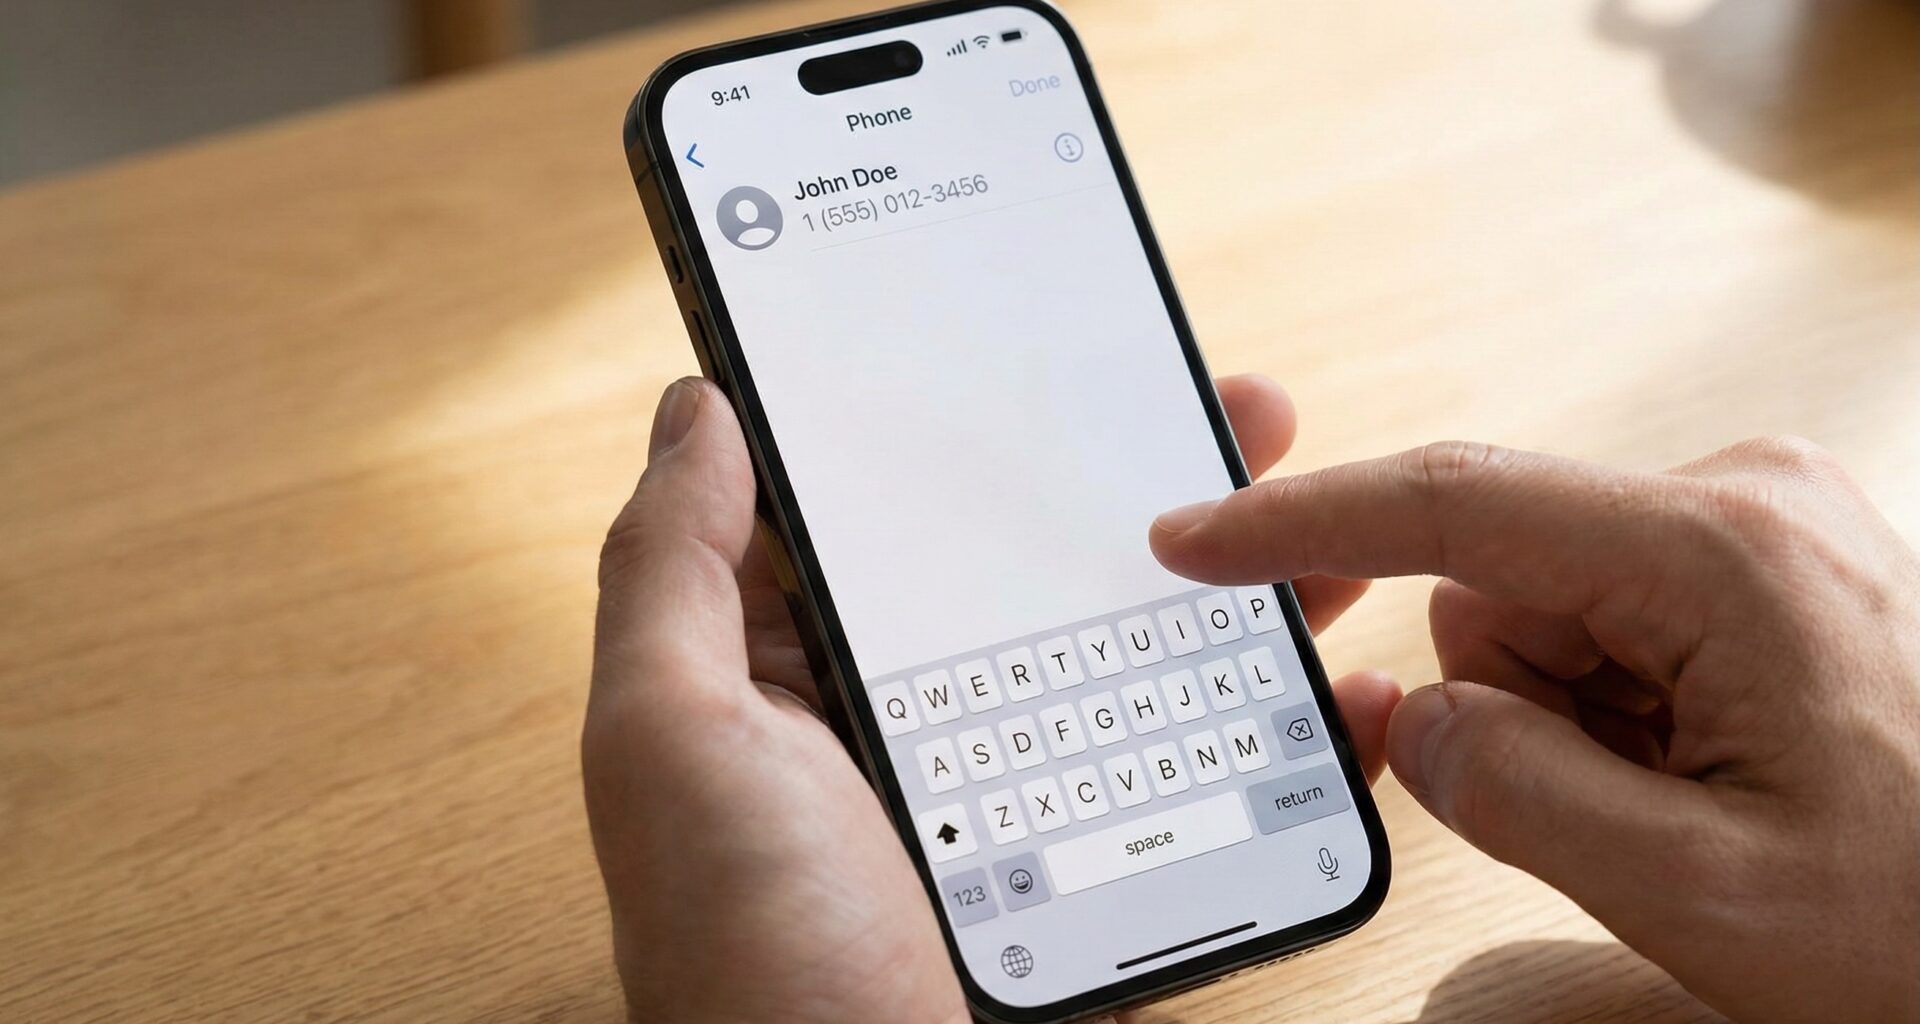
Imagine you are using a new app. The design is elegant, the animations are fluid at 60 (or 120) frames per second, and the color palette is exquisite. You enter the “Profile” screen, tap the field to edit your bio, and write a few lines. Satisfied, you tap the empty space next to your photo to see how it looks.
And then… nothing.
The keyboard is still there. Occupying 40% of the screen. Covering the “Save” button. You tap again, harder (as if that helps), and the keyboard remains immovable. You have to hunt for the “Return” or “Done” button on the keyboard itself to get rid of it.
That tiny moment of friction breaks the immersion. In the Apple ecosystem, users have been trained to expect the physical interface to respond to their touches logically: if I tap a field, I want to type; if I tap the background, I am done typing.
In the world of UIKit (SwiftUI’s predecessor), fixing this was an initiation rite involving UITapGestureRecognizer and manipulating the First Responder. In SwiftUI, the premise is to simplify, but paradoxically, this specific task has confused many novice and experienced developers alike.
This article is not just a code snippet to copy and paste (although we will include one). It is a deep dive into SwiftUI’s event architecture. We will learn how to dismiss and hide the keyboard on “Tap Outside,” why it sometimes doesn’t work as expected, and how to build a reusable, professional solution for your Xcode projects.
Part 1: Understanding the “Responder Chain” Problem
To fix the problem, we must first understand what is happening “under the hood” of your iPhone.
When you tap a TextField or a TextEditor in SwiftUI, the operating system assigns Focus to that view. In legacy UIKit terms, that view becomes the “First Responder.” It is the view that has priority to receive input events—in this case, the keys you press.
The keyboard appears automatically when a view requests and obtains this focus. The problem lies in the fact that, by default, SwiftUI does not assume that touching an “empty” part of the screen should remove that focus. To the system, the white background of your application is simply negative space, not an interactive element competing for attention.
Our job as developers is to explicitly tell the system: “Hey, this empty space is also interactive, and its function is to cancel the current editing session.”
Part 2: The solution
There is a solution that has circulated on forums like StackOverflow since the early days of SwiftUI. It is effective, works on almost any version of iOS, and is what I call the “Hammer” method: it hits the entire system to make it obey.
This method uses the shared instance of UIApplication to send a global resign action.
import SwiftUI

// Extension for ease of use
extension View {
    func hideKeyboard() {
        UIApplication.shared.sendAction(#selector(UIResponder.resignFirstResponder), to: nil, from: nil, for: nil)
    }
}
What exactly does this line do?
UIApplication.shared: Accesses the singleton instance of your application.sendAction: Sends a message through the application hierarchy.#selector(UIResponder.resignFirstResponder): This is the magic message. It means “Whoever is in control right now, give it up.”to: nil: By sending it tonil, the system automatically searches for the current “First Responder” and delivers the message to them.
Implementation in the View
To use this, we need to detect the tap. This is where the .onTapGesture modifier comes in.
struct LoginView: View {
    @State private var email = ""
    @State private var password = ""

    var body: some View {
        VStack(spacing: 20) {
            Text("Login")
                .font(.largeTitle)

            TextField("Email", text: $email)
                .textFieldStyle(.roundedBorder)

            SecureField("Password", text: $password)
                .textFieldStyle(.roundedBorder)

            Spacer() // Pushes content up
        }
        .padding()
        // Here we apply the gesture to the main container
        .onTapGesture {
            // We call our extension
            hideKeyboard()
        }
    }
}
Why does it work? By placing the .onTapGesture on the VStack (or the root container), any tap that does not fall on a button or a text field will be captured by the container, executing the hideKeyboard() function.
Part 3: The “Empty Space” Problem (Hit Testing)
Here is where 50% of developers get stuck. They copy the code above, run it, and realize that it only works if they tap on text or a color, but not on white space.
In SwiftUI, container views like VStack or HStack are, by default, transparent to touches in their empty areas. If you have a VStack with two text labels and a large space in between, tapping in the middle is like tapping on nothing; the touch event passes through the VStack and is lost.
To fix this, we need to give “body” to our view. We have two ways to do this:
- Using a Background:
.background(Color.white)(or any color). - Using ContentShape (The Professional Way):
.onTapGesture {
    hideKeyboard()
}
.contentShape(Rectangle()) // <--- THE MAGIC KEY
The .contentShape(Rectangle()) modifier defines the interactive area of the view as a solid rectangle covering its entire size, even if the pixels are transparent. This ensures that the onTapGesture is triggered on every single pixel of the container.
Part 4: The Modern Solution (iOS 15+ and @FocusState)
While the UIApplication method works, it feels a bit like a “hack” brought over from UIKit. Apple introduced a purely declarative API in iOS 15 called @FocusState.
This is the “correct” and canonical way to manage focus in modern SwiftUI. Instead of telling the system “remove the keyboard,” we manage the state of whether the field is active or not via a boolean variable.
How @FocusState Works
Imagine keyboard focus is a light switch on your wall.
- You create a
@FocusStatevariable. - You bind it to your
TextField. - When you want to close the keyboard, you simply flip the switch off (set the variable to
falseornil).
Practical Example with Enumeration
If you have multiple fields, it is better to use an enum to know exactly which field is active.
struct RegistrationFormView: View {
    // Define possible fields
    enum Field: Hashable {
        case name
        case email
        case phone
    }

    @State private var name = ""
    @State private var email = ""
    @State private var phone = ""

    // The state that controls who has focus
    @FocusState private var focusedField: Field?

    var body: some View {
        VStack(spacing: 20) {
            TextField("Full Name", text: $name)
                .focused($focusedField, equals: .name)
                .textFieldStyle(.roundedBorder)

            TextField("Email", text: $email)
                .focused($focusedField, equals: .email)
                .textFieldStyle(.roundedBorder)

            TextField("Phone", text: $phone)
                .focused($focusedField, equals: .phone)
                .textFieldStyle(.roundedBorder)
                .keyboardType(.phonePad)

            Spacer()
        }
        .padding()
        .contentShape(Rectangle()) // Make the whole area touchable
        .onTapGesture {
            // CLOSING ALGORITHM:
            // Simply set focus to nil
            focusedField = nil
        }
    }
}
Advantages of @FocusState over the old method:
- Granular Control: You can move focus programmatically (e.g., when the user hits “Return,” automatically jump to the next field).
- Declarative: It follows the SwiftUI philosophy. The UI is a reflection of the state.
- No Hacks: You don’t depend on
UIApplication, which is technically outside the SwiftUI view lifecycle.
Part 5: Creating a Reusable Modifier (Best Practice)
As good software engineers, we don’t want to repeat the code .onTapGesture { focusedField = nil } or hideKeyboard() in every single one of the 50 screens of our app.
Let’s create a custom ViewModifier. This will allow us to add this functionality to any view with a single elegant line of code.
Create a new Swift file named View+Extensions.swift and insert this:
import SwiftUI

// 1. Define the modifier
struct TapToHideKeyboard: ViewModifier {
    func body(content: Content) -> some View {
        content
            .contentShape(Rectangle()) // Ensures empty area is interactive
            .onTapGesture {
                // We use the global method for maximum compatibility within the modifier
                UIApplication.shared.sendAction(#selector(UIResponder.resignFirstResponder), to: nil, from: nil, for: nil)
            }
    }
}

// 2. Extend View to make it accessible
extension View {
    /// Adds a gesture that hides the keyboard when tapping the view.
    func hideKeyboardOnTap() -> some View {
        self.modifier(TapToHideKeyboard())
    }
}
How to use it now in your Views:
var body: some View {
    ZStack {
        Color.gray.opacity(0.1).ignoresSafeArea()

        VStack {
            TextField("Type here...", text: $text)
            // ... rest of your UI
        }
    }
    .hideKeyboardOnTap() // Magic in a single line!
}
This abstraction cleans up your main code and encapsulates the “dirty” UI logic (the contentShape and UIKit selector) in one maintainable place.
Part 6: Conflicts and Edge Cases (What No One Tells You)
Implementing “Tap to Dismiss” seems perfect, but it introduces an interesting UX conflict: The Button Conflict.
Imagine this scenario:
- The keyboard is open.
- The user wants to press the “Submit” button that is visible.
- The user taps the button.
What happens? Depending on how you implemented your tap gesture, two things can happen:
- Option A (Frustrating): The container’s
onTapGesturecaptures the touch first. The keyboard closes, but the “Submit” button does not activate. The user has to tap the button a second time. - Option B (Ideal): The button receives the tap, executes the action, and the keyboard closes (or not, depending on the action).
The .onTapGesture modifier in SwiftUI can, by default, “steal” touches if care is not taken with the hierarchy. Fortunately, high-level interactive elements like Button, Toggle, or List usually have priority over an onTapGesture placed in the background.
However, if you use custom TapGestures on elements inside your view, you might run into issues.
Solution for ScrollViews: If you are using a ScrollView, remember what we learned in the previous tutorial: do not use onTapGesture for scrolling. Use:
.scrollDismissesKeyboard(.interactively) // iOS 16+The onTapGesture is strictly for static areas or for the background. If you combine both on a complex screen, make sure to apply .hideKeyboardOnTap() to the outermost root container (like a background ZStack) and not directly to the ScrollView, to avoid gesture conflicts.
Part 7: Accessibility (A11y)
We must never forget accessibility. When we add invisible gestures that control the interface, we must ensure we don’t break the experience for users using VoiceOver.
Fortunately, the basic onTapGesture usually doesn’t interfere with VoiceOver navigation, as VoiceOver handles focus sequentially. However, closing the keyboard can shift the accessibility focus.
If you close the keyboard programmatically, make sure the VoiceOver focus isn’t lost in limbo. Generally, the system handles it well by returning it to the container, but it is always good to test your app with VoiceOver enabled (you can ask Siri “Turn on VoiceOver” on your test device) to ensure the flow isn’t broken.
Conclusion
Managing the keyboard on iOS is a subtle dance between user expectations and system logic.
We have moved from:
- The frustration of a blocked UI.
- The classic solution using
UIApplication.shared(the compatible method). - The modern and elegant solution using
@FocusState(the “pure SwiftUI” method). - Encapsulating all of this into a reusable
.hideKeyboardOnTap()modifier.
Summary of the Winning Strategy: For most modern applications (iOS 16+), the perfect combination is:
- Use
.scrollDismissesKeyboard(.interactively)in your scrollable lists and forms. - Use our
.hideKeyboardOnTap()modifier on the root container of your static views (like login screens or configuration modals).
By implementing these small details, you elevate the quality of your application from “functional” to “professional.” The user won’t explicitly notice that the keyboard closes smoothly when they tap the background, but they will feel that the application is robust, responsive, and well-built. That is the essence of great user experience.
What is your next step? Open that Xcode project you have sitting there. Find all the views that have a TextField. Implement the .hideKeyboardOnTap() modifier we just created. It will take you 5 minutes, and your application’s quality of life will improve instantly.
If you have any questions about this article, please contact me and I will be happy to help you 🙂. You can contact me on my X profile or on my Instagram profile.


