


Introduction: The Guest Who Doesn’t Know When to Leave
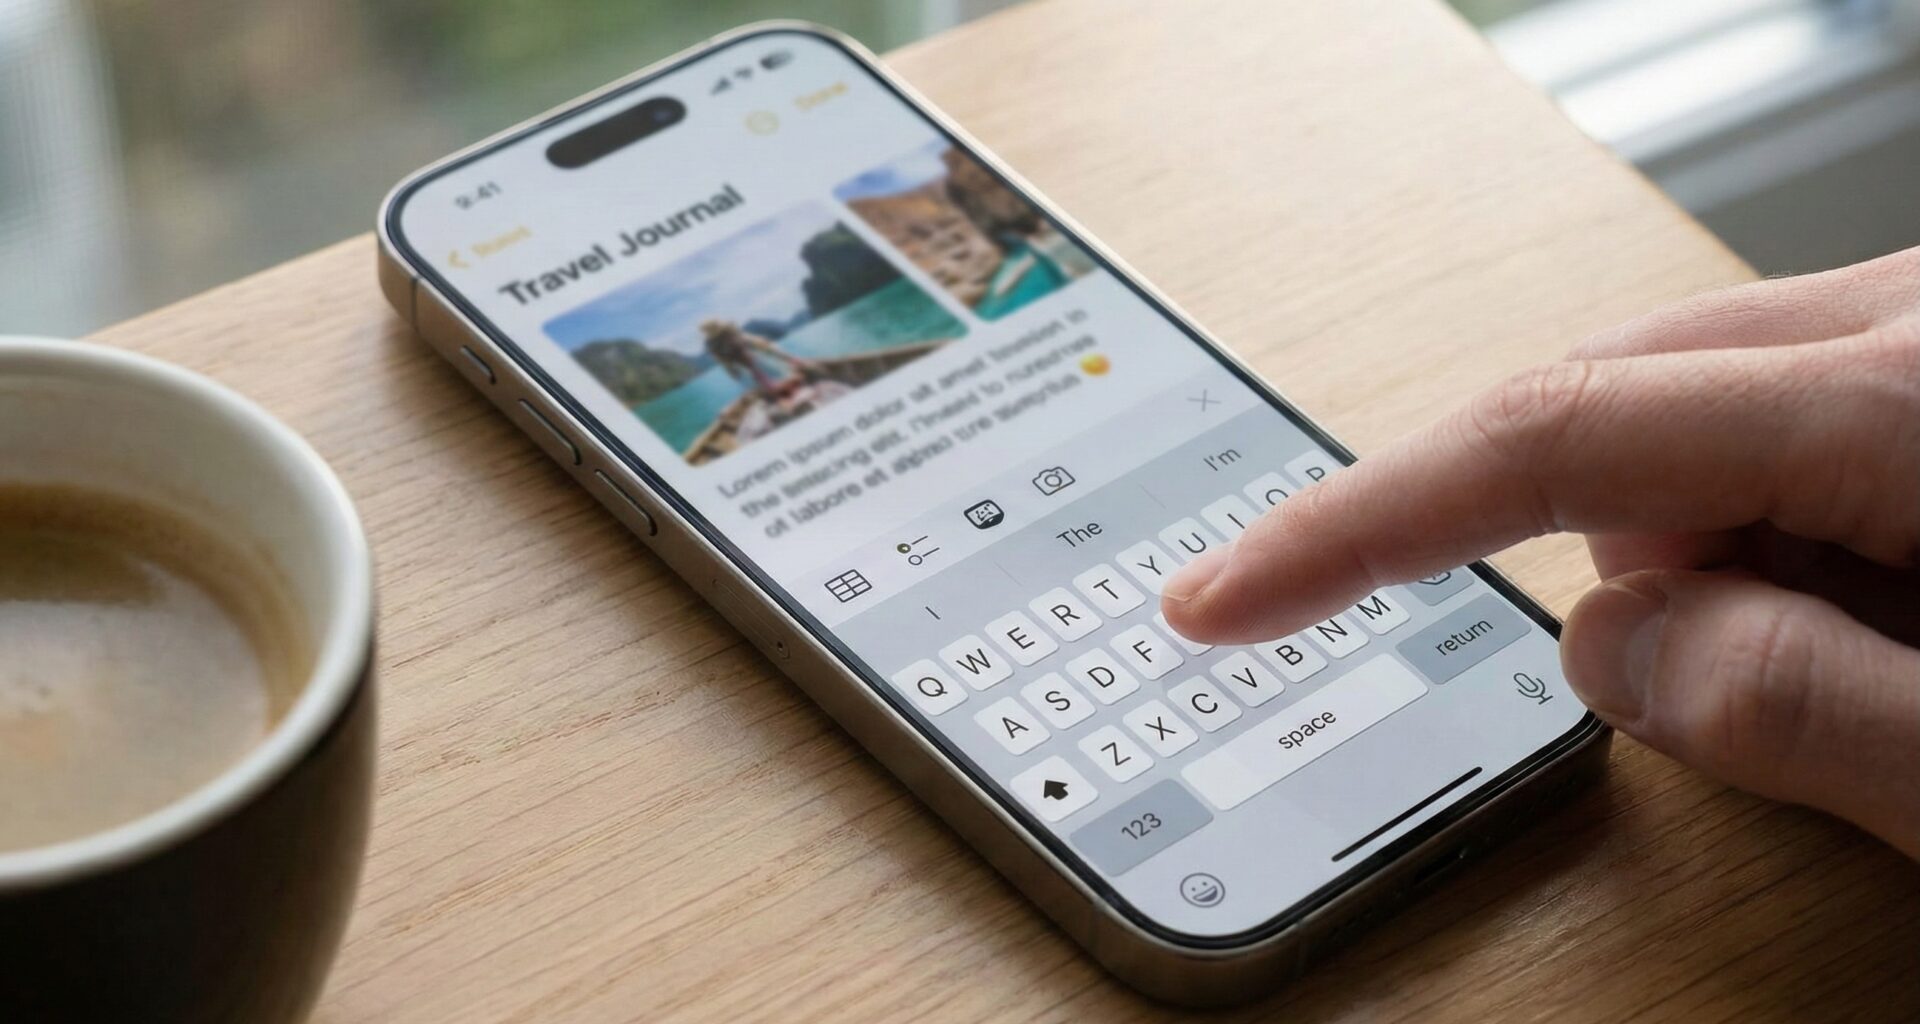
In mobile app development, few things break immersion and User Experience (UX) quite like a keyboard that refuses to disappear. You’ve designed a clean, minimalist, functional interface in Xcode. The user taps a text field, the virtual keyboard slides smoothly up… and there it stays.
The user finishes typing, taps the “Send” button, or perhaps just wants to scroll to see content hidden beneath the keys. They tap the background, swipe their finger, but the keyboard remains stoic, covering 40% of the screen.
In the old UIKit paradigm, veteran developers will remember the ritual dance of overriding touchesBegan or manually managing the First Responder in every UIViewController. But how do we translate this to the declarative world of SwiftUI? Is it easier? Is it harder?
The short answer is: It’s different. And fortunately, with the latest versions of iOS, it’s much more powerful.
In this massive tutorial, we are going to dissect every existing method to dismiss or hide the keyboard in SwiftUI. We won’t just copy and paste a code snippet; we will understand the underlying architecture, explore the differences between iOS 14, 15, and 16+, and build professional-grade reusable solutions.
Part 1: Understanding “First Responder” Theory
Before writing a single line of Swift code, it is vital to understand what is happening under the hood. Although SwiftUI abstracts away much complexity, keyboard management is still based on UIKit’s Responder Chain concept.
When a user taps a TextField or TextEditor, that view requests to become the First Responder. The operating system grants this state and, as a consequence, deploys the keyboard to allow data entry.
To “hide” the keyboard, we don’t technically tell the keyboard to close. Technically, we tell the active view: “Please, resign your First Responder state.” When doing so, the system detects that there is no longer any view requesting text input and automatically withdraws the keyboard.
In SwiftUI, we have three main strategies to achieve this:
- The Global Strategy (Legacy): Forcing resignation globally.
- The State Strategy (Modern): Using
@FocusState. - The Behavior Strategy (Native): Using Scroll modifiers.
Let’s explore each in detail.
Part 2: The Universal Solution (The UIApplication Method)
This is the most well-known technique used in the early days of SwiftUI. It remains useful because it works regardless of the view hierarchy and is backward compatible with older iOS versions (13/14).
The idea is to send an action to the entire application saying: “Whoever has the focus right now, drop it.”
The Base Code
First, we extend UIApplication to make the call easier:
import SwiftUI

extension UIApplication {
    func endEditing() {
        sendAction(#selector(UIResponder.resignFirstResponder), to: nil, from: nil, for: nil)
    }
}
Technical Analysis:
sendAction: This is a method that sends a control message through the responder chain.to: nil: This is the trick. By sending the action tonil, the system automatically searches for the first object capable of responding to theresignFirstResponderaction. That object is, invariably, the active text field.
Implementation in the View
Now, we apply a tap gesture (TapGesture) to our container view.
struct OldSchoolFormView: View {
    @State private var text: String = ""

    var body: some View {
        ZStack {
            Color.gray.opacity(0.1).ignoresSafeArea() // Visual background

            VStack {
                TextField("Type something here...", text: $text)
                    .textFieldStyle(RoundedBorderTextFieldStyle())
                    .padding()

                Button("Action Button") {
                    print("Action performed")
                }
            }
        }
        // Detect tap anywhere on the ZStack
        .onTapGesture {
            UIApplication.shared.endEditing()
        }
    }
}
The “Empty Space” Problem (Very Important) A common mistake for beginners is applying .onTapGesture to a VStackthat has a lot of whitespace. In SwiftUI, containers like VStack or HStack do not have a “body” in empty spaces; they are transparent to touches. If you tap between two elements, the touch passes through the view, and the gesture does not trigger.
The Solution: Use .contentShape(Rectangle()).
VStack {
    // Your fields
}
.frame(maxWidth: .infinity, maxHeight: .infinity)
.contentShape(Rectangle()) // Makes the entire area "tappable"
.onTapGesture {
    UIApplication.shared.endEditing()
}
Part 3: The Modern Standard – @FocusState (iOS 15+)
With the arrival of iOS 15, Apple gave us a native and purely “Swifty” tool to handle this: the @FocusState Property Wrapper.
This approach is superior because it is declarative. Instead of sending an imperative order (“Close the keyboard!”), we simply change a state variable (“Focus is now false”) and the UI reacts accordingly.
Case 1: A Single Field
struct ModernLoginView: View {
    @State private var email: String = ""

    // 1. Declare the focus state
    @FocusState private var isEmailFocused: Bool

    var body: some View {
        VStack {
            TextField("Email Address", text: $email)
                // 2. Bind the field to the state
                .focused($isEmailFocused)
                .textFieldStyle(.roundedBorder)
                .padding()

            Button("Close Keyboard") {
                // 3. Modify the state to close
                isEmailFocused = false
            }
        }
        .onTapGesture {
            isEmailFocused = false
        }
    }
}
When isEmailFocused changes to true, the keyboard goes up. When it changes to false, it goes down. It is bidirectional and reactive.
Case 2: Advanced Form Management (Multiple Fields)
Imagine a registration form with Name, Surname, and Address. Creating a boolean for each (isNameFocused, isLastNameFocused…) is messy and hard to maintain.
@FocusState shines here because it can work with Hashable types, like an Enum. This allows us to create a state machine for our focus.
struct RegistrationFormView: View {
    // Define possible fields
    enum Field: Hashable {
        case name
        case surname
        case email
        case password
    }

    @State private var name = ""
    @State private var surname = ""
    @State private var email = ""
    @State private var password = ""

    // The state is now an optional Field type
    @FocusState private var focusedField: Field?

    var body: some View {
        Form {
            Section(header: Text("Personal Data")) {
                TextField("Name", text: $name)
                    .focused($focusedField, equals: .name)
                    .submitLabel(.next) // Changes "Return" key to "Next"

                TextField("Surname", text: $surname)
                    .focused($focusedField, equals: .surname)
                    .submitLabel(.next)
            }

            Section(header: Text("Account")) {
                TextField("Email", text: $email)
                    .focused($focusedField, equals: .email)
                    .keyboardType(.emailAddress)
                    .submitLabel(.next)

                SecureField("Password", text: $password)
                    .focused($focusedField, equals: .password)
                    .submitLabel(.done)
            }
        }
        // Logic to jump between fields automatically
        .onSubmit {
            switch focusedField {
            case .name:
                focusedField = .surname
            case .surname:
                focusedField = .email
            case .email:
                focusedField = .password
            case .password:
                focusedField = nil // Closes keyboard at the end
            default:
                break
            }
        }
        // Tapping outside closes everything
        .onTapGesture {
            focusedField = nil
        }
    }
}
Why is this brilliant?
- Superior UX: The user can navigate the form using the keyboard’s “Next” key without touching the screen.
- Clean Code: All navigation logic is centralized in the
.onSubmitblock. - Total Control: You have exact programmatic control over which field is active at any moment.
Part 4: The Native Scroll Solution (iOS 16+)
Starting with iOS 16, SwiftUI introduced a modifier that mimics the native behavior we see in apps like Messages or WhatsApp: the keyboard hides when the user drags the list down.
The modifier is: .scrollDismissesKeyboard(_ mode:)
struct ChatView: View {
    @State private var message = ""

    var body: some View {
        ScrollView {
            VStack {
                ForEach(0..<50) { i in
                    Text("Message \(i)")
                        .frame(maxWidth: .infinity, alignment: .leading)
                        .padding()
                        .background(Color.blue.opacity(0.1))
                        .cornerRadius(8)
                }
            }
            .padding()
        }
        // MAGIC HERE:
        .scrollDismissesKeyboard(.interactively)

        // Input bar
        HStack {
            TextField("Type a message...", text: $message)
                .textFieldStyle(.roundedBorder)
        }
        .padding()
    }
}
Available modes are:
.interactively: The keyboard goes down following the user’s finger (standard iOS behavior)..immediately: The keyboard disappears as soon as scrolling begins..never: Keeps the keyboard visible (useful for note editors).
Limitation: This method only works if the user scrolls. If the list is short and there is no scroll, the keyboard won’t hide. Therefore, it is recommended to combine this method with the onTapGesture explained above for full coverage.
Part 5: The Numeric Keyboard Problem
There is a “villain” in this story: The NumberPad.
Unlike the standard keyboard, the numeric keypad on iPhone does not have a return key. This means that if you don’t implement a way to close it, the user can get trapped in that field forever.
The elegant solution is to add a Toolbar above the keyboard.
struct AmountInputView: View {
    @State private var amount = ""
    @FocusState private var isInputActive: Bool

    var body: some View {
        TextField("Amount", text: $amount)
            .keyboardType(.decimalPad)
            .focused($isInputActive)
            .toolbar {
                ToolbarItemGroup(placement: .keyboard) {
                    // Spacer pushes the "Done" button to the right
                    Spacer()

                    Button("Done") {
                        isInputActive = false
                    }
                    .fontWeight(.bold)
                }
            }
    }
}
This code adds a native bar above the numbers with a “Done” button on the right, providing a clear and accessible exit for the user.
Part 6: Software Engineering – Creating a Reusable ViewModifier
As good engineers, we must follow the DRY (Don’t Repeat Yourself) principle. Writing .onTapGesture { ... } in every view is error-prone and messy.
Let’s encapsulate the logic in a custom modifier that we can reuse in any project.
import SwiftUI

// 1. Define the modifier structure
struct DismissKeyboardOnTap: ViewModifier {
    func body(content: Content) -> some View {
        content
            .onTapGesture {
                UIApplication.shared.sendAction(
                    #selector(UIResponder.resignFirstResponder),
                    to: nil,
                    from: nil,
                    for: nil
                )
            }
    }
}

// 2. Extend View for cleaner syntax
extension View {
    func dismissKeyboardOnTap() -> some View {
        modifier(DismissKeyboardOnTap())
    }
}
Final usage in your code:
var body: some View {
    VStack {
        // Your complex form
    }
    .dismissKeyboardOnTap() // Just one clean line!
}
UX and Accessibility Considerations
Dismissing the keyboard is more than a technical requirement; it is a matter of usability. Here are some tips to elevate the quality of your app:
- Don’t be aggressive: Avoid putting the
onTapGestureon very small elements or near buttons. It can frustrate the user if they accidentally close the keyboard when trying to press something else. - iPadOS and Hardware: Remember that iPad users often use physical keyboards. They expect the
Cmd + .combination or theEsckey (in some contexts) to close editing.@FocusStatehandles this quite well, but make sure to test your app with a Bluetooth keyboard connected. - Animations: When you use
@FocusState, the keyboard closing is animated with the system. If you try to manually manipulate the view position while the keyboard is lowering, make sure to wrap your state changes inwithAnimation.
Summary and Decision Guide
Feeling overwhelmed with the options? Here is your roadmap to decide what to use:
- Are you making a Chat or a long List?
- Use
.scrollDismissesKeyboard(.interactively).
- Use
- Do you have a complex form with validations?
- Use
@FocusStatewith anEnumto manage navigation between fields.
- Use
- Do you have a numeric field?
- Mandatorily add a
.toolbarwith a close button.
- Mandatorily add a
- Do you need a quick solution for a simple screen?
- Use the Custom ViewModifier with
.onTapGestureon the main container.
- Use the Custom ViewModifier with
Conclusion
SwiftUI has matured incredibly in recent years. What used to require Objective-C and UIKit hacks can now be achieved with elegant and safe declarative APIs.
Mastering the keyboard is the first step to mastering app quality. A well-managed keyboard is invisible to the user; it simply “works” as expected. A poorly managed keyboard is a reason for uninstallation.
You now have in your arsenal every possible tool to ensure your app falls into the first category. Open Xcode and start cleaning up that interface!
If you have any questions about this article, please contact me and I will be happy to help you 🙂. You can contact me on my X profile or on my Instagram profile.


