


Introduction: Thinking Beyond Rows and Columns
When we start designing interfaces in SwiftUI (or any modern UI framework), our brains tend to think in two dimensions: vertical and horizontal. “I want a title, and below the title an image, and next to the image some text.” For this, tools like VStack (Vertical Stack) and HStack (Horizontal Stack) are our best friends.
But what happens when the design requires something more complex? What happens when you need to put text on topof an image, create a floating button that stays fixed in a corner over a list, or design a realistic credit card with a gradient background and overlapping elements?
Here is where we enter the third dimension of interface design. Here is where ZStack comes in.
In this tutorial, we are going to dissect SwiftUI’s ZStack component with examples. You will not only learn its syntax, but you will also understand how Apple’s rendering engine thinks, how to avoid common design errors, and how to create professional interfaces layer by layer.
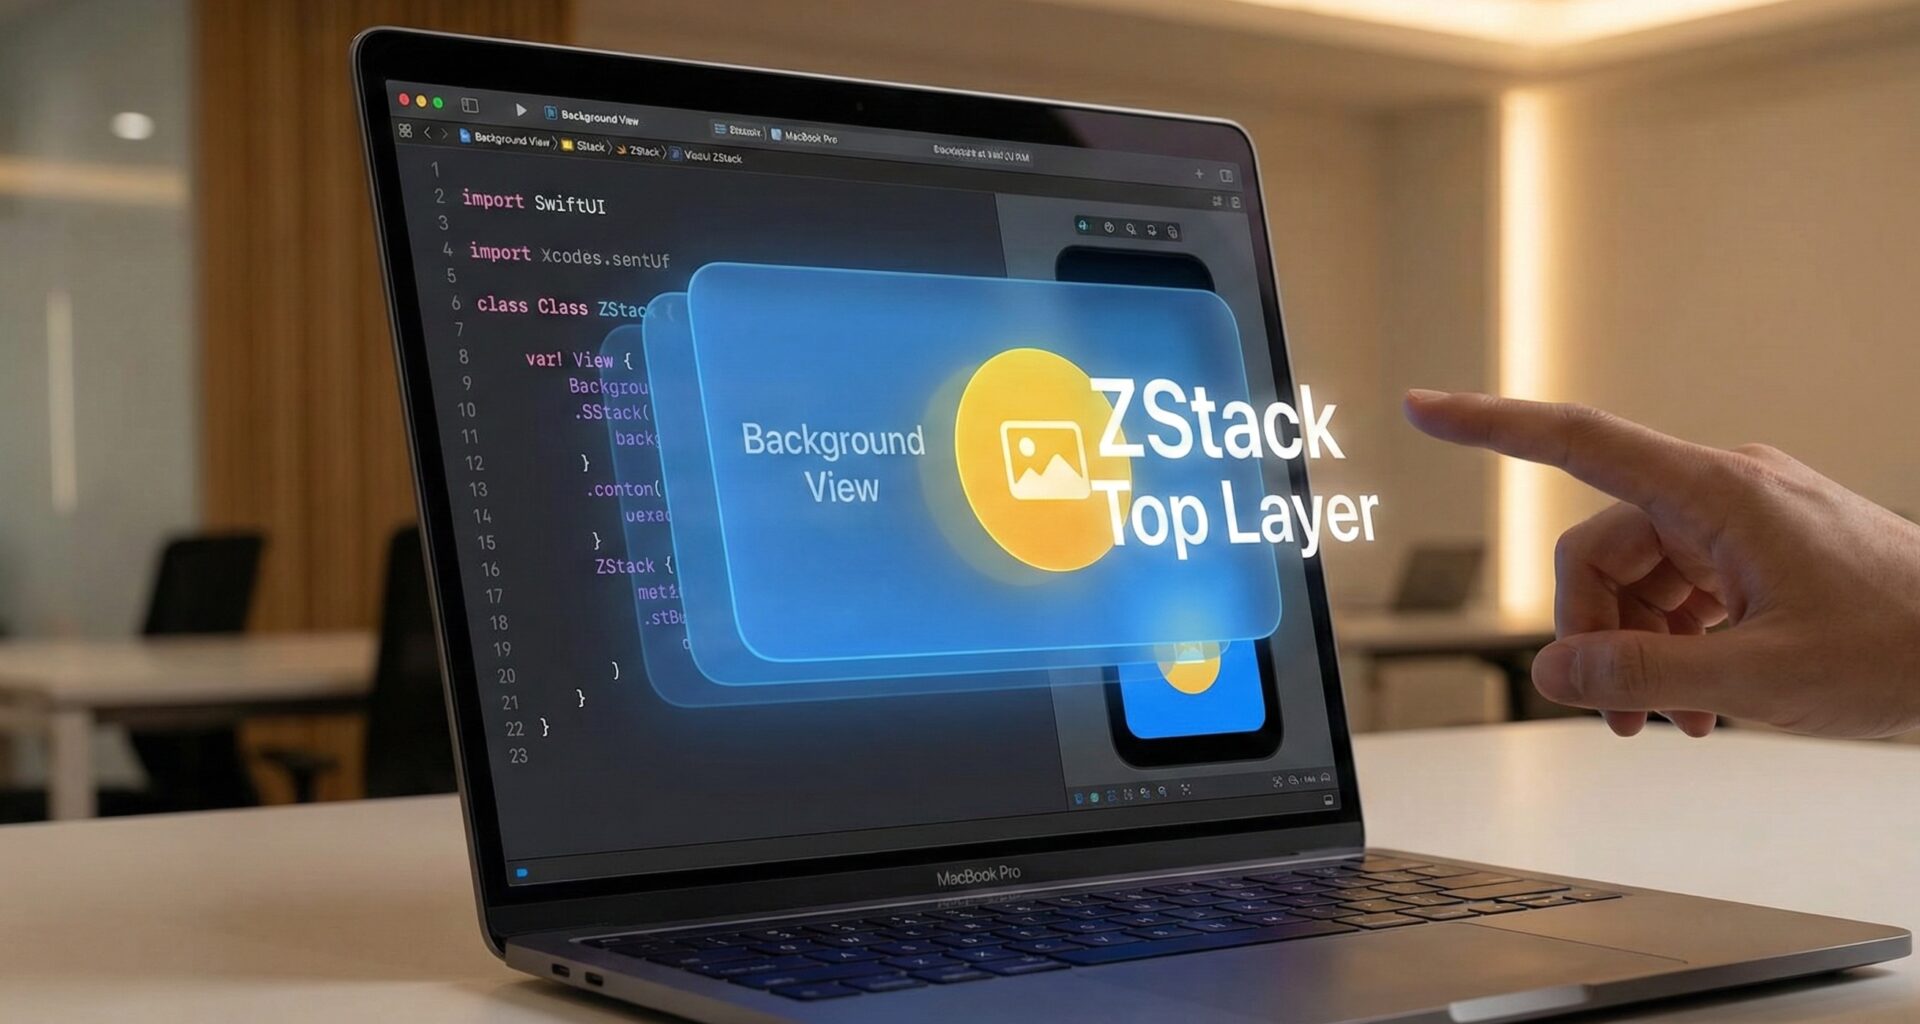
Part 1: What Exactly is a ZStack?
The name ZStack comes from the Z-Axis in Cartesian geometry.
- X-Axis: Left / Right (HStack).
- Y-Axis: Up / Down (VStack).
- Z-Axis: Forward / Backward (Depth).
Imagine your desk is your iPhone screen.
- If you put a sheet of paper on the table, that is your first view.
- If you put a photograph on top of that sheet, the photograph partially covers the paper.
- If you put a coin on the photograph, the coin is on the top layer.
That is a ZStack. It is a container that stacks its child views one on top of the other, aligning them in the center by default.
The Golden Rule of Order
In SwiftUI code, the reading order is crucial.
In a ZStack, the first view you write is at the back (furthest from the user). The last view you write is at the front (closest to the user).
Part 2: Your First ZStack (Basic Concepts)
Let’s open Xcode and see this in action. We’ll start with something very basic to visualize the layers.
import SwiftUI

struct BasicConceptView: View {
    var body: some View {
        ZStack {
            // Layer 1: The Background (At the very back)
            Color.blue
                .frame(width: 300, height: 300)
                .cornerRadius(20)

            // Layer 2: The middle element
            Circle()
                .fill(Color.yellow)
                .frame(width: 200, height: 200)

            // Layer 3: The Front (Closest to the user)
            Text("Hello ZStack")
                .font(.largeTitle)
                .fontWeight(.bold)
                .foregroundColor(.white)
        }
    }
}
Code Analysis:
- Color.blue: Acts as our base. Note how SwiftUI treats colors as Views.
- Circle: Is drawn on top of the blue square.
- Text: Is drawn on top of the yellow circle.
If you were to change the order and put Color.blue at the end of the code, it would cover the circle and the text, and you would only see a blue square.
Part 3: The Power of Alignment
Unlike VStack (which aligns horizontally) or HStack (which aligns vertically), ZStack has a much more powerful two-dimensional alignment system.
By default, everything is centered. But what if you want to place elements in the corners?
The ZStack initializer accepts an alignment parameter.
ZStack(alignment: .topLeading) { // Top-left alignment
    Color.red.frame(width: 300, height: 300)

    Text("Top Corner")
        .foregroundColor(.white)
        .padding()
}
The Global Alignment Problem
The ZStack‘s alignment parameter affects all views within it. If you set .topLeading, all layers will try to go to the top-left corner.
How do we get one layer to be in the center and another in the corner? By using Frame with maxWidth and maxHeight or Spacers within the individual layers, not on the container.
However, the cleanest way in modern SwiftUI is to use the .frame(maxWidth: .infinity, alignment: ...) modifier on the child view, or use another container inside the ZStack.
Let’s look at a practical example: A Profile Card.
struct ProfileCardView: View {
    var body: some View {
        ZStack(alignment: .bottom) { // Default alignment to bottom
            // 1. Background Image
            Image("landscape") // Make sure to have an image in Assets
                .resizable()
                .aspectRatio(contentMode: .fill)
                .frame(width: 300, height: 200)
                .clipped()

            // 2. Gradient so text is readable
            LinearGradient(colors: [.black.opacity(0.6), .clear],
                           startPoint: .bottom,
                           endPoint: .top)
                .frame(width: 300, height: 200)

            // 3. Text (Aligned bottom thanks to ZStack)
            HStack {
                Text("Rocky Mountains")
                    .foregroundColor(.white)
                    .font(.headline)
                Spacer()
                Image(systemName: "heart.fill")
                    .foregroundColor(.red)
            }
            .padding()
            .frame(width: 300) // Matches image width
        }
        .cornerRadius(15)
        .shadow(radius: 5)
    }
}
Part 4: ZIndex – Breaking the Natural Order
Sometimes, your application logic requires you to change the order of layers dynamically, without changing the order of the lines of code. Or perhaps you are using animations where one view must pass over another.
For this, the .zIndex() modifier exists.
By default, all views have a Z-index of 0. SwiftUI draws them in order of appearance. But if you assign a manual value, you take control.
struct CardDeckView: View {
    @State private var cardSelected = false

    var body: some View {
        ZStack {
            // Red Card
            Rectangle()
                .fill(Color.red)
                .frame(width: 200, height: 300)
                .rotationEffect(.degrees(10))
                .zIndex(cardSelected ? 1 : 2) // If selected, goes to back
                .onTapGesture { withAnimation { cardSelected.toggle() } }

            // Blue Card
            Rectangle()
                .fill(Color.blue)
                .frame(width: 200, height: 300)
                .rotationEffect(.degrees(-10))
                .zIndex(cardSelected ? 2 : 1) // If selected, comes to front
                .onTapGesture { withAnimation { cardSelected.toggle() } }
        }
    }
}
Important Note: .zIndex is fundamental when working with transitions (views appearing/disappearing). If SwiftUI doesn’t know which view is “on top” of the other during an animation, the visual result can be strange (views clipping through each other).
Part 5: Real World Use Cases
Enough theory. Let’s build things you would see in a real App Store application.
Case 1: The “Floating Action Button” (FAB)
Very common in apps like Twitter or Gmail. A list of content and a button fixed in the bottom right corner.
struct ListWithFABView: View {
    var body: some View {
        ZStack(alignment: .bottomTrailing) {
            // Layer 1: Main Content
            List(0..<50) { i in
                Text("List Item #\(i)")
            }

            // Layer 2: Floating Button
            Button(action: {
                print("Create new item")
            }) {
                Image(systemName: "plus")
                    .font(.title)
                    .foregroundColor(.white)
                    .padding()
                    .background(Color.blue)
                    .clipShape(Circle())
                    .shadow(radius: 4, y: 4)
            }
            .padding() // Margin to separate it from screen edge
        }
    }
}
This is the classic pattern: ZStack as the root container of the screen. The list occupies all space, and the button sits on top, aligned to the corner.
Case 2: “Loading” Screen (Loading Overlay)
How do you block the screen when making an API call? With a ZStack.
struct LoadingViewExample: View {
    @State private var isLoading = false

    var body: some View {
        ZStack {
            // 1. Your normal interface
            VStack {
                Text("Welcome to my App")
                Button("Load Data") {
                    isLoading = true
                    // Simulate loading
                    DispatchQueue.main.asyncAfter(deadline: .now() + 2) {
                        isLoading = false
                    }
                }
            }

            // 2. Blocking Layer (Only appears if isLoading is true)
            if isLoading {
                Color.black.opacity(0.4)
                    .ignoresSafeArea() // Covers the ENTIRE screen, even status bar

                ProgressView("Loading...")
                    .padding()
                    .background(Color.white)
                    .cornerRadius(10)
                    .shadow(radius: 10)
            }
        }
        .animation(.easeInOut, value: isLoading) // Smooth animation on appear
    }
}
This example demonstrates the power of combining logic (if) with design (ZStack). The semi-transparent layer prevents the user from tapping the buttons underneath while loading.
Part 6: ZStack vs .overlay() vs .background()
A very common question for intermediate developers is: When do I use ZStack and when do I use the .overlay modifier?
Visually, the result can be identical, but semantically they are different.
1. .background()
Use this when the bottom layer is purely decorative and depends on the size of the content.
- Example: A background color on a button.
2. .overlay()
Use this when the top element is an accessory or decoration of the main element. The size of the overlay is limited by the size of the parent view.
- Example: A notification badge (that red circle with a number) on an icon, or a border on an image.
// Overlay Example
Image(systemName: "bell.fill")
    .font(.largeTitle)
    .overlay(alignment: .topTrailing) {
        Circle()
            .fill(.red)
            .frame(width: 12, height: 12)
            .offset(x: 2, y: -2)
    }
3. ZStack
Use this when you have independent sibling views sharing the same space, or when you need to control the alignment of multiple elements in a complex way.
- Example: A full-screen wallpaper with elements on top, or a Photoshop-like layer design.
Rule of Thumb: If you are nesting too many
.overlayinside.overlay, you should probably switch to aZStack.
Part 7: The “Safe Area” Problem and ZStack
A classic mistake when using ZStack for backgrounds is that the color doesn’t reach the edges of the notch or the home bar at the bottom.
This happens because, by default, SwiftUI respects the “Safe Area” so you don’t draw content where the user can’t see it properly.
For backgrounds in a ZStack, you almost always want to ignore it:
ZStack {
    Color.purple
        .ignoresSafeArea() // Crucial for backgrounds!

    VStack {
        Text("Safe Content")
        // The content here DOES respect margins,
        // because ignoresSafeArea was applied only to the Color, not the whole ZStack.
    }
}
If you apply .ignoresSafeArea() to the entire ZStack, your text might get covered by the notch. Apply it only to the background layer.
Part 8: Optimization and Rendering
Although SwiftUI is very efficient, abusing ZStacks with hundreds of complex layers can affect performance, especially if you apply shadows or blurs to every layer.
LazyZStack… Does it exist?
Unlike VStack and HStack, which have their Lazy versions (LazyVStack) to load content on demand (useful in infinite lists), there is no LazyZStack.
Why? Because on a Z-axis, you normally need to see all layers to compose the final image. You cannot “scroll” in depth the same way you do vertically. Therefore, be careful when using ZStack to stack hundreds of views; they will all be loaded into memory immediately.
Conclusion
The ZStack is the tool that separates rookie designs from professional interfaces in SwiftUI. It allows you to escape the rigidity of lists and grids to create immersive experiences, modular interfaces, and complex visual effects.
Summary of Key Points:
- Order: Code at the top = Back. Code at the bottom = Front.
- Alignment: Use
alignmenton the ZStack orSpacersandFrameson the children. - Usage: Ideal for backgrounds, floating elements, and loading states.
- Alternatives: Use
.overlayfor small decorations linked to a parent view.
What is your next step?
Open Xcode right now. Try to replicate the interface of your favorite music app. You’ll see that that album cover with text on top and floating controls… all of that is a ZStack waiting to be written.
If you have any questions about this article, please contact me and I will be happy to help you 🙂. You can contact me on my X profile or on my Instagram profile.