The TabView is one of the most important components in SwiftUI. It allows you to build tab-based interfaces like those used in apps such as Instagram, WhatsApp, or the App Store. However, one of the most common issues developers face when working with it is customizing its appearance, especially the background color.
By default, TabView uses the system styles (powered by UIKit behind the scenes), which means its background is white or transparent depending on the context. Changing it is not as simple as applying .background() — and this is where many developers get stuck.
In this tutorial, you will learn all the correct and modern ways to change the background color of a TabView, including:
- The background of each tab’s content
- The bottom tab bar
- The background behind the TabView
- Compatibility with iOS 16, 17, 18, and 26
All using SwiftUI + Xcode, with practical examples and professional best practices.
1. What a TabView Really Is in SwiftUI
Even though we use TabView in SwiftUI, Apple still uses UITabBarController under the hood. This is important because:
- The background of the tab bar is not part of the
TabView - Its styles are controlled through
UITabBarAppearance .background()does not affect the tab bar
That’s why we must use two different approaches:
| Area | Correct Method |
|---|---|
| Tab content | .background() |
| Bottom tab bar | UITabBarAppearance |
| Global background | ZStack or .toolbarBackground() |
2. Creating a Basic TabView
Let’s start with a simple structure:
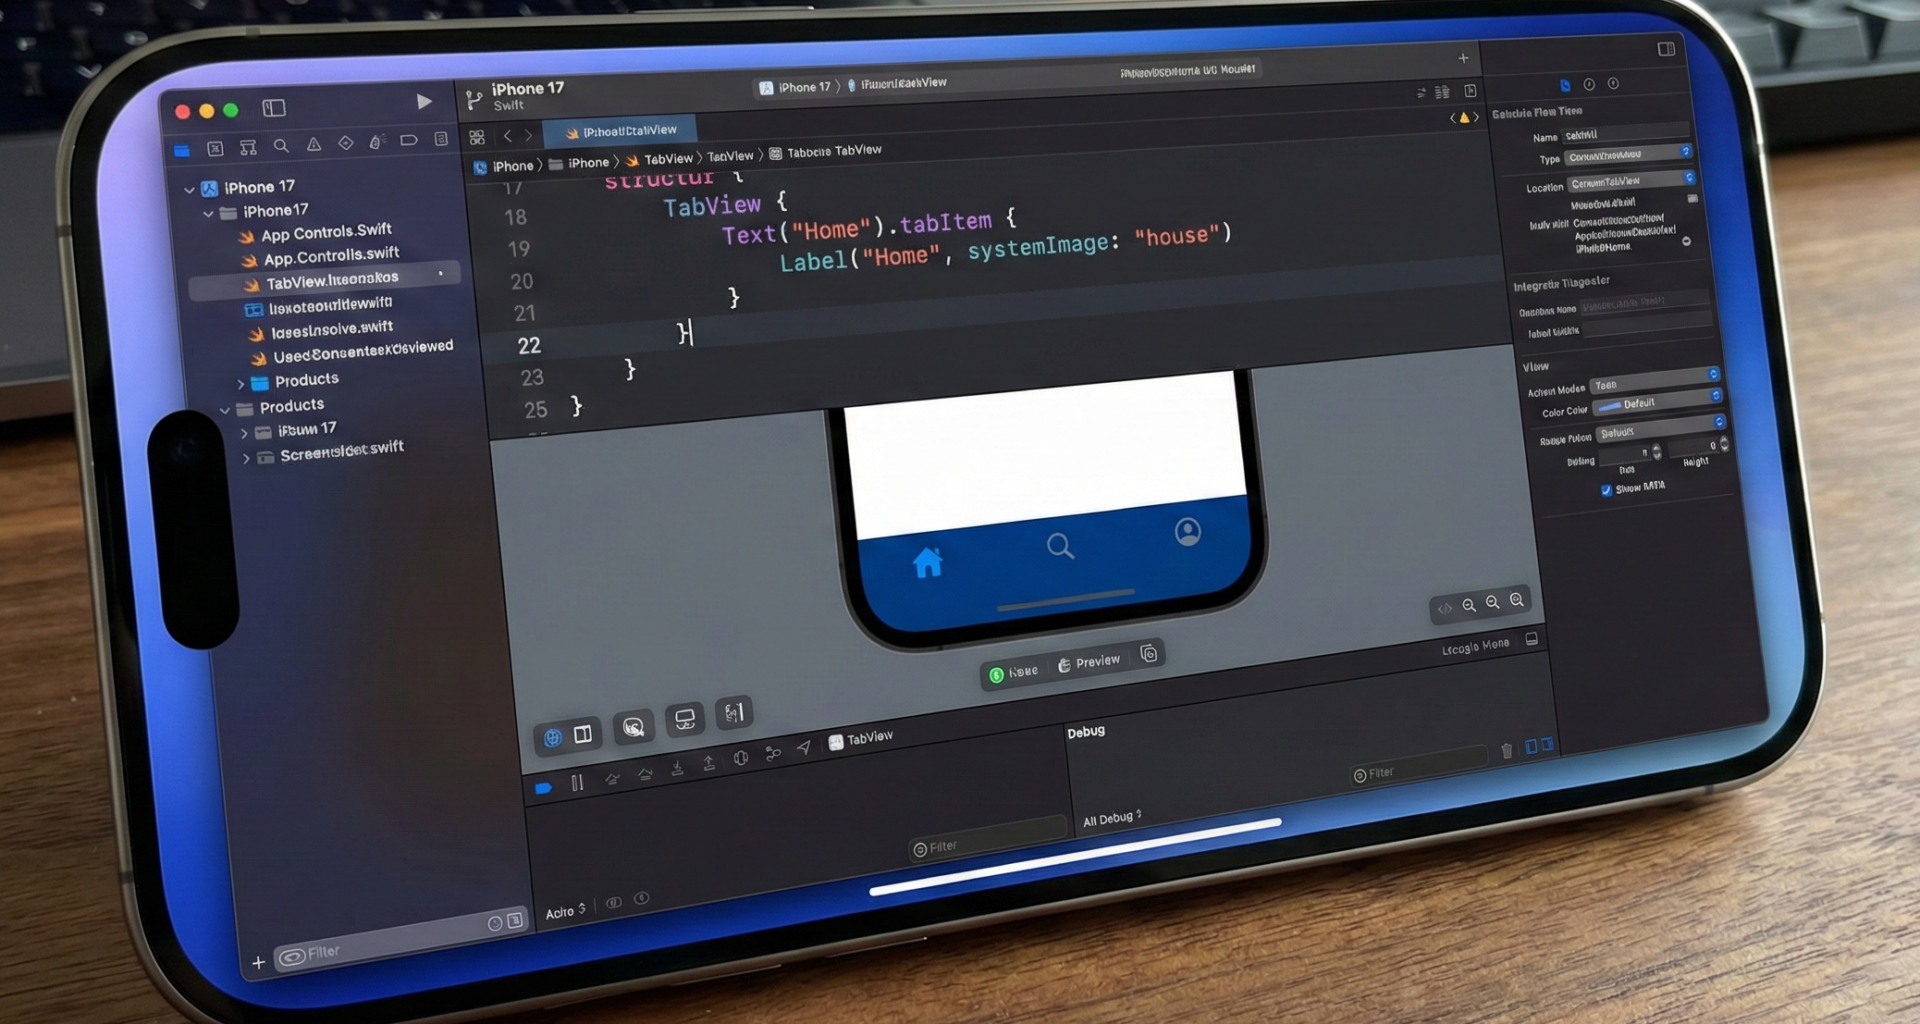
struct ContentView: View {
    var body: some View {
        TabView {
            Text("Home")
                .tabItem {
                    Label("Home", systemImage: "house")
                }

            Text("Profile")
                .tabItem {
                    Label("Profile", systemImage: "person")
                }
        }
    }
}
If you run this in Xcode, you will see:
- A white background
- A white tab bar
- No customization
Now let’s change that.
3. Changing the Background of Each Tab’s Content
The simplest method is to use a ZStack inside each tab:
TabView {
    ZStack {
        Color.blue.ignoresSafeArea()
        Text("Home")
            .foregroundColor(.white)
    }
    .tabItem {
        Label("Home", systemImage: "house")
    }

    ZStack {
        Color.green.ignoresSafeArea()
        Text("Profile")
            .foregroundColor(.white)
    }
    .tabItem {
        Label("Profile", systemImage: "person")
    }
}
This changes the content background, but not the tab bar.
4. Changing the Tab Bar Background
This is where UIKit comes in.
SwiftUI does not yet offer a native way to change the tab bar background, but we can use:
UITabBarAppearanceInside the app or view initializer:
init() {
    let appearance = UITabBarAppearance()
    appearance.configureWithOpaqueBackground()
    appearance.backgroundColor = UIColor.black

    UITabBar.appearance().standardAppearance = appearance
    UITabBar.appearance().scrollEdgeAppearance = appearance
}
Now your tab bar will be black.
5. Using SwiftUI Colors
You can convert a SwiftUI Color into a UIColor:
UIColor(Color.red)Example:
init() {
    let appearance = UITabBarAppearance()
    appearance.configureWithOpaqueBackground()
    appearance.backgroundColor = UIColor(Color.blue)

    UITabBar.appearance().standardAppearance = appearance
    UITabBar.appearance().scrollEdgeAppearance = appearance
}
Changing Icon and Text Colors
UITabBar.appearance().unselectedItemTintColor = .lightGray
UITabBar.appearance().tintColor = .white
This gives you:
- Blue background
- White active icons
- Gray inactive icons
7. Using .toolbarBackground (iOS 16+)
SwiftUI offers a modern API:
TabView {
    Text("Home")
        .tabItem { Label("Home", systemImage: "house") }

    Text("Profile")
        .tabItem { Label("Profile", systemImage: "person") }
}
.toolbarBackground(Color.black, for: .tabBar)
.toolbarBackground(.visible, for: .tabBar)
This is much cleaner than UIKit.
8. Global Background Behind the TabView
ZStack {
    Color.purple.ignoresSafeArea()

    TabView {
        Text("Home")
            .tabItem { Label("Home", systemImage: "house") }

        Text("Profile")
            .tabItem { Label("Profile", systemImage: "person") }
    }
}
9. Using Gradients
.toolbarBackground(
    LinearGradient(
        colors: [.blue, .purple],
        startPoint: .leading,
        endPoint: .trailing
    ),
    for: .tabBar
)
Full Compatibility (iOS 16+)
struct ContentView: View {

    init() {
        let appearance = UITabBarAppearance()
        appearance.configureWithOpaqueBackground()
        appearance.backgroundColor = UIColor(Color.black)

        UITabBar.appearance().standardAppearance = appearance
        UITabBar.appearance().scrollEdgeAppearance = appearance
    }

    var body: some View {
        TabView {
            ZStack {
                Color.black.ignoresSafeArea()
                Text("Home").foregroundColor(.white)
            }
            .tabItem { Label("Home", systemImage: "house") }

            ZStack {
                Color.black.ignoresSafeArea()
                Text("Profile").foregroundColor(.white)
            }
            .tabItem { Label("Profile", systemImage: "person") }
        }
    }
}
11. Common Mistakes
| Mistake | Solution |
|---|---|
.background() does not change the tab bar | Use toolbarBackground or UITabBarAppearance |
| The background doesn’t cover the full screen | Use .ignoresSafeArea() |
| The tab bar becomes transparent | Use configureWithOpaqueBackground() |
12. Conclusion
Changing the background color of a TabView in SwiftUI is not trivial — but now you know how to:
- Style tab content
- Customize the tab bar
- Use modern SwiftUI and UIKit techniques
- Apply colors, gradients, and professional UI styles
You now have everything needed to build fully customized, modern iOS apps with SwiftUI.
If you have any questions about this article, please contact me and I will be happy to help you 🙂. You can contact me on my X profile or on my Instagram profile.