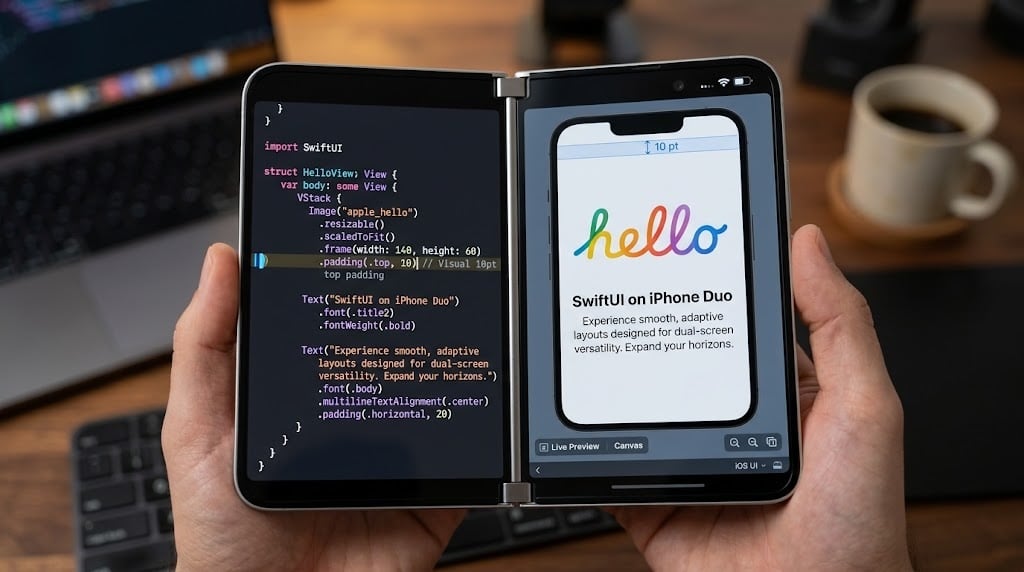

Spacing is one of the fundamental aspects of user interface design. Even when an application has all the necessary functionality, poor spacing can make its interface feel crowded and difficult to use. SwiftUI provides a simple and flexible way to control spacing around views through the .padding() modifier.
In this tutorial, we will learn how to use padding top and padding bottom in SwiftUI with Xcode. We will explain what the .padding() modifier does, how to add space above and below a view, and how these techniques can help an iOS Developer create cleaner and more readable interfaces.
What Is the padding Modifier in SwiftUI?
The .padding() modifier adds space around a view. It can be used with almost any SwiftUI view, including Text, Image, Button, VStack, HStack, and custom views.
The simplest example is:
Text("Welcome to my app")
    .padding()
This adds padding around the text on all sides.
You can also specify how much padding should be added:
Text("Welcome to my app")
    .padding(20)
In this example, SwiftUI adds 20 points of padding around the view.
The .padding() modifier is particularly useful because you don’t need to calculate the position of each element manually. SwiftUI handles the layout and incorporates the requested spacing into the view’s dimensions.
How to Add Padding Top in SwiftUI
When you only want to add space above a view, you can specify the .top edge.
For example:
Text("Welcome")
    .padding(.top, 20)
This adds 20 points of space above the Text view.
The syntax follows this structure:
.padding(.top, amount)
The amount represents the number of points of additional spacing.
You can also use .padding(.top) without specifying a value:
Text("Welcome")
    .padding(.top)
SwiftUI will then use its standard padding amount.
When Should You Use Padding Top?
Padding top in SwiftUI is useful when you need to create separation between the top of a view and another element.
For example, imagine a screen containing a title followed by a description:
VStack(alignment: .leading) {
    Text("My Profile")
        .font(.largeTitle)

    Text("Manage your account information.")
        .padding(.top, 10)
}
The padding creates additional space between the title and description.
An iOS Developer can use this technique for headings, cards, buttons, images, forms, and other interface elements.
How to Add Padding Bottom in SwiftUI
The .bottom edge works in exactly the same way, but adds space below a view.
For example:
Text("Continue")
    .padding(.bottom, 20)
This adds 20 points of space below the Text.
You can also use the default amount:
Text("Continue")
    .padding(.bottom)
This is useful when you want to separate a view from the element that follows it.
For example:
VStack(alignment: .leading) {
    Text("Account")
        .font(.title)
        .padding(.bottom, 12)

    Text("Your account information is displayed here.")
}
The .padding(.bottom, 12) creates a 12-point gap between the heading and the description.
Combining Padding Top and Padding Bottom
You can apply both modifiers to the same view:
Text("SwiftUI Tutorial")
    .padding(.top, 20)
    .padding(.bottom, 20)
This creates 20 points of additional space above and below the text.
You can also use .padding(.vertical) when you want the same amount of padding at the top and bottom:
Text("SwiftUI Tutorial")
    .padding(.vertical, 20)
This is a convenient alternative when both values are identical.
However, if you need different amounts of spacing, using .padding(.top, ...) and .padding(.bottom, ...)separately gives you greater control.
Using Padding with Containers
Padding is not limited to Text. You can use it with containers such as VStack and HStack.
For example:
VStack {
    Text("Title")
    Text("Description")
}
.padding(.top, 30)
In this situation, the entire VStack receives 30 points of space above it.
You can also apply bottom padding:
VStack {
    Text("Title")
    Text("Description")
}
.padding(.bottom, 30)
This is particularly useful when positioning groups of views within a larger interface.
Padding and Backgrounds in SwiftUI
One important concept in SwiftUI is that the order of modifiers affects the result.
Consider:
Text("Hello")
    .padding(.top, 20)
    .background(.blue)
The background is applied after the padding, so the padded area is included within the blue background.
Now consider:
Text("Hello")
    .background(.blue)
    .padding(.top, 20)
Here, the blue background is applied first and the top padding is added afterward.
Understanding modifier order is an important part of Swift programming and helps you create predictable layouts.
Improving Your App with Padding
Good spacing makes interfaces easier to understand and navigate. If buttons, headings, images, and text are positioned too closely together, users may find the application visually confusing.
Using padding top and padding bottom in SwiftUI allows you to establish a consistent visual hierarchy.
For example, you can use top padding to separate a new section from the content above it and bottom padding to create space before the next section.
When working in Xcode, experiment with different padding values using previews or the simulator. Test your interface on different screen sizes to make sure your spacing remains appropriate.
Padding and Accessibility
An iOS Developer should also consider accessibility when designing layouts. Users may increase the system text size, which can cause views to become taller.
Avoid relying on fixed positions. Instead, use SwiftUI layout tools such as padding, stacks, and flexible containers so the interface can adapt to different amounts of content.
Padding should provide breathing room without unnecessarily consuming large amounts of screen space.
Conclusion
The .padding() modifier is one of the most useful layout tools available in SwiftUI. It allows you to add space around views without manually calculating their positions.
Using .padding(.top, amount) lets you add space above a view, while .padding(.bottom, amount) adds space below it. You can also use .padding(.vertical, amount) when you want identical top and bottom spacing.
For developers learning Swift programming, understanding padding is an essential step toward creating professional interfaces. By combining padding top and padding bottom in SwiftUI with stacks, backgrounds, typography, and other modifiers, you can build cleaner, more readable, and more adaptable applications using Xcode and SwiftUI.