In the competitive world of mobile application development, the difference between a “decent” app and an “exceptional” app often lies in how it feels to use. For an iOS Developer, understanding the physics of motion is just as important as understanding memory management. For years, in the UIKit era, creating animations that felt natural required complex calculations or the use of external libraries. With the arrival of modern Swift programming and SwiftUI, Apple has democratized interface physics.
Linear animations or simple Bézier curves (like easeIn or easeOut) are useful, but they often feel robotic. Nature doesn’t move in straight lines or with perfect accelerations. In the real world, objects have mass, inertia, friction, and elasticity. This is where spring animation in SwiftUI comes in.
In this comprehensive tutorial, we will learn what they are, how they work mathematically and how to implement spring animations in Xcode to take your iOS, macOS, and watchOS apps to the next level.
What is a Spring Animation?
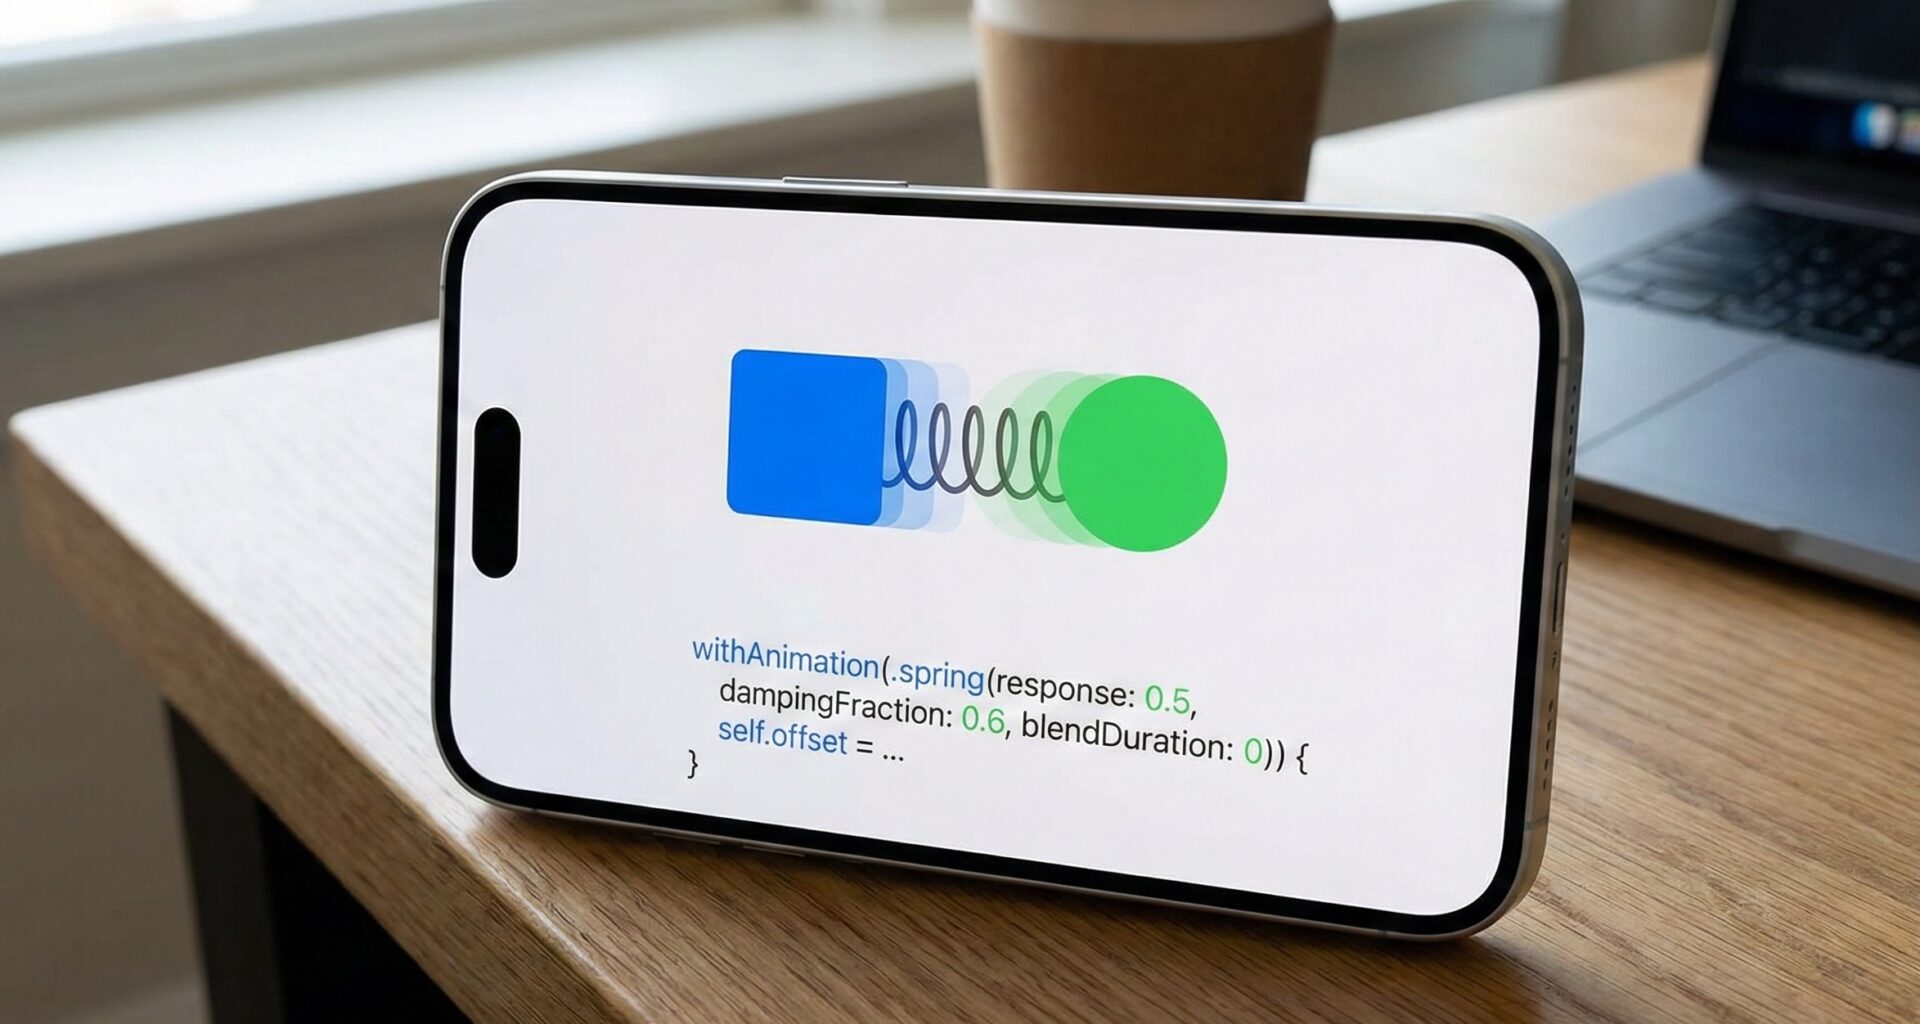
A spring animation isn’t defined by a fixed duration (although we’ll see that Apple has simplified this recently), but by the physical properties of a damped harmonic oscillator. Instead of saying “move from A to B in 0.3 seconds,” you tell the system: “move from A to B as if you were an object of a certain weight attached to a spring with a certain tension.”
SwiftUI’s rendering system calculates the object’s position frame by frame based on simulated velocity. This allows for two fundamental things:
- Fluid Interruption: If the user stops an animation halfway through (e.g., with a gesture), the spring can redirect its inertia toward a new direction without abrupt jumps.
- Overshoot (Bounce): The object can slightly overshoot its final destination and snap back, creating a sense of energy and playfulness.
[Image of harmonic oscillator physics diagram]
Basic Implementation in SwiftUI
Let’s open Xcode and create the simplest example possible. A circle that scales when tapped. We will use the default .spring() modifier.
struct ElasticButton: View {
    @State private var isPressed = false

    var body: some View {
        Circle()
            .fill(Color.blue)
            .frame(width: 100, height: 100)
            .scaleEffect(isPressed ? 1.5 : 1.0)
            .onTapGesture {
                // Option A: Implicit animation linked to the value
                isPressed.toggle()
            }
            // Apply spring physics
            .animation(.spring(), value: isPressed)
    }
}
When running this in the iOS simulator, you’ll notice that the circle doesn’t grow mechanically. It has a slight “bounce” at the end. That is the default behavior of .spring().
Mastering Spring Parameters
For an expert iOS Developer, default behavior is rarely enough. SwiftUI offers full control over physics. There are two main ways to configure a spring: the classic (physical) model and the modern (duration-based) model.
1. The Physical Model (Response & Damping)
This is the most common and flexible way to define a spring animation in SwiftUI. It is based on two key parameters:
- Response: Defines the stiffness of the spring. It is measured in seconds and roughly represents how long the animation would take to complete if there were no oscillation.
- Low value (e.g., 0.3): The spring is stiff and light. It moves fast.
- High value (e.g., 0.9): The spring is loose or the object is heavy. It feels slow and sluggish.
- DampingFraction: Controls how much the spring bounces upon reaching the end. It ranges from 0.0 to 1.0.
- 1.0: No bounce (Critical Damping). The object arrives and stops smoothly.
- 0.5: Moderate bounce.
- 0.0: Infinite bounce (the object would never stop, although SwiftUI eventually cuts it off).
Image(systemName: "bell.fill")
    .font(.system(size: 50))
    .offset(y: move ? 0 : -50)
    .animation(
        .spring(
            response: 0.5,        // Medium speed
            dampingFraction: 0.3, // Lots of bounce!
            blendDuration: 0
        ),
        value: move
    )
2. The Modern Model (iOS 17+)
In the most recent versions of Swift and Xcode, Apple introduced friendlier presets and an initialization based on duration and bounce, which is more intuitive for designers.
.animation(.spring(duration: 0.5, bounce: 0.7), value: state)
We also have presets ready to use:
.bouncy: A spring with predefined bounce..smooth: No bounce, ideal for elegant position changes..snappy: Fast with a small touch of bounce at the end.
Interactive Springs and Gestures
Where spring animation in SwiftUI really shines is in touch interaction. When you drag a card in iOS, you expect it to follow your finger immediately. If you use a linear animation, there will be visual “lag”. For this, we use a special type of spring: .interactiveSpring().
This spring has a lower “response”, designed to stick the view to the user’s finger with zero latency, but preserving inertia when released.
Let’s look at an advanced example of a draggable card:
struct DraggableCard: View {
    @State private var offset = CGSize.zero

    var body: some View {
        RoundedRectangle(cornerRadius: 25)
            .fill(Color.orange)
            .frame(width: 300, height: 400)
            .offset(offset)
            .gesture(
                DragGesture()
                    .onChanged { gesture in
                        // During dragging, response must be immediate
                        // We don't use animation here so it's 1:1 with the finger
                        self.offset = gesture.translation
                    }
                    .onEnded { _ in
                        // On release, use a spring to return to center
                        // This creates the "snap back" effect
                        withAnimation(.spring(
                            response: 0.5,
                            dampingFraction: 0.6,
                            blendDuration: 0.5
                        )) {
                            self.offset = .zero
                        }
                    }
            )
    }
}
Interpolating Spring: The Secret to Fluidity
Sometimes, an animation triggers while the previous one hasn’t finished yet. Imagine you tap a button many times very quickly. With linear animations, the view would jump to the new position or wait to finish. With .interpolatingSpring, SwiftUI adds the velocities together.
If the spring is expanding and you ask it to contract, it doesn’t stop dead; it uses its current inertia to brake and reverse the movement, creating incredibly smooth velocity curves. This is crucial for macOS apps where mouse usage generates very fast events, or on watchOS when turning the Digital Crown.
Best Practices for the iOS Developer
1. Don’t Abuse Bounce
A common mistake in visual Swift programming is setting dampingFraction: 0.3 on everything. An app where everything bounces excessively feels unprofessional and makes the user dizzy. Use high bounces for notifications or playful elements, and damping close to 1.0 (e.g., 0.9) for navigation and menus.
2. Performance Considerations
Spring animations are mathematically more expensive than linear ones. Although modern devices (from iPhone 11 onwards) handle them effortlessly, on watchOS you must be careful. If you are animating many views in a list on Apple Watch, consider using .easeInOut or reducing the complexity of the animated view (using .drawingGroup() if necessary).
3. Accessibility
Don’t forget users who suffer from motion sensitivity. SwiftUI respects the system’s “Reduce Motion” setting automatically in transitions, but for custom animations, you should check the environment variable.
@Environment(\.accessibilityReduceMotion) var reduceMotion

var animation: Animation {
    reduceMotion ? .linear(duration: 0.1) : .spring(response: 0.5, dampingFraction: 0.6)
}
Complete Example: “Like” Animation
To close this tutorial, let’s create a social media style “Like” button, combining scaling, rotation, and a very elastic spring to give user satisfaction.
struct LikeButton: View {
    @State private var isLiked = false

    var body: some View {
        Button(action: {
            // Trigger animation with state change
            withAnimation(.spring(
                response: 0.4,
                dampingFraction: 0.5, // Playful bounce
                blendDuration: 0
            )) {
                isLiked.toggle()
            }
        }) {
            Image(systemName: isLiked ? "heart.fill" : "heart")
                .resizable()
                .aspectRatio(contentMode: .fit)
                .frame(width: 50, height: 50)
                .foregroundColor(isLiked ? .red : .gray)
                // Animated visual effects
                .scaleEffect(isLiked ? 1.2 : 1.0)
                .rotationEffect(isLiked ? .degrees(-15) : .degrees(0))
        }
        // Haptic feedback (vibration) to accompany the spring
        .onChange(of: isLiked) { _ in
            if isLiked {
                let generator = UIImpactFeedbackGenerator(style: .medium)
                generator.impactOccurred()
            }
        }
    }
}
Conclusion
Mastering spring animation in SwiftUI is moving from being a programmer who “places buttons” to an iOS Developer who creates experiences. Springs add weight, texture, and reality to the user interface.
Remember that in Xcode and Swift, the tool is powerful, but the designer’s taste dictates the result. Experiment with response for weight and dampingFraction for friction until you find the perfect “feeling” for your brand. Your iOS, macOS, and watchOS users will notice the difference, even if they can’t explain why your app feels so good.
If you have any questions about this article, please contact me and I will be happy to help you  . You can contact me on my X profile or on my Instagram profile.