


Screenshots are a core feature of iOS, but in many applications they can represent a privacy, security, or content-control issue. Banking apps, messaging apps, education platforms, and streaming services often need to know when a user has taken a screenshot so they can react accordingly: show a warning, hide sensitive data, or log an event.
In this tutorial you will learn how to detect when a user takes a screenshot in a SwiftUI-based iOS app using native iOS APIs, Xcode, and UIKit integration.
You will learn:
- How iOS screenshot detection works
- How to use
UIApplication.userDidTakeScreenshotNotification - How to integrate it into SwiftUI
- How to display alerts or run actions
- How to hide sensitive information
- Best practices and limitations
This tutorial is designed for beginner-to-intermediate developers building apps with SwiftUI.
🧠 Why Detect Screenshots?
Apple does not allow apps to block screenshots (for privacy and accessibility reasons), but it does allow you to detect when a screenshot happens.
Real-world use cases include:
- Banking apps → show warnings
- Messaging apps → notify the other user
- Learning apps → prevent content sharing
- Healthcare apps → protect personal data
- Enterprise apps → track data leaks
SwiftUI does not provide a direct API for this, but UIKit does — and we can easily bridge the two.
🧩 How Screenshot Detection Works
iOS posts a system notification whenever the user takes a screenshot:
UIApplication.userDidTakeScreenshotNotificationWhen the user presses the hardware buttons (Power + Volume), the system sends this notification through NotificationCenter.
Our job is to:
- Subscribe to the notification
- Run code when it fires
- Integrate it into SwiftUI
🛠 Step 1 – Create a SwiftUI Project in Xcode
Open Xcode and create a new project:
- Template: iOS App
- Interface: SwiftUI
- Language: Swift
Name it something like:ScreenshotDetector
📡 Step 2 – Listen for Screenshot Notifications
UIKit sends a notification when a screenshot occurs:
NotificationCenter.default.addObserver(
    forName: UIApplication.userDidTakeScreenshotNotification,
    object: nil,
    queue: .main
) { notification in
    print("User took a screenshot")
}
But in SwiftUI we want a clean, reactive approach.
🔗 Step 3 – Create a Screenshot Detector
We create an observable class that listens for screenshots.
import SwiftUI
import UIKit

class ScreenshotDetector: ObservableObject {

    @Published var didTakeScreenshot = false

    init() {
        NotificationCenter.default.addObserver(
            forName: UIApplication.userDidTakeScreenshotNotification,
            object: nil,
            queue: .main
        ) { _ in
            self.didTakeScreenshot = true
        }
    }
}
This class updates a published property whenever a screenshot is detected.
🧱 Step 4 – Use It in SwiftUI
Now we integrate it into a SwiftUI view.
struct ContentView: View {

    @StateObject private var screenshotDetector = ScreenshotDetector()
    @State private var showAlert = false

    var body: some View {
        VStack(spacing: 20) {
            Text("Confidential Information")
                .font(.title)

            Text("Account number: 1234 5678 9012")
                .font(.headline)
                .foregroundColor(.red)
        }
        .padding()
        .onChange(of: screenshotDetector.didTakeScreenshot) { newValue in
            if newValue {
                showAlert = true
                screenshotDetector.didTakeScreenshot = false
            }
        }
        .alert("Screenshot detected",
               isPresented: $showAlert) {
            Button("OK", role: .cancel) { }
        } message: {
            Text("You have taken a screenshot. This action has been logged.")
        }
    }
}
Now when the user takes a screenshot, an alert appears.
🔐 Step 5 – Hide Sensitive Content After a Screenshot
A common pattern is hiding data once a screenshot is taken.
@State private var hideData = falseThen:
.onChange(of: screenshotDetector.didTakeScreenshot) { _ in
    hideData = true
}
And in the UI:
if hideData {
    Text("Content hidden for security reasons")
        .foregroundColor(.gray)
} else {
    Text("Account number: 1234 5678 9012")
        .foregroundColor(.red)
}
This doesn’t stop the screenshot, but prevents further exposure.
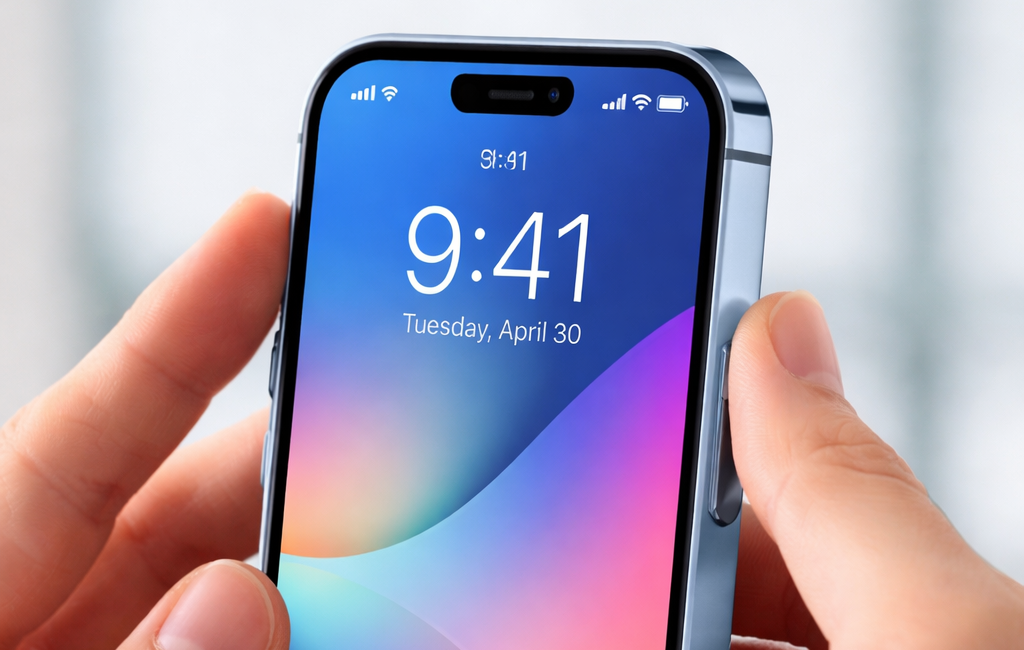
🧪 Step 6 – Test on a Real Device
⚠️ Screenshot detection does not work correctly in the simulator.
You must test on a real iPhone.
Press:
Side button + Volume Up
The alert should appear instantly.
🛡 Step 7 – Prevent Screenshots Using a Secure View Trick
Apple doesn’t allow screenshot blocking, but there is a workaround using secure UIKit views.
We can wrap SwiftUI content inside a secure UITextField:
struct SecureView<Content: View>: UIViewRepresentable {

    let content: Content

    func makeUIView(context: Context) -> UIView {
        let textField = UITextField()
        textField.isSecureTextEntry = true

        let hosting = UIHostingController(rootView: content)
        hosting.view.translatesAutoresizingMaskIntoConstraints = false

        textField.addSubview(hosting.view)

        NSLayoutConstraint.activate([
            hosting.view.topAnchor.constraint(equalTo: textField.topAnchor),
            hosting.view.bottomAnchor.constraint(equalTo: textField.bottomAnchor),
            hosting.view.leadingAnchor.constraint(equalTo: textField.leadingAnchor),
            hosting.view.trailingAnchor.constraint(equalTo: textField.trailingAnchor)
        ])

        return textField
    }

    func updateUIView(_ uiView: UIView, context: Context) { }
}
Usage:
SecureView {
    Text("Ultra-confidential content")
        .font(.title)
}
This causes iOS to render black boxes instead of your UI in screenshots.
⚠️ Technical and Legal Limitations
Apple requires that:
- You cannot block screenshots
- You cannot punish users for taking them
- You can only react or protect content
Also:
- Screen recording is harder to detect
- Notifications arrive after the screenshot is taken
🧩 Real-World Use Cases
| App type | Recommended action |
|---|---|
| Banking | Hide data + alert |
| Messaging | Notify server |
| Education | Show warning |
| Streaming | Log the event |
| Healthcare | Secure view |
🧠 Best Practices
- Inform users in your privacy policy
- Avoid excessive alerts
- Use SecureView only for sensitive screens
- Log events if required
🏁 Conclusion
Detecting screenshots in a SwiftUI iOS app is easy thanks to UIKit system notifications. With just a few lines of code, you can:
- Detect screenshots
- Show alerts
- Hide sensitive data
- Protect secure views
Although you cannot prevent screenshots entirely, you can control how your app responds — which is critical for modern apps that handle private or protected content.
With SwiftUI and Xcode, implementing this is clean, powerful, and fully compliant with Apple’s platform rules.
If you have any questions about this article, please contact me and I will be happy to help you 🙂. You can contact me on my X profile or on my Instagram profile.