


Navigation is the skeleton of any application. You can have the most beautiful views and the smoothest animations, but if the user cannot move from A to B (and back to A) intuitively, the application fails.
During the early years of SwiftUI, navigation was its Achilles’ heel. NavigationView was limited and often frustrating. However, with the arrival of iOS 16 and macOS 13, Apple introduced a total paradigm shift: NavigationStack and NavigationSplitView.
In this massive tutorial, we are going to dissect how to navigate correctly in the modern era of SwiftUI. Forget what you knew about NavigationView; it is time to think in terms of “routes,” “stacks,” and “data.”
1. The New Standard: NavigationStack vs. NavigationView
Before writing code, we must understand the philosophical shift.
- Old (
NavigationView): Navigation was tied to the visual hierarchy. If you wanted to go to a view, the link had to be physically located in the parent view. Programmatic navigation (e.g., “go back to home” via a button) was difficult. - New (
NavigationStack): Navigation is driven by data. The view is simply a representation of the state of a list (array) of data. If you add an item to the array, the app navigates. If you remove it, the app goes back.
The Basic Structure
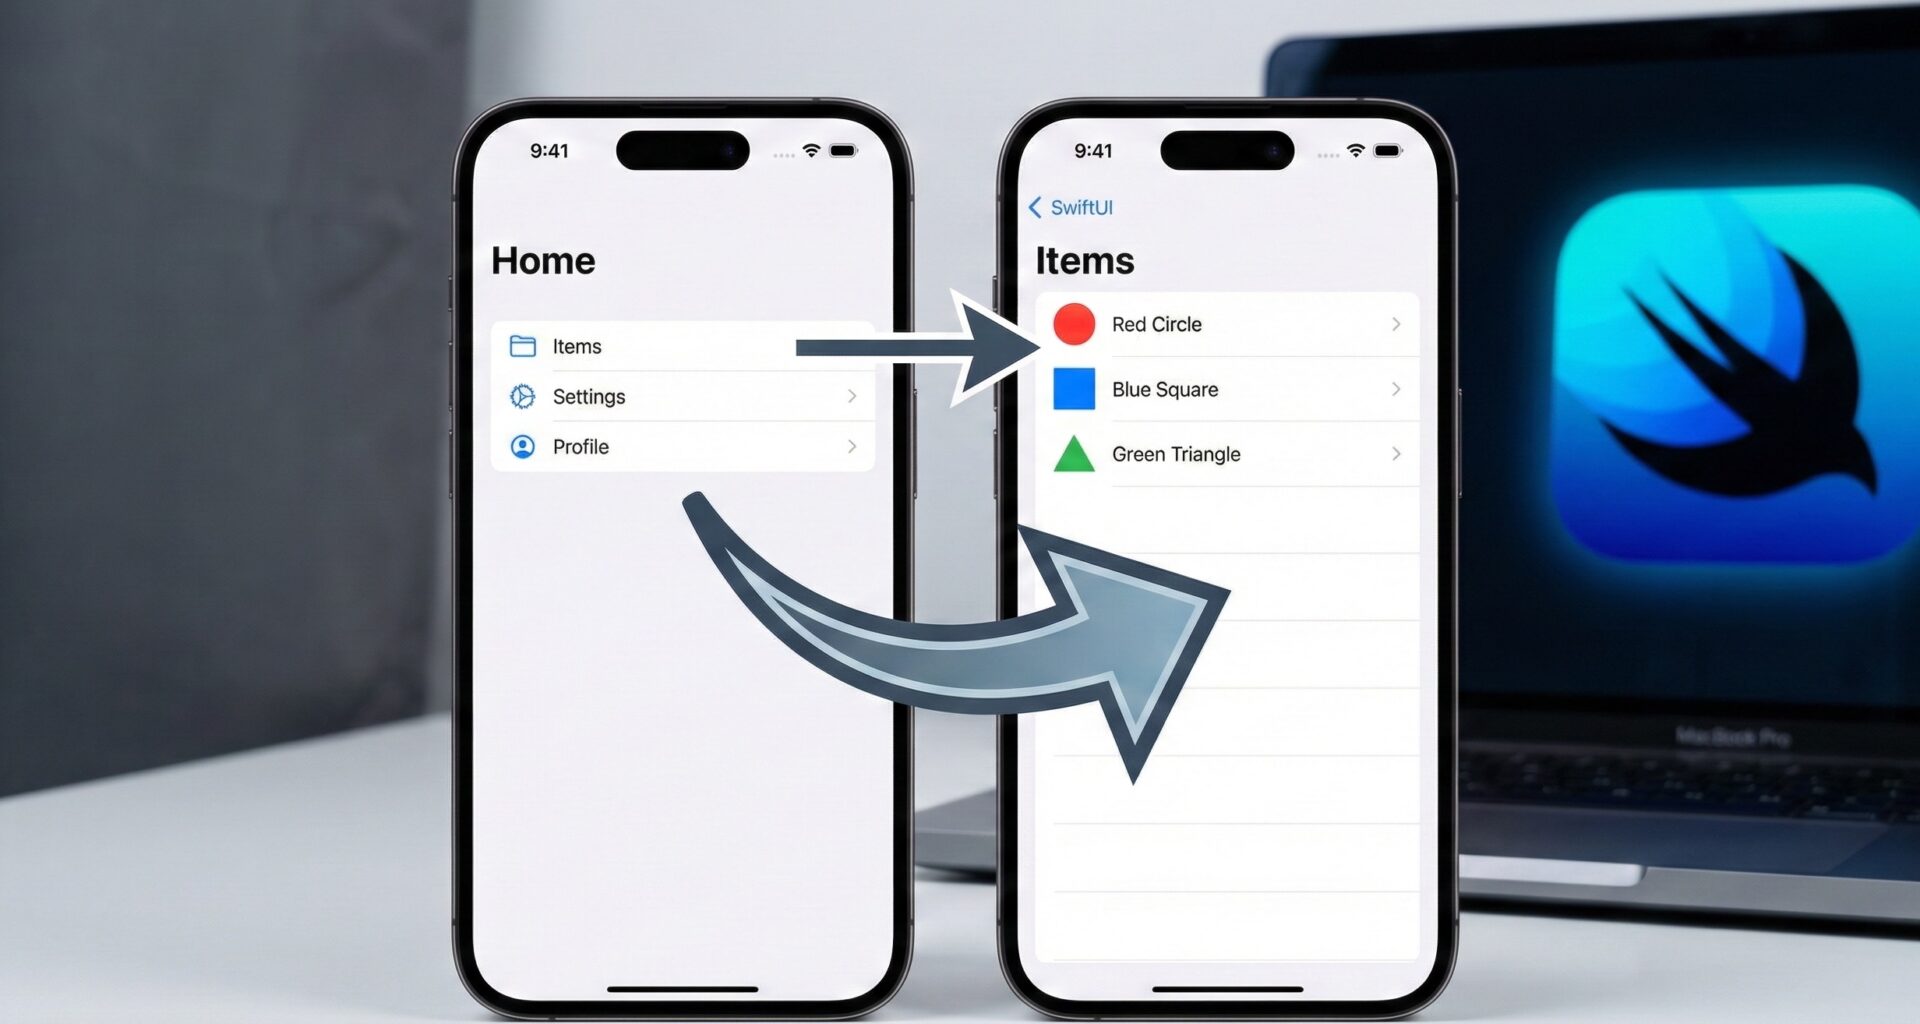
In its simplest form (similar to the old way), a NavigationStack wraps your root view.
struct HomeView: View {
    var body: some View {
        NavigationStack {
            List(1...10, id: \.self) { number in
                NavigationLink("Go to number \(number)", value: number)
            }
            .navigationTitle("Home")
            .navigationDestination(for: Int.self) { number in
                Text("Detail for number \(number)")
            }
        }
    }
}
What just happened here?
NavigationLink(value:): We no longer define the destination view inside the link. We only define a value (anIntin this case). The link says: “I want to navigate with this piece of data.”.navigationDestination(for:): This modifier captures that data. It says: “Hey, if someone tries to navigate with anInt, show them this view.”
This decouples the interaction (the click) from the destination (the resulting view).
2. Programmatic Navigation and NavigationPath
This is where SwiftUI shines brightly. Imagine you want to navigate deep into a view hierarchy, or return to the root (Pop to Root) after completing a form.
To control this, we need to manage the “state” of the stack. We use NavigationPath.
The Route Controller
struct RouterView: View {
    // This variable controls all navigation
    @State private var path = NavigationPath()

    var body: some View {
        NavigationStack(path: $path) {
            VStack {
                Button("Go to User Profile") {
                    // Navigation without touching the UI, just logic
                    path.append("User: Carlos")
                }

                Button("Go to Settings") {
                    path.append(1) // We use an Int to simulate another destination
                }
            }
            .navigationTitle("Dashboard")
            // Handle Strings
            .navigationDestination(for: String.self) { text in
                UserProfileView(username: text, path: $path)
            }
            // Handle Ints
            .navigationDestination(for: Int.self) { id in
                SettingsView(id: id, path: $path)
            }
        }
    }
}
Pop to Root
To return to the start from any deep view, you simply clear the path:
struct UserProfileView: View {
    let username: String
    @Binding var path: NavigationPath

    var body: some View {
        VStack {
            Text("Profile of \(username)")

            Button("Log Out (Back to Home)") {
                // Magic! This returns us to the root view instantly
                path = NavigationPath()
            }
        }
    }
}
This ability to manipulate the path as if it were a simple array is what makes navigation in SwiftUI superior to UIKit in many respects.
3. Robust Architecture: The “Router” Pattern
In a real production application, you don’t want to have your navigationDestination modifiers scattered across all views. You want to centralize the logic.
Let’s create a NavigationCoordinator or Router.
Step 1: Define the Routes
Use an enum that conforms to Hashable. This avoids typing errors (“Magic Strings”).
enum AppRoute: Hashable {
    case productDetail(id: UUID)
    case settings
    case userProfile(User) // Assuming User is Hashable
}
Step 2: Create the Navigation ViewModel
class Router: ObservableObject {
    @Published var path = NavigationPath()

    func navigate(to route: AppRoute) {
        path.append(route)
    }

    func goBack() {
        path.removeLast()
    }

    func popToRoot() {
        path = NavigationPath()
    }
}
Step 3: Injection in the Root View
struct MainAppView: View {
    @StateObject private var router = Router()

    var body: some View {
        NavigationStack(path: $router.path) {
            HomeContent()
                .navigationDestination(for: AppRoute.self) { route in
                    switch route {
                    case .productDetail(let id):
                        ProductView(id: id)
                    case .settings:
                        SettingsView()
                    case .userProfile(let user):
                        ProfileView(user: user)
                    }
                }
        }
        .environmentObject(router) // Inject the router into the entire hierarchy
    }
}
Now, any child view can access the Router and navigate without knowing how the navigation is performed or what the destination view is.
4. Adapting to the Ecosystem: iPadOS and macOS
While NavigationStack is perfect for the iPhone (one view on top of another), on large screens (Mac and iPad) we need to leverage horizontal space. Here enters NavigationSplitView.
This component divides the screen into 2 or 3 columns (Sidebar, Content, Detail).
Three-Column Structure
struct MacLayoutView: View {
    @State private var selectedCategory: Category?
    @State private var selectedItem: Item?

    var body: some View {
        NavigationSplitView {
            // COLUMN 1: Sidebar
            List(Category.all, selection: $selectedCategory) { category in
                NavigationLink(category.name, value: category)
            }
            .navigationTitle("Categories")

        } content: {
            // COLUMN 2: Item List
            if let category = selectedCategory {
                List(category.items, selection: $selectedItem) { item in
                    NavigationLink(item.title, value: item)
                }
            } else {
                Text("Select a category")
            }

        } detail: {
            // COLUMN 3: Final Detail
            if let item = selectedItem {
                ItemDetailView(item: item)
            } else {
                Text("Select an item")
            }
        }
    }
}
Adaptive Behavior
The brilliance of NavigationSplitView is that it automatically collapses into a NavigationStack when running on an iPhone or an iPad in a narrow Split View mode. You don’t need to write conditional code (if os(iOS)). SwiftUI handles the translation from columns to stack for you.
5. The watchOS Challenge
The Apple Watch is unique. Although it supports NavigationStack, interaction is often based on horizontal pages or simple vertical lists.
Vertical Pagination (Stack)
Works identically to iOS. You use NavigationStack to drill down into details. It is ideal for lists of options.
Horizontal Pagination (Tab)
On the Watch, it is very common to swipe sideways between main screens.
struct WatchRootView: View {
    var body: some View {
        TabView {
            MetricsView()
            ControlsView()
            NowPlayingView()
        }
        .tabViewStyle(.verticalPage) // New in watchOS 10+
        // Or use .carousel for older styles
    }
}
Note: watchOS 10 changed the paradigm, favoring vertical navigation in TabView. Be sure to test your designs in the Series 9 or Ultra simulator.
6. Modal Navigation: Sheets and FullScreenCover
Not all navigation is “going forward.” Sometimes you need to present temporary information (a form, a login screen).
Sheets
These are modal windows that do not occupy the entire screen (on iOS) and can be closed by swiping down.
struct ContentView: View {
    @State private var showSettings = false

    var body: some View {
        Button("Open Settings") {
            showSettings = true
        }
        .sheet(isPresented: $showSettings) {
            SettingsView()
                // In iOS 16+ we can control the sheet size
                .presentationDetents([.medium, .large])
                .presentationDragIndicator(.visible)
        }
    }
}
Full Screen Cover
For immersive experiences or flows that should not be easily interrupted (like an Onboarding).
.fullScreenCover(isPresented: $showOnboarding) {
    OnboardingView()
}
Pro Tip: To close a modal from inside the modal view, do not pass boolean bindings around. Use the environment:
struct SettingsView: View {
    @Environment(\.dismiss) var dismiss // The modern way

    var body: some View {
        Button("Close") {
            dismiss()
        }
    }
}
7. TabView: Top-Level Navigation
Most apps have a bottom tab bar (UITabBarController in the old world). In SwiftUI, this is TabView.
Golden Rule: The TabView must be the parent, and each tab must contain its own NavigationStack. Never put a TabViewinside a NavigationStack (unless you are looking for very specific and strange behavior).
struct MainTabView: View {
    var body: some View {
        TabView {
            NavigationStack {
                HomeView()
            }
            .tabItem {
                Label("Home", systemImage: "house")
            }

            NavigationStack {
                SearchView()
            }
            .tabItem {
                Label("Search", systemImage: "magnifyingglass")
            }
        }
    }
}
8. Passing Data Between Views
One of the most common mistakes is “Tight Coupling.”
Bad Approach
Passing too many parameters in the init of the destination view.
Good Approach: EnvironmentObject
If you have a long navigation flow (e.g., A Purchase Wizard: Cart -> Address -> Payment -> Confirmation), use a shared EnvironmentObject.
class PurchaseFlow: ObservableObject {
    @Published var cart = []
    @Published var address = ""
    @Published var paymentMethod = ""
}

// In the root view of the flow
NavigationStack {
   CartView()
}
.environmentObject(PurchaseFlow())
This way, the “Payment” view can read the “Address” without the intermediate view having to pass it manually.
9. Common Mistakes and How to Avoid Them
1. The NavigationLink Loop
In older versions of SwiftUI, putting a NavigationLink inside a list sometimes instantiated the destination view before the user clicked, causing performance issues.
- Solution: Use
NavigationStackandnavigationDestination(for:). The destination view is only created when the data enters the path (Real Lazy Loading).
2. Using Nested NavigationStacks
Avoid having a NavigationStack inside another. This breaks the navigation bar and swipe-back gestures. If you need to navigate within a sub-view, use the parent’s stack or present a .sheet with its own new stack.
3. Forgetting .id in Lists
When using NavigationSplitView, selection depends on items being Hashable and identifiable. If selection isn’t working, check that your models conform to Identifiable correctly.
Conclusion
Navigation in SwiftUI has matured. It is no longer an unpredictable “black box,” but a robust system based on state and data.
By adopting NavigationStack and typed route handling, you not only make your code cleaner, but you also prepare your application for advanced features like Deep Linking (opening the app from a URL directly to a specific screen) and State Restoration (the app remembering where you were if the system closes it).
Summary of the Winning Strategy:
- Use
NavigationStackfor linear hierarchies (iPhone). - Use
NavigationSplitViewfor flat hierarchies (iPad/Mac). - Separate your navigation logic into a Router or Coordinator.
- Use
valueandnavigationDestinationinstead of hardcoding views in links.
If you have any questions about this article, please contact me and I will be happy to help you 🙂. You can contact me on my X profile or on my Instagram profile.