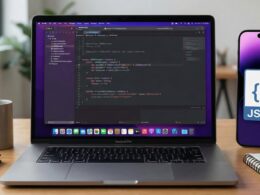


If you have decided to embark on the exciting journey of becoming an iOS Developer, or if you are already an experienced developer looking to optimize your workflow, there is one fundamental step you cannot skip: properly configuring your development environment. At the heart of the Apple ecosystem lies Xcode, the Swift programming language, and the declarative framework SwiftUI. However, behind Xcode’s shiny graphical interface, there is an invisible but essential engine: the command line tools.
In this comprehensive and detailed tutorial, you will learn step-by-step how to install the Xcode command line tools. We will explore why they are vital for advanced Swift programming, how they facilitate the creation of apps for iOS, macOS, and watchOS, and how to troubleshoot the most common issues during installation.
1. What are the Xcode Command Line Tools?
To understand their importance, we first need to define what they are. Apple’s Command Line Tools (CLT) are a software package independent of the Xcode graphical interface that includes compilers, linkers, and other essential tools provided by Apple.
Among the most notable utilities included in this package are:
- Swift Compiler (
swiftc): The engine that translates your Swift code into machine language. - Clang / LLVM: Robust compilers for C, C++, and Objective-C.
- Make and Git: Fundamental tools for build automation and version control.
- LLDB: The underlying debugger that helps you find errors in your SwiftUI and UIKit code.
Why does an iOS Developer need them?
Many beginners wonder: “If I have already downloaded Xcode from the Mac App Store, why do I need to install the Xcode command line tools?”
The answer lies in the scalability and modernity of software development. While you can compile a simple app using only the Xcode interface, a professional iOS Developer constantly interacts with the open-source ecosystem and third-party tools:
- Dependency Managers: Tools like CocoaPods, Carthage, or Swift Package Manager (run from the console) require terminal tools to download and compile third-party libraries.
- Continuous Integration (CI/CD): If you use Fastlane, GitHub Actions, or Bitrise to automate the release of your apps to the App Store, these systems operate purely through the command line.
- Homebrew: The quintessential package manager on macOS requires the Command Line Tools to function and install other utilities like Node, Ruby, or Python, which are often needed in Xcode build scripts.
2. Prerequisites for Installation
Before we get our hands dirty with the terminal, make sure you meet the following basic requirements:
- A compatible Mac: You will need a Mac computer (Intel or Apple Silicon M1/M2/M3/M4) running a recent version of macOS. Xcode versions are strictly tied to macOS versions.
- Disk space: The Command Line Tools take up considerably less space than the full Xcode IDE (roughly 2 GB compared to Xcode’s 10+ GB), but make sure you have at least 5 GB of free space.
- Apple Developer Account (Optional but recommended): Although you can install the tools without a paid account, having a free Apple ID configured will allow you to access the developer portal for manual downloads if the terminal fails.
3. Methods to Install the Xcode Command Line Tools
There are three main methods to install the Xcode command line tools. Depending on your situation (whether you already have Xcode installed or just want the terminal tools for an integration server), you can choose the one that best suits you.
Method 1: The Fastest Route (Via Terminal)
This is the most direct way and the preferred method for almost any iOS Developer. You don’t need to have downloaded the heavy gigabytes of Xcode beforehand.
- Open the Terminal app on your Mac (you can search for it in Spotlight using
Cmd + Space). - Type the following command and press
Enter:
xcode-select --install
- Upon running this, a macOS system pop-up window will appear asking if you want to install the tools.
- Click “Install”.
- Accept Apple’s Terms and Conditions.
- Wait for the download and installation to finish. The time will depend on your internet connection.
And that’s it! With this simple command, you have equipped your Mac with the necessary compilers for Swift programming.
Method 2: Through Xcode Settings
If you have already downloaded Xcode from the Mac App Store or Apple’s website, the command line tools are already on your hard drive, but the operating system might not know where to find them (they are not “linked”).
- Open the Xcode application.
- In the top menu bar, go to Xcode > Settings… (or Preferences… in older macOS versions).
- Navigate to the Locations tab.
- Look for the dropdown menu labeled Command Line Tools.
- Click on the dropdown menu and select the version of Xcode you have installed (for example,
Xcode 15.0 (15A240d)). - The system may ask for your Mac’s administrator password to confirm the action.
This method is crucial when you have multiple versions of Xcode installed (e.g., a stable version and a Beta version) and you need to tell the terminal which one to use to compile your Swift code.
Method 3: Manual Download from the Apple Portal
Sometimes corporate networks, restrictive firewalls, or simple Apple server errors cause methods 1 and 2 to fail. In this case, the iOS Developer must resort to manual downloading.
- Open your web browser and go to: https://developer.apple.com/download/all/
- Sign in with your Apple ID.
- In the left search bar, type “Command Line Tools”.
- Find the version that corresponds exactly to your current macOS version and (if you use it) your Xcode version.
- Download the
.dmgfile. - Open the downloaded file and run the
.pkgpackage, following the standard macOS installer instructions.
4. Verifying the Installation
Once the process is finished via any of the three methods, it is a good practice as an iOS Developer to verify that the installation was successful.
Go back to your Terminal and run the following command to see the path where the tools were installed:
xcode-select -p
Note: If the installation was correct, you should see an output similar to
/Library/Developer/CommandLineToolsor/Applications/Xcode.app/Contents/Developer.
To make sure the Swift programming compiler is ready to work, verify its version:
swift --version
The output will show the current version of the language, for example: swift-driver version: 1.87.1 Apple Swift version 5.9 ....
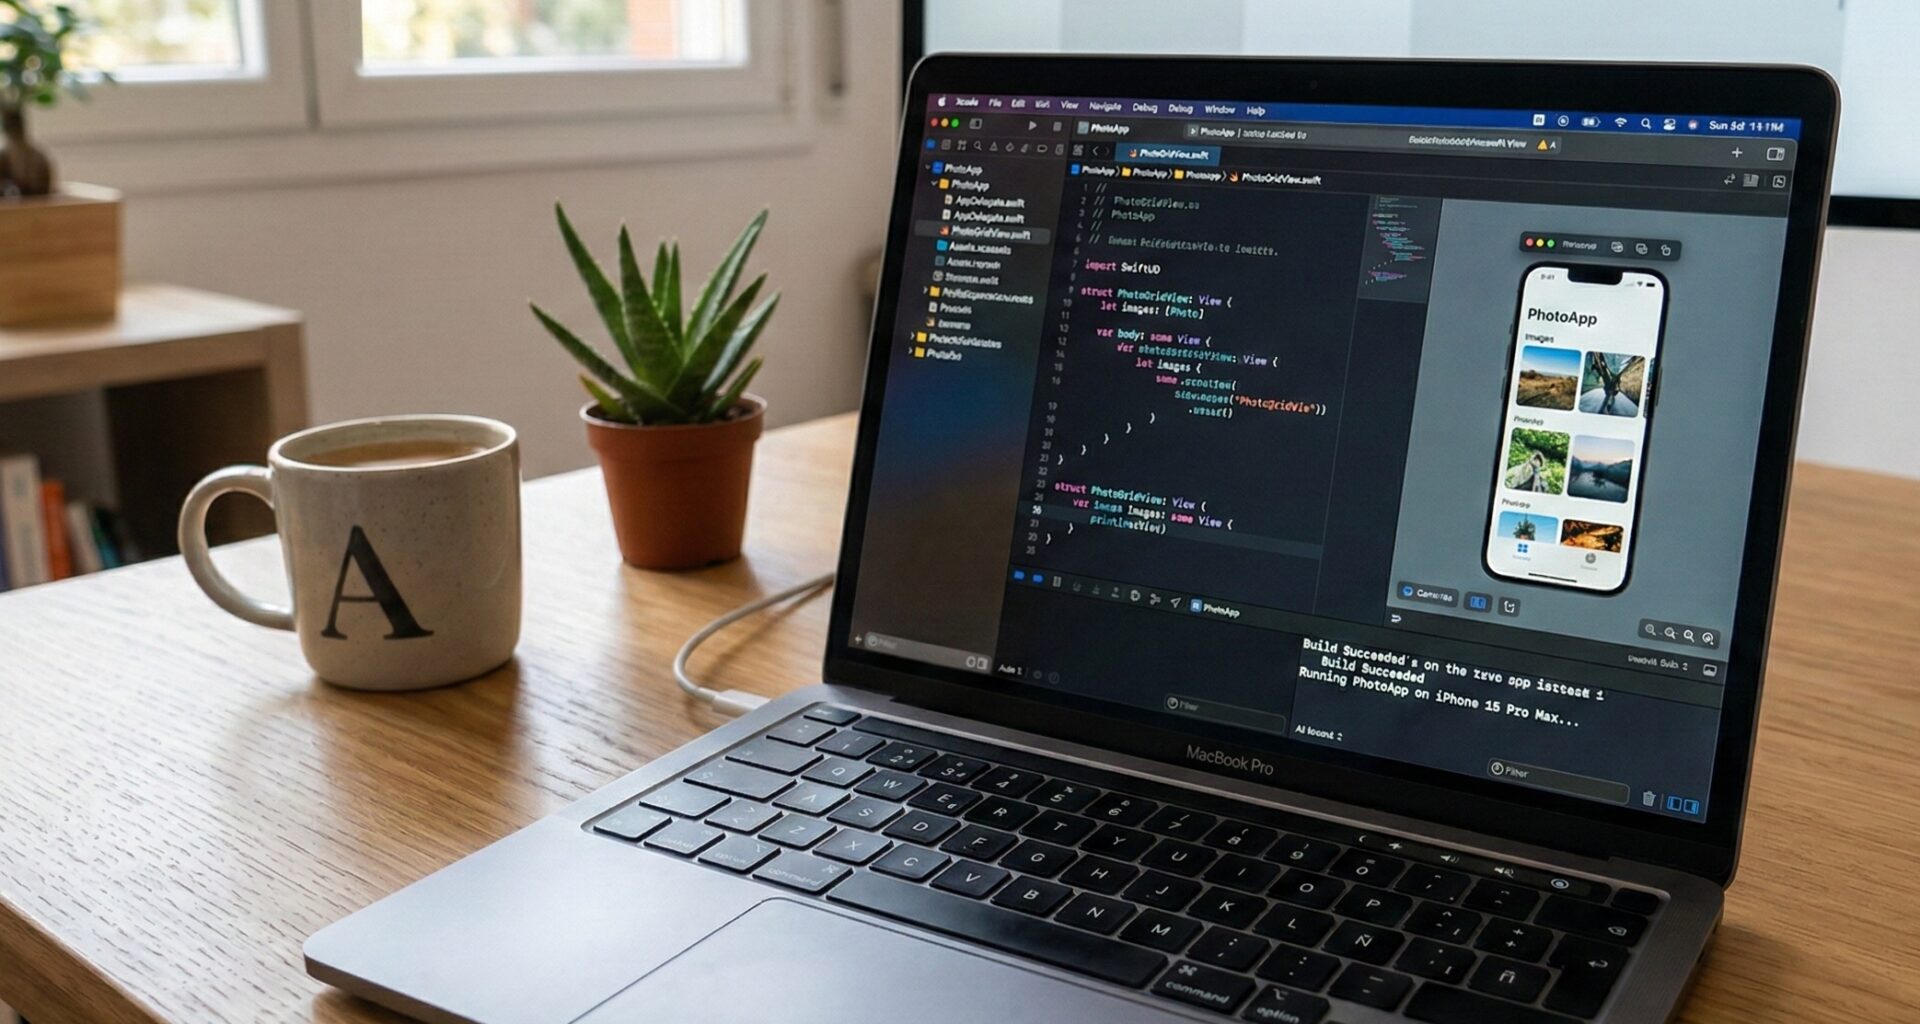
5. The Apple Ecosystem: Developing for iOS, macOS, and watchOS
With the Command Line Tools installed, your Mac is now a professional-grade workstation. But how does this translate into creating real applications using SwiftUI?
The Power of Swift and SwiftUI
Swift was introduced by Apple in 2014 to replace Objective-C. It is a fast, safe, modern, and interactive language. However, the real paradigm shift came in 2019 with SwiftUI.
SwiftUI is Apple’s declarative user interface framework. Instead of dragging and dropping elements in a Storyboard and connecting complex variables, with SwiftUI you describe how the interface should look using Swift code, and the system takes care of the rest.
Basic SwiftUI example:
import SwiftUI

struct ContentView: View {
    var body: some View {
        VStack {
            Image(systemName: "globe")
                .imageScale(.large)
                .foregroundColor(.accentColor)
            Text("Hello, iOS Developer!")
                .font(.title)
                .bold()
        }
        .padding()
    }
}
Cross-Platform Development
The biggest advantage of learning Swift programming and mastering SwiftUI today is the convergence of Apple’s platforms. The Command Line Tools and Xcode allow you to write code once and deploy it across multiple devices:
- iOS: The main target. By having the tools installed, you can compile your Swift code on hyper-realistic iPhone simulators or directly on your physical device.
- macOS: Thanks to technologies like Mac Catalyst or by creating native SwiftUI targets for Mac, the same code you write for an iPhone can be compiled into a robust desktop application.
- watchOS: Apple Watch apps benefit enormously from SwiftUI. The declarative syntax is perfect for designing small, complication-rich interfaces on smartwatches.
By deciding to install the Xcode command line tools, you are ensuring that the Swift Package Manager (SPM) can download shared libraries that work across all these operating systems seamlessly.
6. Common Troubleshooting
Even for the most experienced iOS Developer, the development environment can break. Here is how to fix the most common errors related to the command line.
Error: “xcrun: error: invalid active developer path”
This is, by far, the most common error. It usually happens right after updating macOS to a new major version (for example, from macOS Ventura to macOS Sonoma). The update deletes or unlinks the tool paths.
Solution: Simply reinstall or re-link the tools.
- Run
xcode-select --installagain. - If it tells you they are already installed, force a path reset by running:
sudo xcode-select --reset
Error: Conflict between multiple versions of Xcode
If you have Xcode Beta and stable Xcode installed, the terminal might be using the Beta compilers, causing unexpected errors when compiling dependencies.
Solution: Manually change the active path to point to the correct Xcode:
sudo xcode-select -s /Applications/Xcode.app/Contents/Developer
(Change “Xcode.app” to “Xcode-Beta.app” if you want to use the beta version).
Permission error when installing dependencies (CocoaPods/Homebrew)
Sometimes, after you install the Xcode command line tools, you need to explicitly accept the Xcode license before certain third-party tools can run.
Solution: Run the following command to read and accept the license from the terminal:
sudo xcodebuild -license accept
7. Conclusion and Next Steps
Becoming a successful iOS Developer requires more than just knowing how to write code; it requires deeply understanding the tools that compile, build, and deploy that code. To install the Xcode command line tools is the cornerstone of a professional development environment on a Mac.
By mastering this setup, you not only ensure that Xcode runs smoothly, but you also open the door to using automation, continuous integration, and advanced Swift programming tools that will make you stand out in the industry.
If you have any questions about this article, please contact me and I will be happy to help you  . You can contact me on my X profile or on my Instagram profile.