


At the heart of almost any modern iOS application lies the need to display lists, grids, or carousels of data. Whether it’s a task list, a social media feed, or a settings picker, you need a way to transform raw data into visual views.
In UIKit, we had UITableViewDataSource and UICollectionViewDataSource—powerful systems, but verbose and error-prone. In SwiftUI, this complexity is distilled into an elegant and deceptively simple structure: ForEach.
However, many developers (even intermediate ones) misunderstand ForEach. It is not a traditional for loop. It is not simply an iterator. It is a dynamic view generator with strict rules regarding identity and state.
In this comprehensive guide, we will break down the anatomy of ForEach, explore its three modes of use, learn how to handle bindings, and avoid the common mistakes that cause crashes in production.
1. What is ForEach Really?
To master ForEach, you first need to forget what you know about the for loop in imperative programming.
// This executes an action 5 times
for i in 0..<5 {
    print(i)
}
In SwiftUI (Declarative):
// This declares a structure that will generate 5 views
ForEach(0..<5) { i in
    Text("Item \(i)")
}
ForEach is a Structure (Struct) that conforms to the View protocol (although technically it is a dynamic view container). Its job is not to “iterate,” but to compute views on demand based on an underlying collection of data.
Why not just use a for loop inside a VStack?
SwiftUI uses a ViewBuilder system. Traditional for loops do not return views; they execute code. ForEach is specifically designed to work within these view builders, allowing SwiftUI to understand the structure of your interface before rendering it.
2. The Three Modes of ForEach
Depending on the data you have, ForEach behaves differently. There are three main initializers you must know.
Mode 1: Constant Ranges (The Simple Loop)
This is the most basic usage. It is used when you want to repeat a view a fixed number of times and it does not depend on a dynamic array.
Use Case: Stars in a review rating, loading placeholders, or decorative elements.
struct RatingView: View {
    var rating: Int

    var body: some View {
        HStack {
            // Generates 5 icons
            ForEach(0..<5) { index in
                Image(systemName: index < rating ? "star.fill" : "star")
                    .foregroundColor(.yellow)
            }
        }
    }
}
The Golden Rule: The range must be constant (Range<Int>). Do not try to use this for arrays that change size (we will discuss this in the common errors section).
Mode 2: Identification by KeyPath (id: \.self)
When you have an array of simple types (like String or Int) that do not conform to the Identifiable protocol, you need to tell SwiftUI how to distinguish one item from another.
Use Case: A simple list of tags or categories.
struct TagsView: View {
    let tags = ["SwiftUI", "iOS", "Development", "Coding"]

    var body: some View {
        HStack {
            ForEach(tags, id: \.self) { tag in
                Text(tag)
                    .padding()
                    .background(Color.blue.opacity(0.1))
                    .cornerRadius(8)
            }
        }
    }
}
What does id: \.self mean? You are telling SwiftUI: “The identity of this element is the element itself.” If you have two identical strings (e.g., ["Hello", "Hello"]), SwiftUI will get confused because both have the same identifier. This can cause animation and rendering issues.
Mode 3: Identifiable Protocol (The Pro Way)
This is the most robust and common method in real applications. If your data conforms to the Identifiable protocol, ForEachworks “magically” without needing to specify an id parameter.
Requirement: Your model must have an id property that is unique and stable.
struct Contact: Identifiable {
    let id = UUID() // Automatically generated unique identifier
    let name: String
    let icon: String
}

struct ContactListView: View {
    let contacts = [
        Contact(name: "Ana", icon: "person.circle"),
        Contact(name: "Carlos", icon: "person.circle.fill"),
        Contact(name: "Tim", icon: "star.circle")
    ]

    var body: some View {
        List {
            // We don't need 'id: \.id' because Contact is Identifiable
            ForEach(contacts) { contact in
                HStack {
                    Image(systemName: contact.icon)
                    Text(contact.name)
                }
            }
        }
    }
}
This method is superior because it allows SwiftUI to track individual elements even if they change order or if their properties mutate.
3. Deep Dive into Identity (The Secret to Performance)
To master ForEach, you must understand how SwiftUI “thinks.”
When you update an array (add, delete, or move an item), SwiftUI needs to answer the question: What changed?
- Was a new element added? (Insert view with animation)
- Was an element removed? (Delete view with animation)
- Did an element change position? (Move view)
If you use indices (e.g., 0..<array.count), SwiftUI only sees that position 0 changed, position 1 changed, etc. It doesn’t know that the item “Ana” moved from row 1 to 10. It will simply repaint everything.
By using Stable Identifiers (UUID), SwiftUI says: “Ah, the element with ID XYZ was in row 1 and is now in row 10. I will move that view visually.” This results in fluid animations and much higher performance.
4. Advanced ForEach: Working with Bindings ($)
Until iOS 14, if you wanted to modify an element inside a ForEach (for example, a Toggle in a task list), you had to juggle indices to find the element in the original array.
Since iOS 15, ForEach supports direct initialization from a Binding. This is a game-changer.
The Old Problem:
We want a task list where we can mark items as “completed.”
The Modern Solution:
Notice the use of the dollar sign $ in the collection and in the closure argument.
struct Task: Identifiable {
    let id = UUID()
    var title: String
    var isCompleted: Bool
}

struct TaskManagerView: View {
    // Our source of truth
    @State private var tasks = [
        Task(title: "Buy milk", isCompleted: false),
        Task(title: "Study Swift", isCompleted: true),
        Task(title: "Workout", isCompleted: false)
    ]

    var body: some View {
        List {
            // Pass the Binding ($tasks)
            ForEach($tasks) { $task in
                HStack {
                    Text(task.title)
                    Spacer()
                    // Now we can bind directly to the Toggle
                    Toggle("", isOn: $task.isCompleted)
                        .labelsHidden()
                }
                .foregroundColor(task.isCompleted ? .gray : .primary)
            }
        }
    }
}
Code Analysis:
- We pass
$taskstoForEach. This tells it we want write references, not just read references. - The closure argument is defined as
$task. - Inside,
$taskis aBinding<Task>, allowing us to pass it to theToggle. - When the user taps the Toggle, the change propagates automatically up to the
@State private var tasksarray.
5. ForEach vs List vs LazyVStack
It is common to confuse the roles of these three components.
ForEach: Is not a layout container. It does not add scrolling, nor does it stack views in a column. It only generatesviews.List: Is a system-styled container (like UITableView). It provides scrolling and separators automatically.LazyVStack: Is a layout container that stacks elements vertically, but only renders those that are on screen.
Common Combinations:
- Standard Lists:
List {
    ForEach(items) { item in ... }
}
Use this 90% of the time for menus and data lists.
Grids and Custom Layouts:
ScrollView {
    LazyVGrid(columns: columns) {
        ForEach(items) { item in ... }
    }
}
Use this for photo galleries.
Simple Stacks (Caution):
ScrollView {
    VStack { // VStack renders ALL content immediately
        ForEach(0..<1000) { i in ... }
    }
}- Danger: This will create 1000 views in memory immediately, even if you only see 10. For long lists, use
LazyVStackorList.
6. Common Pitfalls and How to Avoid Them (The Anti-Crash Section)
If there is one section you should memorize, it is this one. This is where developers lose hours debugging.
Error #1: Iterating over indices in dynamic arrays
Never do this if your array can change size (delete items):
// ❌ BAD
ForEach(0..<items.count, id: \.self) { index in
    Text(items[index].name)
}
Why does it crash? Imagine you have 5 items. The range is 0...4. ForEach creates 5 views. The user deletes the last item. The array now has 4 items. But ForEach (for a millisecond before updating) might still try to access index 4. Result: Index out of range. Fatal crash.
Solution: Always use Identifiable or the Binding syntax explained in section 4.
Error #2: Duplicate IDs
If you use id: \.self on an array of strings and have ["Apple", "Apple"]:
let fruits = ["Apple", "Apple", "Pear"]
ForEach(fruits, id: \.self) { fruit in ... }
SwiftUI will see two elements with the ID “Apple”.
- Animations will break (one view will fly to the other’s place incorrectly).
- When deleting one, the wrong one might disappear visually.
- Scrolling may behave erratically.
Solution: Wrap your data in a struct with UUID if there is a possibility of duplicates.
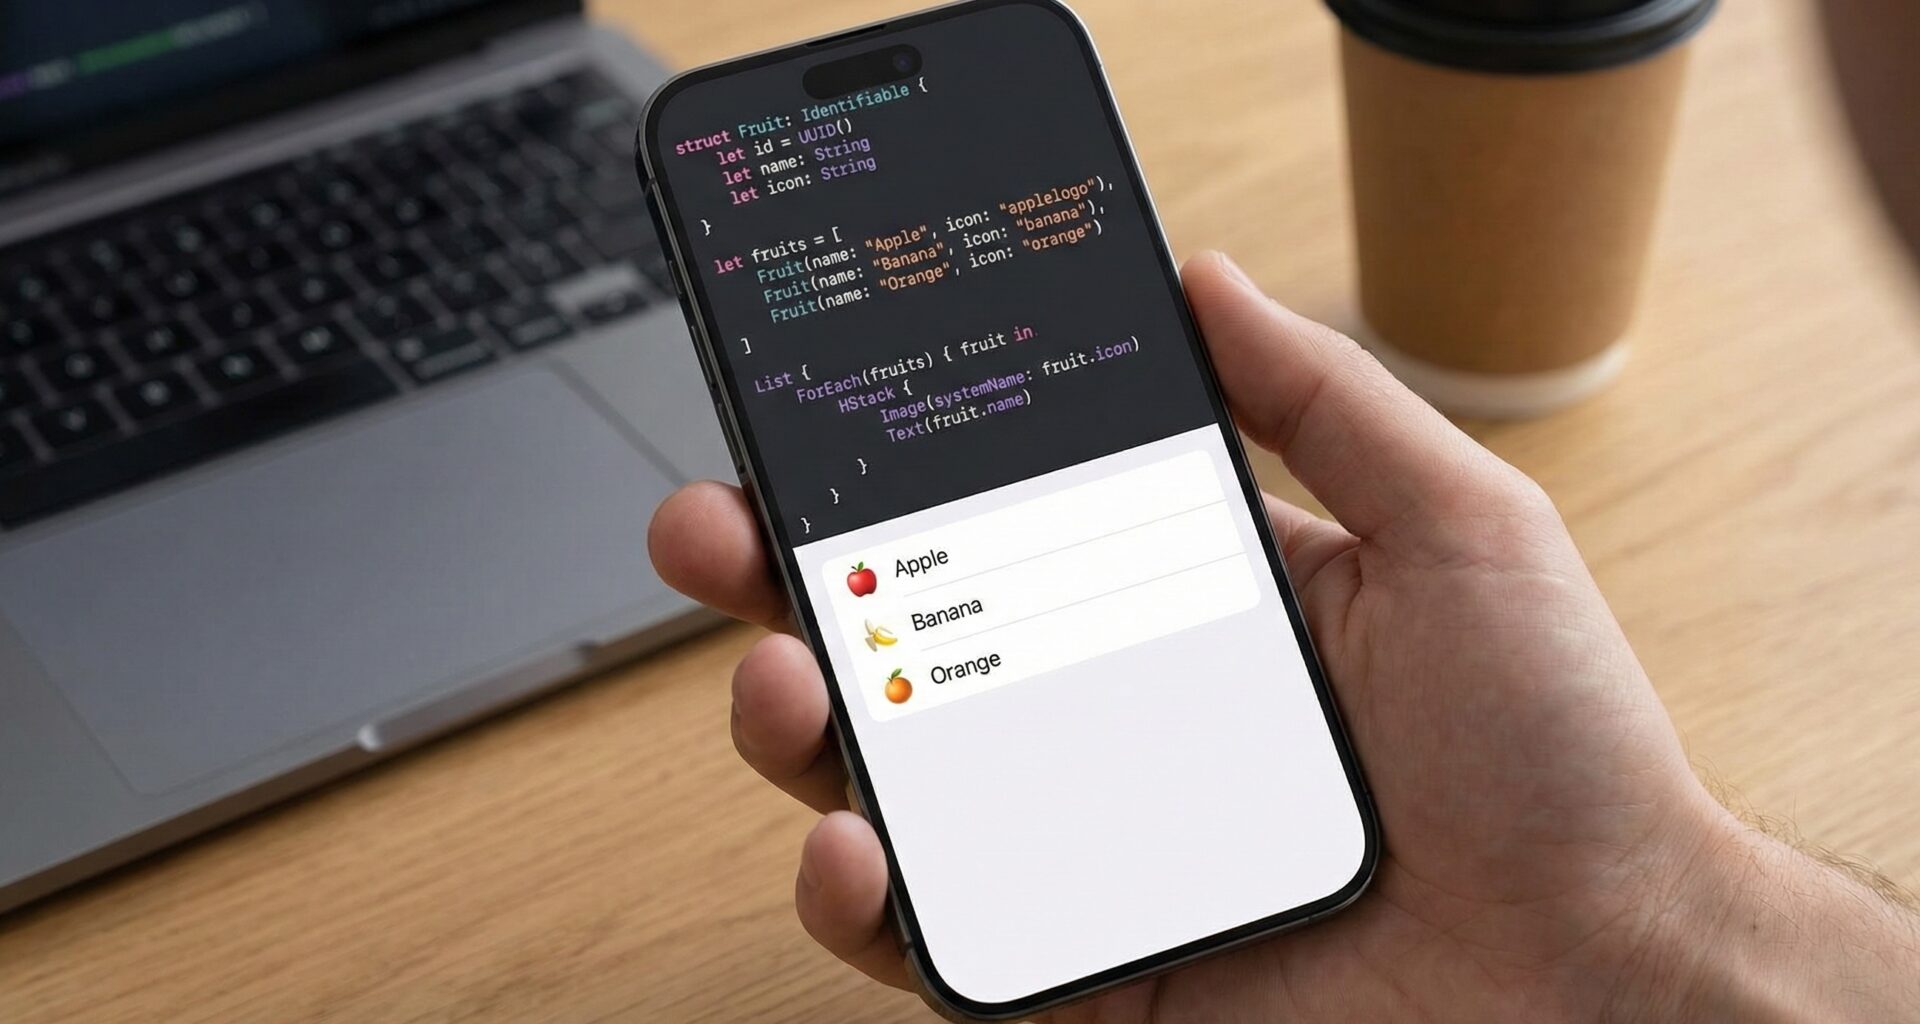
struct Fruit: Identifiable {
    let id = UUID()
    let name: String
}
7. Advanced Techniques: Filtering and Sorting
We rarely show data exactly as it comes from the database. We often need to sort or filter it.
The beginner mistake is trying to put complex logic inside the ForEach. ForEach should receive clean data.
Computed Properties to the Rescue
struct FilteredListView: View {
    @State private var products = [
        Product(name: "Laptop", price: 1000),
        Product(name: "Mouse", price: 20),
        Product(name: "Monitor", price: 300)
    ]
    @State private var showExpensiveOnly = false

    // Logic outside the Body
    var filteredProducts: [Product] {
        if showExpensiveOnly {
            return products.filter { $0.price > 100 }
        } else {
            return products
        }
    }

    var body: some View {
        VStack {
            Toggle("Show Expensive Only", isOn: $showExpensiveOnly)

            List {
                // The ForEach receives clean data
                ForEach(filteredProducts) { product in
                    Text(product.name)
                }
                .animation(.default, value: showExpensiveOnly)
            }
        }
    }
}
By moving logic to filteredProducts, you keep the body clean and declarative. Furthermore, by adding .animation, SwiftUI will smoothly animate rows in and out when you toggle the filter.
8. View Manipulation: onDelete and onMove
ForEach is the only component that enables swipe-to-delete and drag-to-reorder gestures in a List. These modifiers apply to the ForEach, not the List.
List {
    ForEach(items) { item in
        Text(item.name)
    }
    .onDelete(perform: deleteItems) // Enables swipe-to-delete
    .onMove(perform: moveItems)     // Enables drag-and-drop
}
.toolbar {
    EditButton() // Required to activate visual edit mode
}

// Helper functions
func deleteItems(at offsets: IndexSet) {
    items.remove(atOffsets: offsets)
}

func moveItems(from source: IndexSet, to destination: Int) {
    items.move(fromOffsets: source, toOffset: destination)
}
Important Note: onDelete and onMove return IndexSet (indices), not the items themselves. That’s why they work perfectly with the native Array methods .remove(atOffsets:) and .move(fromOffsets:toOffset:).
9. Performance: The Limit of ForEach
Can ForEach handle 10,000 items? The answer is: It depends on where you put it.
ForEachitself is fast at creating data structures.- If you put a
ForEachof 10,000 items inside aVStack(non-lazy), SwiftUI will try to render 10,000 text views, download 10,000 images, etc., all at once. Your app will freeze. - If you put the same
ForEachinside aListorLazyVStack, SwiftUI will only render the rows visible on screen (say, 10 rows) plus a small buffer.
Therefore, ForEach scales well, as long as its container is “Lazy”.
10. Summary and Conclusion
ForEach is the cornerstone of data-driven user interfaces in SwiftUI. It is not just a loop; it is a smart bridge between your data and your views.
Key Takeaways:
- It is not a
forloop: It is a declarative view generator. - Identity is King: Always use
IdentifiablewithUUIDto avoid animation bugs and crashes. Avoidid: \.selfon complex objects. - Avoid Indices: Do not iterate over
0..<array.countif the array is dynamic. - Use Bindings: Utilize the
$itemsyntax in iOS 15+ to create editable lists with less code. - Containers: Use
ListorLazyVStackfor large datasets.
Mastering ForEach means writing SwiftUI code that not only works but is fluid, efficient, and easy to maintain. The next time you see a list in an app, you will know exactly what is happening under the hood.
If you have any questions about this article, please contact me and I will be happy to help you 🙂. You can contact me on my X profile or on my Instagram profile.