


In modern iOS development, the Bottom Sheet has become one of the most ubiquitous and versatile user interface components. From Apple Maps to the Stocks app, this pattern allows you to present supplementary information without losing the context of the main view.
SwiftUI has drastically evolved in how it handles these views. What once required UIKit controllers (UISheetPresentationController) are now native, declarative, and powerful modifiers.
In this comprehensive guide, we will explore everything you need to know to implement, customize, and manage, show and display Bottom Sheets in your professional applications.
1. The Fundamentals: The .sheet Modifier
In its most basic form, a sheet in SwiftUI is a modal view that appears from the bottom of the screen, covering (partially or fully) the current view. The primary way to present it is by using the .sheet modifier.
The Boolean Approach (isPresented)
The simplest way to show a sheet is by binding its presentation to a boolean state variable (Bool).
import SwiftUI

struct BasicSheetView: View {
    // 1. State to control visibility
    @State private var showSheet = false

    var body: some View {
        VStack {
            Image(systemName: "doc.text.fill")
                .font(.system(size: 60))
                .foregroundStyle(.blue)

            Text("Basic Example")
                .font(.title)
                .padding()

            Button("Show Sheet") {
                // 2. Trigger the state
                showSheet = true
            }
            .buttonStyle(.borderedProminent)
        }
        // 3. The modifier is attached to the parent view
        .sheet(isPresented: $showSheet) {
            // 4. The content of the sheet
            SheetContentView()
        }
    }
}

struct SheetContentView: View {
    var body: some View {
        ZStack {
            Color.gray.opacity(0.1).ignoresSafeArea()
            VStack {
                Text("Hello from the Bottom Sheet!")
                    .font(.headline)
                Text("Swipe down to close")
                    .foregroundStyle(.secondary)
            }
        }
    }
}
Lifecycle and Behavior
It is important to understand what happens “under the hood”:
- Lazy Loading: The content inside
.sheetis not initialized until the sheet is actually presented. This is excellent for performance. - Context: On iPhone, the sheet is a “card” that visually stacks. On iPad, by default, it is presented as a central “form sheet” unless otherwise specified.
- Two-Way Binding: When the user closes the sheet by swiping, SwiftUI automatically sets your
showSheetvariable back tofalse.
2. Handling Data: .sheet(item:)
The most common mistake beginners make is trying to use isPresented when they need to pass dynamic data to the sheet (e.g., showing details of an item selected from a list).
If you try to update a data variable and then toggle the boolean, you can sometimes run into race conditions or the sheet showing stale data. For this, SwiftUI offers the .sheet(item:) variant.
Requirement: Identifiable Protocol
To use this variant, the object you want to pass must conform to the Identifiable protocol. This allows SwiftUI to know exactly which unique instance has changed to render the correct view.
struct User: Identifiable {
    let id = UUID()
    let name: String
    let bio: String
}

struct UserListView: View {
    // Sample Data
    let users = [
        User(name: "Ana", bio: "Software Engineer"),
        User(name: "Carlos", bio: "UX Designer"),
        User(name: "Sofia", bio: "Product Manager")
    ]

    // Optional State: If nil, sheet is hidden. If it has a value, it shows.
    @State private var selectedUser: User?

    var body: some View {
        List(users) { user in
            Button {
                selectedUser = user
            } label: {
                HStack {
                    Text(user.name)
                    Spacer()
                    Image(systemName: "info.circle")
                }
            }
        }
        .sheet(item: $selectedUser) { user in
            // SwiftUI provides the unwrapped user safely
            UserDetailView(user: user)
        }
    }
}

struct UserDetailView: View {
    let user: User
    var body: some View {
        VStack(spacing: 20) {
            Text(user.name).font(.largeTitle).bold()
            Text(user.bio)
        }
        .presentationDetents([.medium]) // We'll cover this shortly
    }
}
Key Advantage: By using item: $selectedUser, SwiftUI ensures that UserDetailView is created with fresh data from the selected user. When the sheet closes, selectedUser automatically reverts to nil.
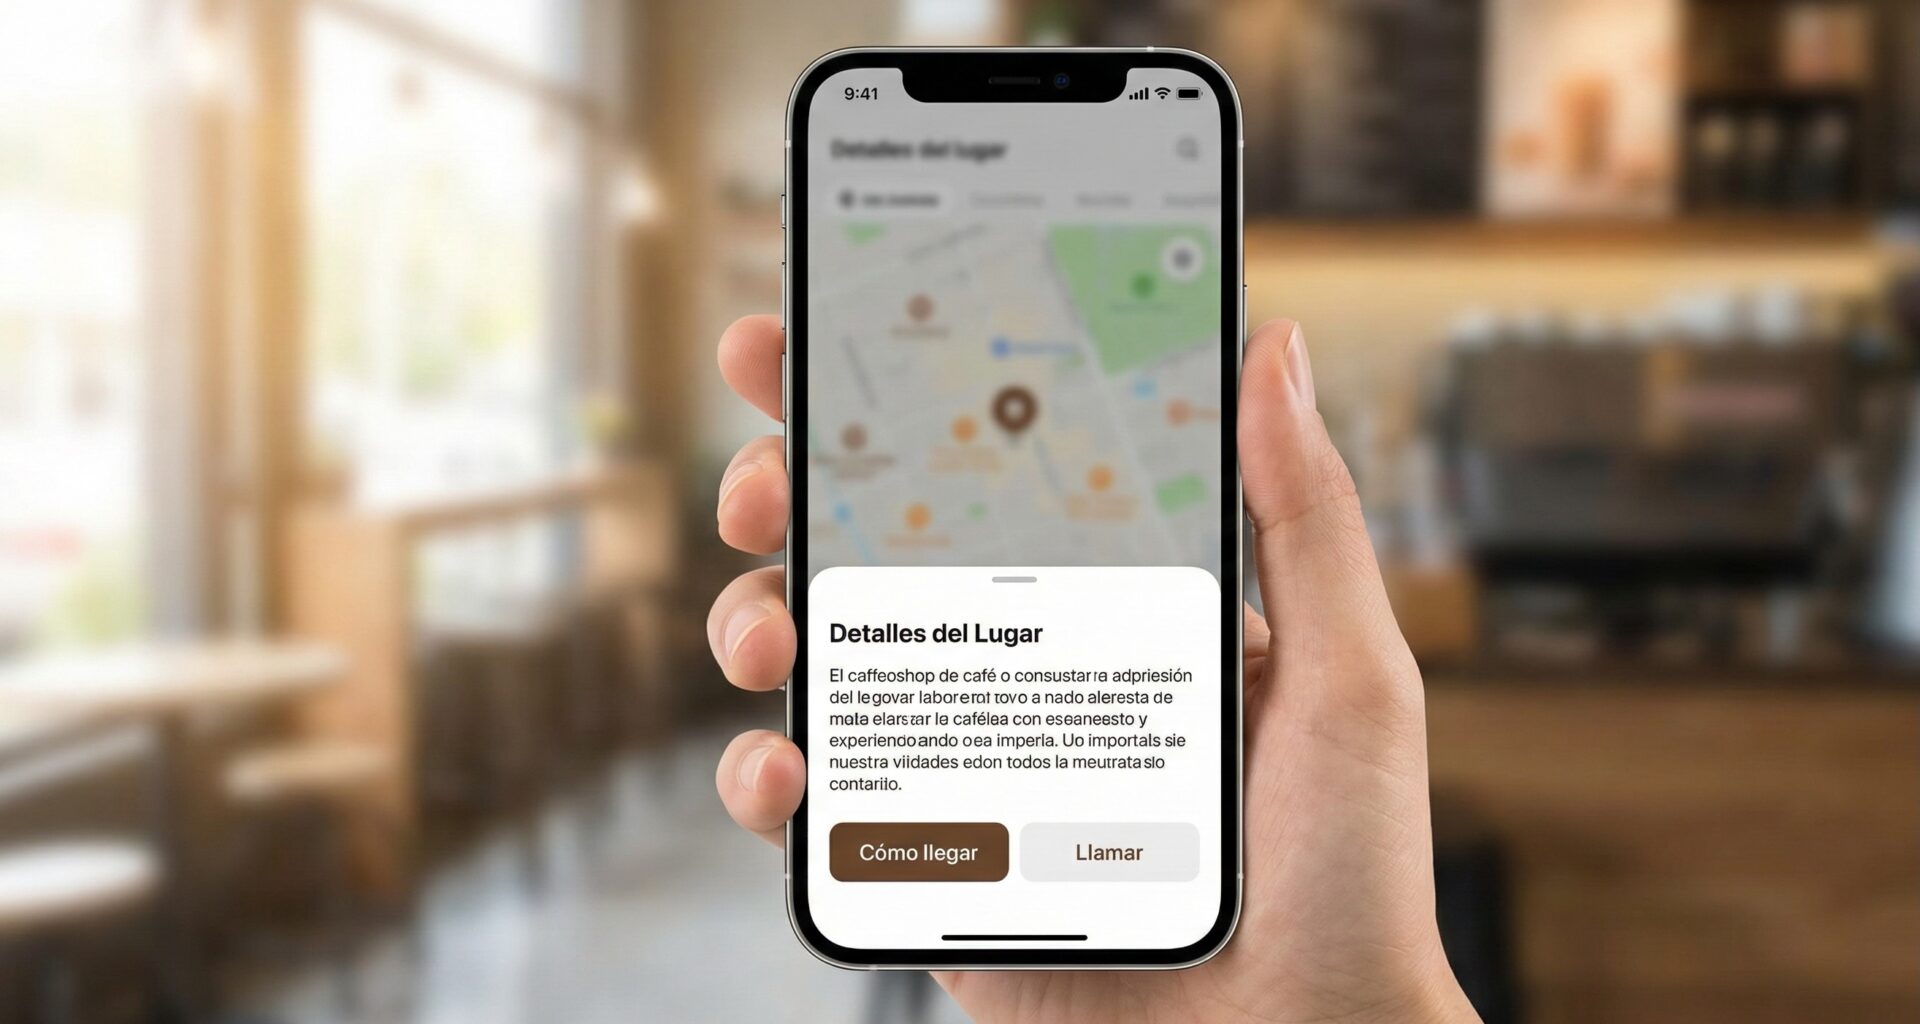
3. The iOS 16 Revolution: Presentation Detents
Before iOS 16, creating a sheet that only took up half the screen (like in Apple Maps) was a nightmare requiring UIKitwrappers. Now, SwiftUI makes it native and extremely simple with .presentationDetents.
A “detent” is a specific stopping height for the sheet.
Standard Sizes
We can control how high the sheet rises.
.sheet(isPresented: $showSettings) {
    SettingsView()
        .presentationDetents([.medium, .large])
}.medium: The sheet takes up approximately half the screen..large: The sheet takes up the full screen (the old standard behavior).
By passing an array [.medium, .large], we give the user the ability to drag the sheet between half and full screen. A small drag bar (grabber) will appear automatically.
Custom Sizes (Fraction and Height)
Sometimes .medium is too big or too small. We can be very specific:
.sheet(isPresented: $showInfo) {
    InfoView()
        .presentationDetents([
            .fraction(0.2), // Takes up 20% of the screen
            .height(200),   // Fixed height of 200 points
            .medium,
            .large
        ])
}.fraction(Double): Useful for mini music players or quick info bars..height(CGFloat): Useful when you know exactly how much space your content takes (e.g., a date picker or a 3-option menu).
Programmatic Detent Control
What if you want the sheet to start at .medium, but expand to .large if the user taps a “See More” button? We need to bind the detent selection to a state variable (Binding).
struct DynamicSheet: View {
    @State private var showSheet = false
    // Define initial detent
    @State private var currentDetent = PresentationDetent.medium

    var body: some View {
        Button("Open") { showSheet = true }
        .sheet(isPresented: $showSheet) {
            VStack {
                Text("Important Content")

                Button("Expand to Full Screen") {
                    // Animate the size change
                    withAnimation {
                        currentDetent = .large
                    }
                }
            }
            .presentationDetents(
                [.medium, .large],
                selection: $currentDetent // Binding
            )
        }
    }
}
4. Visual and Behavioral Customization
Once you master sizing, the next step is making the sheet feel like an integral part of your design.
The Drag Indicator
By default, if you have multiple detents, SwiftUI shows a small gray bar at the top. You can explicitly control its visibility.
.presentationDragIndicator(.visible) // Always visible
// or
.presentationDragIndicator(.hidden)  // Always hidden
It is good practice to leave it .visible if the sheet is resizable, to provide a visual cue to the user (Affordance).
Corner Radius
Since iOS 16.4, we can modify how round the top corners of the sheet are.
.presentationCornerRadius(30)This is useful if your app has a very rounded or, conversely, a very squared-off design language.
Backgrounds and Materials
Do you want your sheet to be translucent? Or have a specific corporate color? The .presentationBackground modifier is key.
.sheet(isPresented: $show) {
    ContentView()
        // Background with translucent material (glass effect)
        .presentationBackground(.ultraThinMaterial)

        // Or a solid color/gradient
        // .presentationBackground(.yellow.opacity(0.8))

        // Or even a complex view
        // .presentationBackground {
        //     Image("texture").resizable()
        // }
}
Background Interaction
One of the most powerful features introduced recently is the ability to interact with the view behind the sheet while it is open (especially useful if the sheet is small, e.g., .fraction(0.2)).
By default, the rear view dims and is non-interactive. We can change this:
.presentationBackgroundInteraction(.enabled(upThrough: .medium))With this code, if the sheet is in the .medium position (or smaller), the user can continue scrolling or tapping buttons on the view behind the sheet. This is typical behavior for map applications (you can move the map while viewing place info below).
5. Advanced Dismissal Management
Knowing how to open a sheet is easy; knowing how and when to close it defines good UX.
Closing Programmatically
Often, the sheet contains a form and a “Save” button. Upon tapping “Save”, we want to close the sheet automatically. For this, we use the dismiss environment variable.
struct EditProfileView: View {
    // 1. Access the environment
    @Environment(\.dismiss) var dismiss

    var body: some View {
        VStack {
            Text("Edit Profile")

            Button("Save and Close") {
                saveData()
                // 2. Execute the dismissal action
                dismiss()
            }
        }
    }

    func saveData() { /* logic */ }
}
Preventing Accidental Dismissal
If the user is filling out a long form and accidentally swipes the sheet down, they will lose all their work. To prevent this, we use .interactiveDismissDisabled().
This modifier disables the swipe-to-close gesture.
struct FormSheet: View {
    @State private var hasUnsavedChanges = false
    @Environment(\.dismiss) var dismiss

    var body: some View {
        Form {
            TextField("Name", text: .constant(""))
                .onChange(of: "val", perform: { _ in hasUnsavedChanges = true })
        }
        // Disables gesture IF there are unsaved changes
        .interactiveDismissDisabled(hasUnsavedChanges)
        .toolbar {
            if hasUnsavedChanges {
                ToolbarItem(placement: .cancellationAction) {
                    Button("Cancel") {
                        // Here we could show a confirmation alert first
                        dismiss()
                    }
                }
            }
        }
    }
}
6. Architecture: Bottom Sheets and MVVM
In large applications, we don’t want to clutter our View with state logic. It is preferable to move presentation logic to the ViewModel.
Recommended Pattern
The ViewModel should control the state of what is presented, and the View simply reacts.
class ProductListViewModel: ObservableObject {
    @Published var selectedProduct: Product? // The trigger

    func didSelect(product: Product) {
        self.selectedProduct = product
    }
}

struct ProductListView: View {
    @StateObject private var viewModel = ProductListViewModel()

    var body: some View {
        List(viewModel.products) { product in
            Button(product.name) {
                viewModel.didSelect(product: product)
            }
        }
        // The view observes the ViewModel
        .sheet(item: $viewModel.selectedProduct) { product in
            ProductDetailView(product: product)
        }
    }
}
This approach decouples logic. The ViewModel doesn’t know how the product is shown (whether it’s a sheet, a navigation push, or a fullScreenCover), it only knows that a product has been selected.
7. Differences with .fullScreenCover
It is vital to mention .sheet‘s big brother: .fullScreenCover.
The syntax is identical:
.fullScreenCover(isPresented: $show) { ... }Key Differences:
- Space: It takes up 100% of the screen, covering even the top status bar.
- Gesture: It can NOT be closed by swiping down. You must strictly provide a button to close it that calls
dismiss(). - Usage: Used for immersive flows where the user must complete a task before returning (e.g., Login, Camera, Onboarding, Video Editing).
8. Troubleshooting Common Issues
Even experts stumble upon certain behaviors of sheets in SwiftUI. Here are the most frequent ones:
A. The “Loop” Error
Problem: Placing the .sheet modifier inside a ForEach or List. Symptom: Multiple sheets trying to open, excessive memory usage, or erratic behavior. Solution: Move the .sheet outside the loop, attaching it to the main container (like the List or VStack), and use .sheet(item:).
B. Gray Background in Lists
Problem: When opening a sheet with a NavigationView or List inside, the background looks gray instead of white/black.Cause: SwiftUI applies default background styles in modal sheets. Solution: Use .presentationBackground or change the list style .listStyle(.plain).
C. Keyboard and Detents
Problem: When the keyboard appears in a .medium sheet, the sheet is pushed up strangely or covers the text field.Solution: SwiftUI handles this automatically in iOS 16+, expanding the sheet to .large if necessary, or scrolling content within the .medium sheet. Ensure you use ScrollView inside your sheet.
9. Summary and Best Practices
To wrap up, here is a checklist for when you implement your next Bottom Sheet:
- Purpose: Is it secondary information? Use
.sheet. Is it a blocking flow? Use.fullScreenCover. - Context: Does the user need to see the screen behind? Use
presentationDetentswith.mediumor.fraction. - Data: Does the sheet depend on an object from a list? Use
.sheet(item:)instead ofisPresented. - iPad: Remember to test on iPad. If you want it to look the same as on iPhone, you might need to adjust the container, although the native “Form Sheet” behavior is usually correct on iPadOS.
- Dismissal: Always provide a clear way to exit, especially if you disable the swipe gesture or use full screen.
The Bottom Sheet is a powerful tool in your SwiftUI arsenal. With precise control over “detents” and appearance introduced in the latest iOS versions, you now have the ability to create fluid, modern, and highly functional user interfaces with very few lines of code.
If you have any questions about this article, please contact me and I will be happy to help you 🙂. You can contact me on my X profile or on my Instagram profile.