



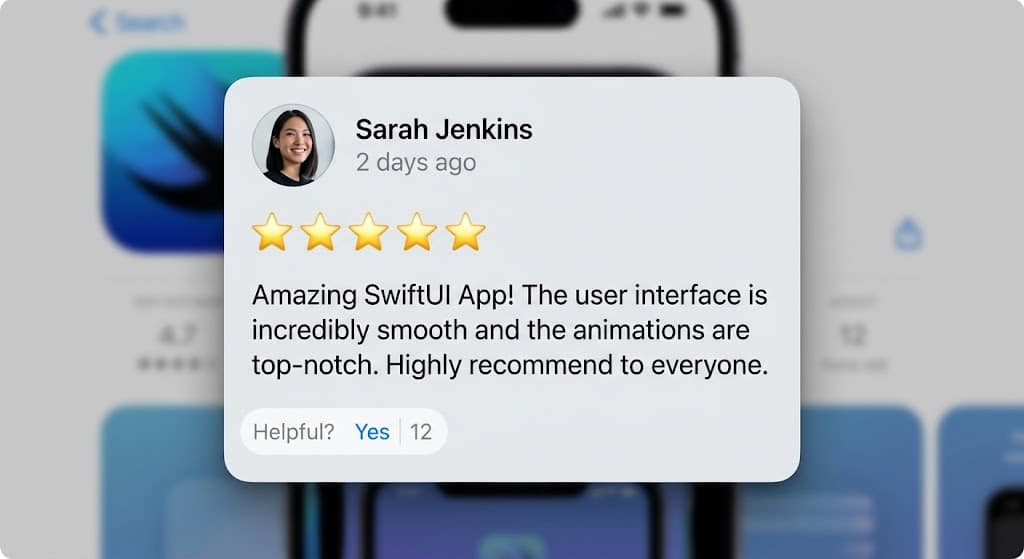

Getting positive feedback on the App Store is important for many iOS applications. Fortunately, Apple provides StoreKit APIs that allow an iOS Developer to request ratings and reviews without building a custom review dialog.
In this tutorial, you will learn how to request app reviews in SwiftUI using Swift, Xcode, and StoreKit 2. We will also look at multiline text in SwiftUI and several useful text modifiers that can improve the presentation of your review request.
Add StoreKit to Your SwiftUI Project
Start by creating a new project in Xcode using the SwiftUI app template.
Import StoreKit at the top of the Swift file where you want to request a review:
import SwiftUI
import StoreKit
With modern StoreKit, SwiftUI provides a requestReview environment value. You can access it using the @Environment property wrapper:
@Environment(\.requestReview) private var requestReview
You can then call requestReview() when the appropriate moment occurs in your app.
Apple recommends using this API at a natural point in the user experience rather than immediately after launching the app or directly as the result of a button tap. StoreKit decides whether the review prompt is actually displayed.
The @Environment Property Wrapper
Although @Environment is not technically a view modifier, it is an important part of this implementation.
@Environment(\.requestReview) private var requestReview
This gives your view access to the system’s RequestReviewAction.
The important advantage is that you don’t have to manage a presentation controller yourself. StoreKit handles the App Store review interface when the system determines that showing it is appropriate.
Apple also limits how frequently the system displays review requests. For example, a user who has not previously reviewed the app can see the request at most three times within a 365-day period.
The requestReview() Action
The actual request is straightforward:
Task {
    await requestReview()
}
The RequestReviewAction can be called like a function because it implements callAsFunction(). Apple specifically recommends obtaining it from the SwiftUI environment and calling it this way.
A simple example could look like this:
struct ContentView: View {
    @Environment(\.requestReview) private var requestReview

    var body: some View {
        VStack(spacing: 20) {
            Text("Thanks for using our app!")
                .font(.title)

            Button("Continue") {
                // Complete your app's action first.
            }
        }
        .task {
            try? await Task.sleep(for: .seconds(3))
            await requestReview()
        }
    }
}
In a production application, you should use your own conditions to determine when a user has successfully completed an important action rather than requesting a review whenever the view appears.
The font(_:) Modifier
The font(_:) modifier controls the typography of a Text view:
Text("Thanks for using our app!")
    .font(.title)
Using an appropriate hierarchy makes your interface easier to understand. A title can introduce the message, while .subheadline or .body can provide supporting information.
The multilineTextAlignment(_:) Modifier
Multiline text is text that occupies more than one line because the content is too long to fit horizontally or because the string contains explicit line breaks.
For example:
Text("""
We hope you're enjoying the app.

Your feedback helps us improve future updates.
""")
.multilineTextAlignment(.center)
SwiftUI’s Text view supports multiple lines, and the multilineTextAlignment(_:) modifier controls how those lines are aligned.
This is particularly useful when designing a review prompt because explanatory text can become several lines long on smaller iPhone screens. Centering or leading-aligning the text can make the interface significantly easier to scan.
The lineLimit(_:) Modifier
The lineLimit(_:) modifier controls how many lines a text view can occupy:
Text("Your feedback helps us make the app better.")
    .lineLimit(2)
You can use it when you need predictable layouts, particularly inside cards, lists, or compact interfaces. SwiftUI allows unlimited lines by default when no limit is specified.
The lineSpacing(_:) Modifier
Longer messages can become difficult to read when the lines are close together. The lineSpacing(_:) modifier lets you increase the distance between lines:
Text("""
We hope you're enjoying the app.

Your feedback helps us improve.
""")
.lineSpacing(6)
This can make multiline explanatory text feel less crowded and improve readability.
A Complete SwiftUI Example
Putting everything together, an iOS Developer can create a simple review experience like this:
import SwiftUI
import StoreKit

struct ContentView: View {
    @Environment(\.requestReview) private var requestReview

    var body: some View {
        VStack(spacing: 24) {
            Text("Enjoying the App?")
                .font(.title.bold())

            Text("""
            We hope you're enjoying your experience.

            Your feedback helps us improve the app.
            """)
            .font(.body)
            .multilineTextAlignment(.center)
            .lineSpacing(5)
            .padding(.horizontal)

            Button("Continue") {
                // Perform a meaningful action first.
            }
        }
        .padding()
        .task {
            try? await Task.sleep(for: .seconds(3))
            await requestReview()
        }
    }
}
Remember that calling requestReview() does not guarantee that the system will show the prompt. Apple controls the final presentation according to its review-request rules.
Conclusion
Learning how to request app reviews in SwiftUI is relatively simple with StoreKit 2. Using @Environment(\.requestReview) keeps the implementation clean and fits naturally into modern SwiftUIapplications.
By combining StoreKit with useful text modifiers such as font(_:), multilineTextAlignment(_:), lineLimit(_:), and lineSpacing(_:), you can create a review experience that feels native, readable, and unobtrusive. With Swift, Xcode, and StoreKit, requesting feedback becomes a small but valuable part of a polished iOS application.


