Since the release of iOS 15, Apple significantly transformed how developers interact with lists (List) in SwiftUI. While the .onDelete modifier served us faithfully for years to remove items, it was limited: it only worked on the right edge, was restricted to deletion, and offered scarce customization.
The arrival of the .swipeActions() modifier changed the game. Now, developers have the power to add multiple actions, customize colors, use icons (SF Symbols), choose between the left (leading) or right (trailing) edge, and control the “full swipe” interaction.
In this deep-dive technical tutorial, we will explore every corner of this API, building practical examples that you can copy and paste directly into Xcode.
1. What is .swipeActions() and Why Should You Use It?
The .swipeActions() modifier allows you to add custom action buttons that are revealed when a user swipes a row within a List.
Key Advantages Over Old Methods:
- Directional Flexibility: Supports actions on both the leading (left in LTR languages) and trailing (right in LTR languages) sides.
- Visual Customization: Native support for
.tint(colors) and combinations of text and images. - Semantic Roles: Integration with
Button(role:)for destructive or cancellation actions. - Full Swipe: The ability to execute the primary action by swiping the row all the way to the edge, mimicking native behavior found in apps like Mail or Messages.
Compatibility Note: This modifier requires iOS 15.0+, macOS 12.0+, tvOS 15.0+, or watchOS 8.0+. If your app must support iOS 14, you will need conditional logic.
2. Basic Anatomy of the Modifier
Before diving into complex code, let’s analyze the function signature:
func swipeActions<T>(
    edge: HorizontalEdge = .trailing,
    allowsFullSwipe: Bool = true,
    content: () -> T
) -> some View where T : View- edge: Defines which side the actions appear on (
.leadingor.trailing). The default value is.trailing. - allowsFullSwipe: A boolean. If
true(default), the user can swipe all the way to the edge to automatically execute the first action in the list. - content: A
ViewBuilderwhere you place your buttons.
3. Implementation: Your First Swipe
Let’s create a simple scenario: an email list where we want options to delete and mark as unread.
Step 1: Set up the Data Structure
First, we need a simple model. Open Xcode and create a new SwiftUI project.
struct Email: Identifiable {
    let id = UUID()
    var subject: String
    var isRead: Bool
}
Step 2: The List View
Now, let’s implement the list with the basic modifier.
struct EmailListView: View {
    @State private var emails = [
        Email(subject: "Apple Invoice", isRead: true),
        Email(subject: "Weekly Newsletter", isRead: false),
        Email(subject: "Meeting Reminder", isRead: true)
    ]

    var body: some View {
        List {
            ForEach(emails) { email in
                HStack {
                    Image(systemName: email.isRead ? "envelope.open" : "envelope.badge")
                    Text(email.subject)
                }
                .swipeActions(edge: .trailing, allowsFullSwipe: true) {
                    // Action 1: Delete
                    Button(role: .destructive) {
                        if let index = emails.firstIndex(where: { $0.id == email.id }) {
                            emails.remove(at: index)
                        }
                    } label: {
                        Label("Delete", systemImage: "trash")
                    }

                    // Action 2: Archive (Example of a standard button)
                    Button {
                        print("Archived")
                    } label: {
                        Label("Archive", systemImage: "archivebox")
                    }
                    .tint(.indigo) // Custom color
                }
            }
        }
    }
}
Code Analysis
- Position: We used
edge: .trailing. The actions will appear when swiping from right to left. - Order: The first button defined in the closure (in this case, “Delete”) is the one placed furthest to the right (the outermost one). It is also the one that will execute if
allowsFullSwipeis true. - Roles: By using
role: .destructive, SwiftUI automatically applies the red color and a standard deletion animation. - Tint: On the “Archive” button, we use
.tint(.indigo)to move away from the default gray.
4. UX Strategies: Leading vs. Trailing
A crucial part of iOS development is following the Human Interface Guidelines (HIG). You shouldn’t place actions randomly.
The Trailing Edge (.trailing)
This is the standard place for destructive actions or the most common actions.
- Examples: Delete, Mute, More Options.
- Why: It is the most natural gesture for right-handed users and the standard established by the Mail app.
The Leading Edge (.leading)
Used for positive or alternative status actions that do not remove the item from the immediate view, or for secondary actions.
- Examples: Mark as Read/Unread, Pin, Reply.
Combined Example
Let’s modify our previous example to use both sides.
.swipeActions(edge: .leading, allowsFullSwipe: false) {
    Button {
        toggleReadStatus(email)
    } label: {
        Label(email.isRead ? "Unread" : "Read",
              systemImage: email.isRead ? "envelope.badge" : "envelope.open")
    }
    .tint(.blue)
}
.swipeActions(edge: .trailing) {
    Button(role: .destructive) {
        delete(email)
    } label: {
        Label("Delete", systemImage: "trash")
    }
}
Important Note: You can chain multiple .swipeActions modifiers on the same view, as long as you specify different edgevalues.
5. The Power of allowsFullSwipe
The allowsFullSwipe parameter is powerful but dangerous if not designed well.
- True: Allows the user to forcefully swipe all the way across the screen. This automatically triggers the outermost action (the first one in the code).
- Ideal Usage: Delete, Archive. Actions the user performs repetitively and wants to do quickly.
- False: The user can swipe to reveal the buttons, but if they keep swiping, the row bounces back and executes nothing. They must explicitly tap the button.
- Ideal Usage: Dangerous irreversible actions (if there is no recycle bin) or actions requiring a conscious decision, like “More Options.”
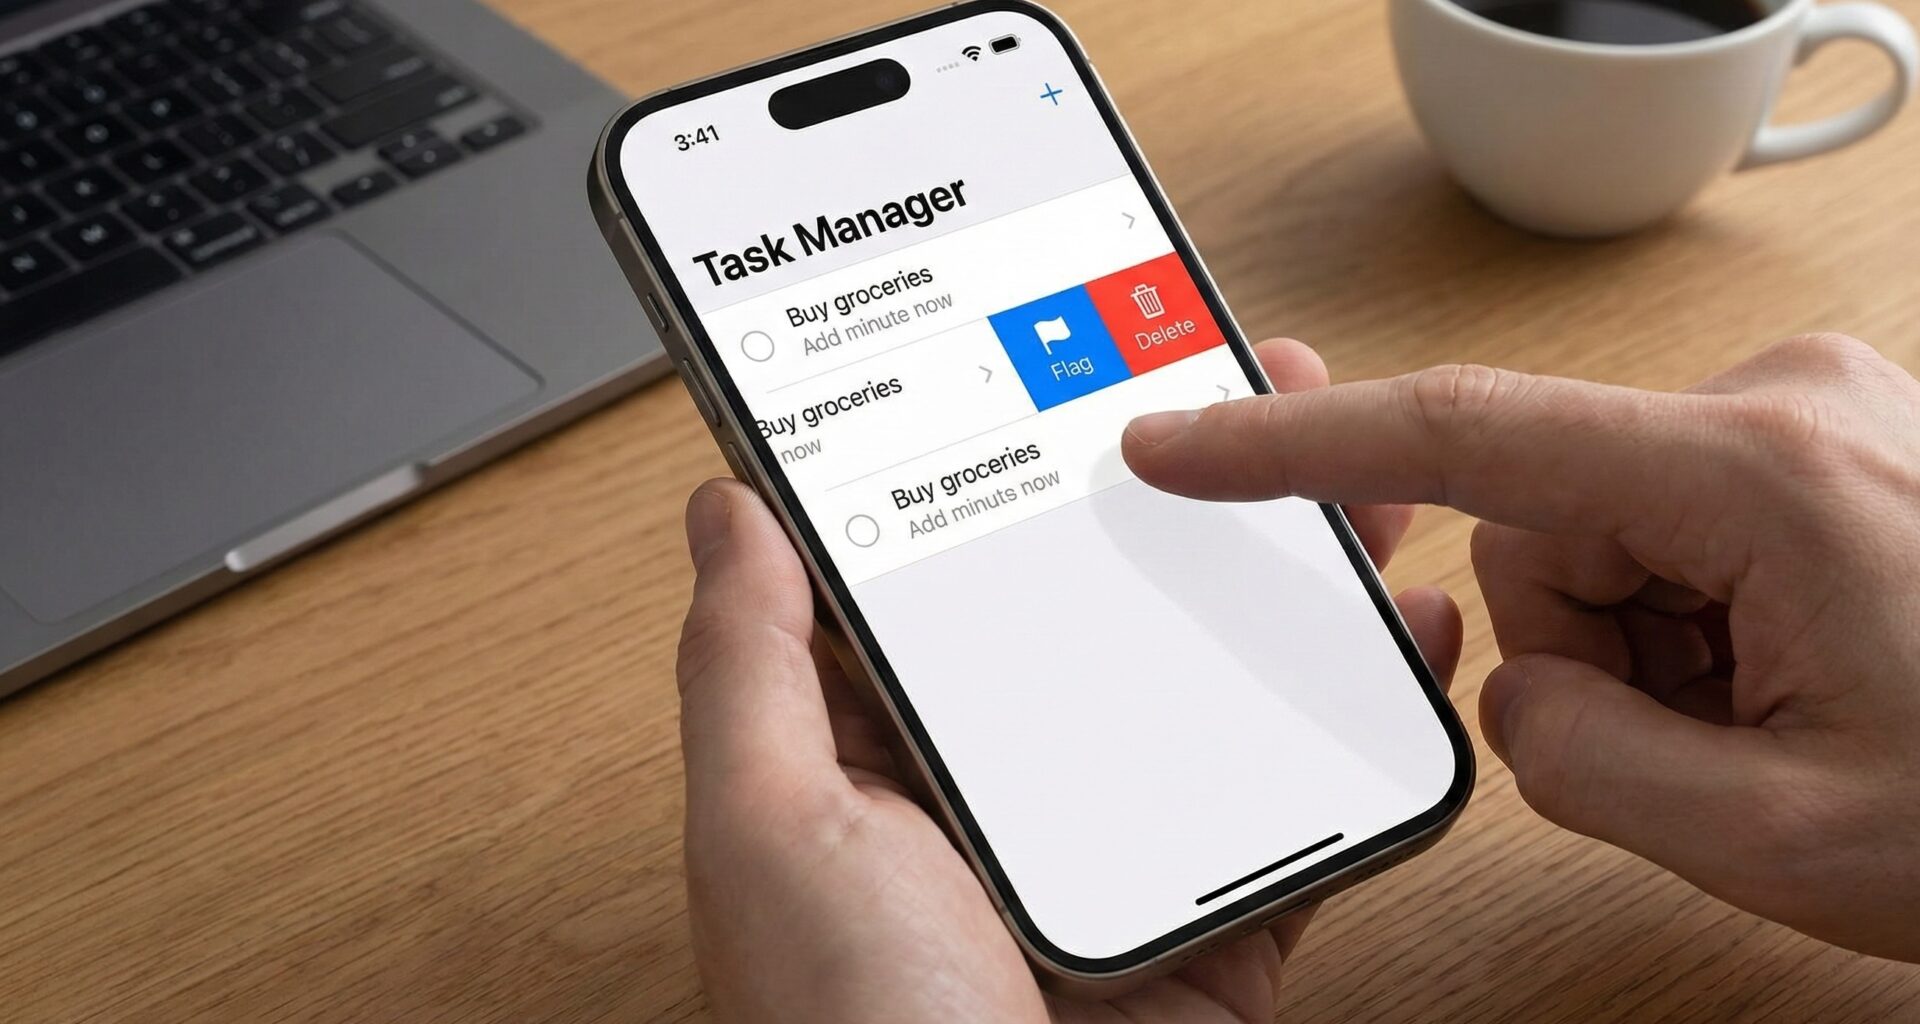
6. Advanced Case Study: Task Manager
Let’s build something more complex. A task manager where actions change dynamically based on the task’s state, and we handle logic safely.
The Model
struct ToDoItem: Identifiable {
    let id = UUID()
    var title: String
    var isCompleted: Bool
    var isFlagged: Bool
}
The ViewModel (Simulated)
To keep the code clean, we separate the logic.
class ToDoViewModel: ObservableObject {
    @Published var items: [ToDoItem] = [
        ToDoItem(title: "Buy milk", isCompleted: false, isFlagged: false),
        ToDoItem(title: "Call doctor", isCompleted: true, isFlagged: true),
        ToDoItem(title: "Write SwiftUI tutorial", isCompleted: false, isFlagged: true)
    ]

    func toggleComplete(item: ToDoItem) {
        if let index = items.firstIndex(where: { $0.id == item.id }) {
            items[index].isCompleted.toggle()
        }
    }

    func toggleFlag(item: ToDoItem) {
        if let index = items.firstIndex(where: { $0.id == item.id }) {
            items[index].isFlagged.toggle()
        }
    }

    func delete(item: ToDoItem) {
        items.removeAll(where: { $0.id == item.id })
    }
}
The Complex View with Conditional Logic
This is where .swipeActions shines. We can use if/else blocks inside the actions’ ViewBuilder.
struct AdvancedToDoList: View {
    @StateObject private var viewModel = ToDoViewModel()

    var body: some View {
        NavigationView {
            List {
                ForEach(viewModel.items) { item in
                    HStack {
                        Image(systemName: item.isCompleted ? "checkmark.circle.fill" : "circle")
                            .foregroundColor(item.isCompleted ? .green : .gray)

                        Text(item.title)
                            .strikethrough(item.isCompleted)

                        Spacer()

                        if item.isFlagged {
                            Image(systemName: "flag.fill")
                                .foregroundColor(.orange)
                        }
                    }
                    // TRAILING ACTIONS (Right)
                    .swipeActions(edge: .trailing, allowsFullSwipe: true) {
                        // Action 1: Delete (Always available)
                        Button(role: .destructive) {
                            withAnimation {
                                viewModel.delete(item: item)
                            }
                        } label: {
                            Label("Delete", systemImage: "trash")
                        }

                        // Action 2: Flag (Changes text/icon based on state)
                        Button {
                            withAnimation {
                                viewModel.toggleFlag(item: item)
                            }
                        } label: {
                            Label(item.isFlagged ? "Unflag" : "Flag",
                                  systemImage: item.isFlagged ? "flag.slash" : "flag")
                        }
                        .tint(.orange)
                    }
                    // LEADING ACTIONS (Left)
                    .swipeActions(edge: .leading, allowsFullSwipe: true) {
                        Button {
                            withAnimation {
                                viewModel.toggleComplete(item: item)
                            }
                        } label: {
                            Label(item.isCompleted ? "Reopen" : "Complete",
                                  systemImage: item.isCompleted ? "arrow.uturn.backward" : "checkmark")
                        }
                        .tint(item.isCompleted ? .gray : .green)
                    }
                }
            }
            .navigationTitle("My Tasks")
        }
    }
}
Technical Details of the Example
- Conditionals inside SwipeActions: Notice how the text and icon of the “Flag” button change dynamically (
item.isFlagged ? ... : ...). SwiftUI repaints the actions if the state changes, allowing for reactive interfaces. - Animations: Wrapping ViewModel calls in
withAnimationensures that if the row changes appearance (like the strikethrough text), the transition is smooth, even though the swipe animation itself is handled by the system. - Color Management: The “Complete” button changes from green to gray depending on whether the task is already done.
7. Limitations and Design Considerations
Although .swipeActions is robust, it has limitations that a senior developer must be aware of:
1. Cannot customize font or text style
Buttons inside swipeActions ignore modifiers like .font() or .foregroundColor() applied directly to the text. You must rely on .tint() for the background, and the system handles the text color (usually white).
2. Button Style
Only the default style works correctly. Do not try to embed complex views (VStack, large custom images) inside the button label. The system expects Label, Text, or Image. If you place a complex custom view, it likely won’t render as expected or may lose interactivity.
3. Performance in Large Lists
SwiftUI is efficient, but generating many complex actions in lists with thousands of items can have a cost. Keep the logic inside the swipeActions block as lightweight as possible. Avoid heavy calculations when rendering the button.
4. Accessibility
SwiftUI handles much of the accessibility automatically. VoiceOver will announce “Actions available” on the row. However, ensure your labels (Label) are descriptive. Avoid using only icons if the meaning is not universally clear.
8. Common Troubleshooting
Issue: Swipe actions do not appear. Solution: Ensure the row is inside a List. .swipeActions does not work in a VStackinside a normal ScrollView (unless you implement complex custom gestures).
Issue: The gesture interferes with other navigation gestures. Solution: If you have a NavigationLink in the row, SwiftUI generally handles the conflict well. However, avoid placing other elements with drag gestures inside the same row.
Issue: I want a transparent background or a different style for the button. Solution: Currently, .tint is your only native option for the background color. There is no native API for full transparency or complex gradients on the action button background in iOS 16/17 (as of this writing).
9. Comparison with Third-Party Solutions
Before iOS 15, libraries like SwipeCellKit (UIKit) or custom solutions in SwiftUI were the norm.
- Should you still use them? Probably not, unless you need an extremely specific visual design (like circular buttons or custom reveal animations) that the native API does not allow.
- Benefit of Native: Apple’s API ensures that the physics of the swipe (friction, bounce) feel exactly the same as the rest of the OS, which is vital for a good user experience (UX).
10. Conclusion and Summary
The .swipeActions() modifier is an essential tool in any modern SwiftUI developer’s arsenal. It allows us to declutter the user interface by hiding secondary actions behind intuitive gestures, keeping the main screen focused on content.
If you have any questions about this article, please contact me and I will be happy to help you 🙂. You can contact me on my X profile or on my Instagram profile.